Time required: 30 min
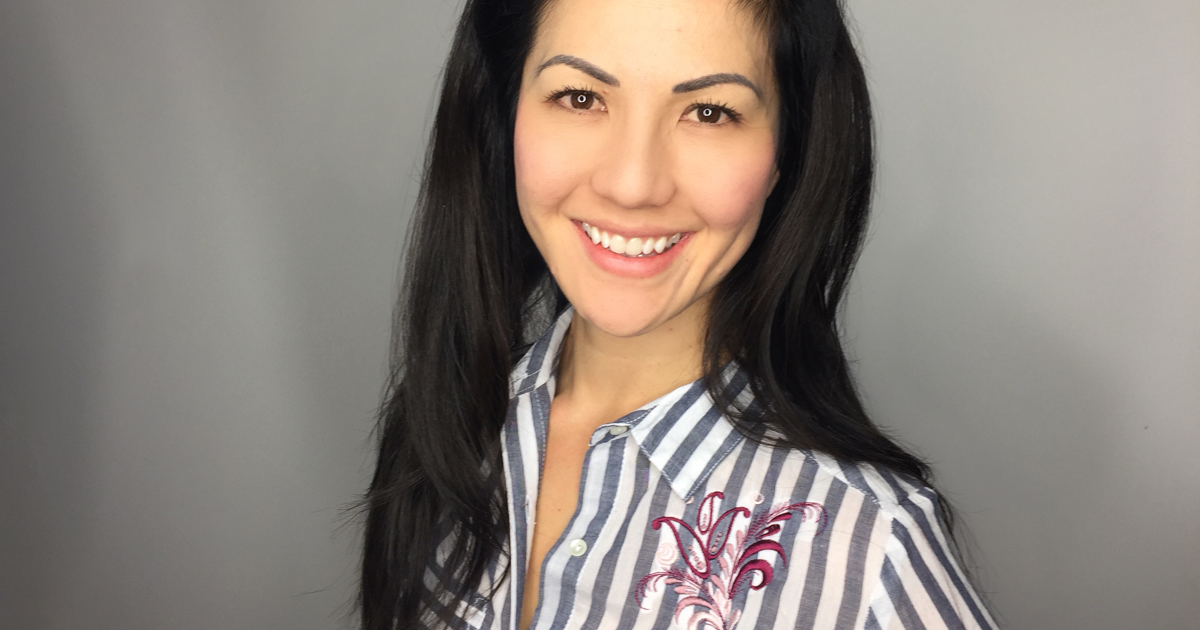
Add a touch of style with an embroidery detail. It’s simple to dress up an existing top by adding a small embroidery design in colours that complement. There are so many options for design. Use one of the built-in designs on your Brother THE Dream Machine, or import your own either by using the scanning mat, through USB, or wirelessly using BES software.
Materials
- Brother THE Dream Machine
- A lightweight woven shirt
- Medium-weight cutaway stabilizer
- Embroidery thread in three colours
- Embroidery scissors
- Fabric scissors
Instructions
Cut a piece of stabilizer 9” (23 cm) x 10” (26 cm), and hoop the stabilizer and shirt into the smallest hoop included with THE Dream Machine.
From the home screen of your machine, choose “Embroidery”.
From pattern category 1, choose design #65.
Select “Set”.
Change your presser foot to an embroidery foot.
Load the embroidery hoop into your sewing machine.
Click “Edit” to adjust your design as needed. I chose to flip my design as a mirror image. When finished, click “Edit” again.
Select a thread colour to modify any of them, if necessary, then press “OK”.
Click “Embroidery”.
Load the embroidery thread colour, lower the presser foot, then press the green arrow.
Repeat Step 10 until the design is complete.
Trim your jump threads.
Cut away the excess stabilizer.
Row title
Lorem ipsum dolor sit amet, consectetur adipiscing elit. Nullam venenatis libero egestas dui finibus, nec tempus odio volutpat. Sed a pretium tortor. Mauris eleifend tempus elit ac ornare. Mauris semper bibendum eros a molestie. Fusce non dolor non augue aliquam dictum.
Row title
Lorem ipsum dolor sit amet, consectetur adipiscing elit. Nullam venenatis libero egestas dui finibus, nec tempus odio volutpat. Sed a pretium tortor. Mauris eleifend tempus elit ac ornare. Mauris semper bibendum eros a molestie. Fusce non dolor non augue aliquam dictum.
- Set the ruffler to the gathering position (#1).
- Place the raw edge of the pressed strip along the left side of the ruffler foot and slip into the ruffler.
- Start with a slow machine speed and begin pleating the strip from end to end.
- Draw a circle on the felt square.
- Start at the outside of the circle you drew on the felt and lay the pleats onto the circle. The pleats will naturally form into a circle.
- Attach Straight Stitch Foot to the sewing machine.
- Stitch the pleats to the felt on the ruffle’s seam line. Once you’ve made it all the way around the first time, place the strip just to the inside of the first row and continue in a concentric circle until the entire strip has been sewn down.\ .












 19.
19. 
 20.
20. 

