
Embroidered Art
Time required:1 hour
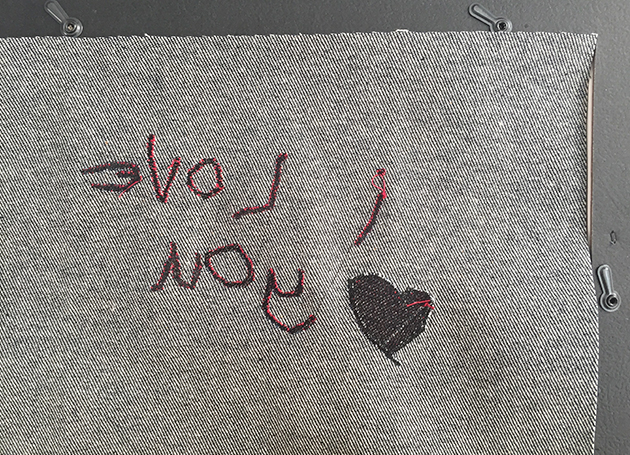
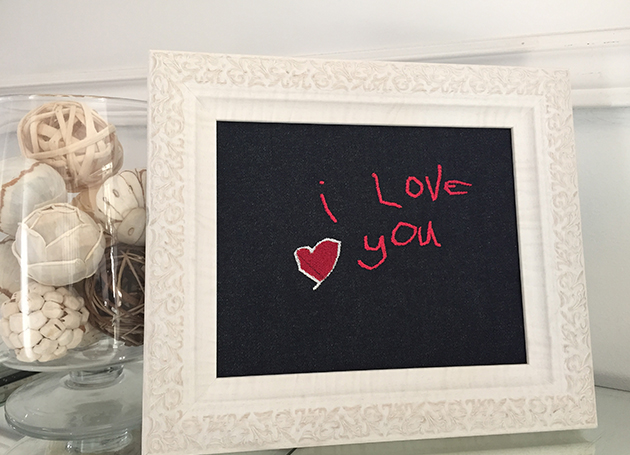
Create a beautiful, embroidered message for your Valentine. Design or draw a special love note, then use The Dream Machine to scan and digitize the message. To save yourself a step, embroider onto heavyweight denim to avoid the need for a stabilizer. Denim also adds an interesting rugged contrast to the sweetness of your message.

Materials and supplies
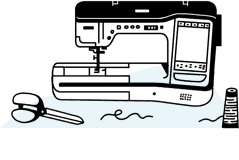
- Brother’s The Dream Machine
- The Dream Machine scanning attachment
- Embroidery thread: white, red, and burgundy
- Embroidery bobbin thread: black
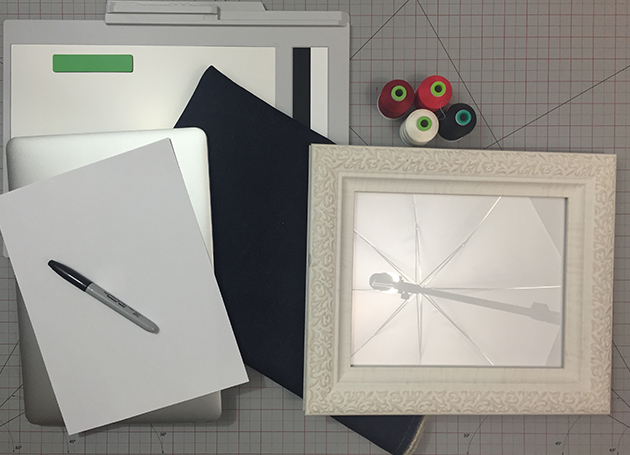
- Heavyweight denim
- 5” x 11” frame
- Paper and a marker, an existing note, or design software
Instructions
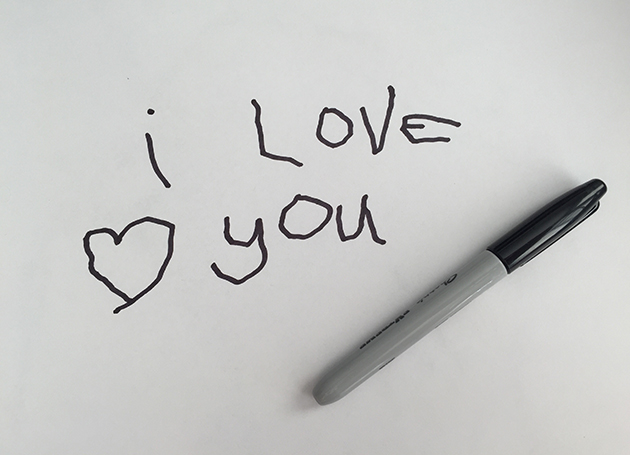
Hand-write your own message, use something existing such as a love note, or even combine text and an image using design software.
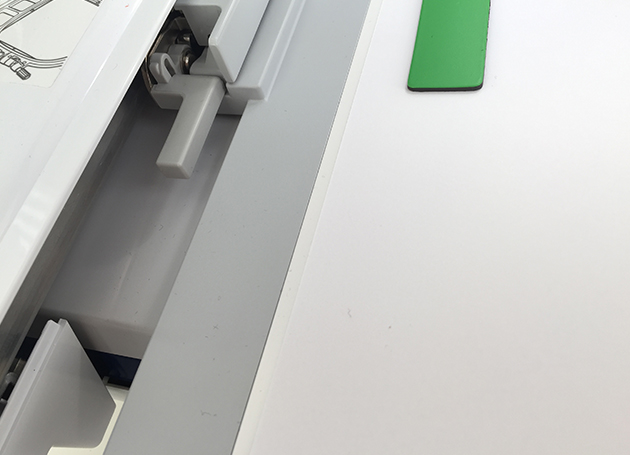
Attach the message to The Dream Machine’s scanning mat with the provided magnets. If you have Brother’s BES4 software, you can send a digital copy of the design to your Dream Machine wirelessly.

Put the scanning mat into the machine, and make sure it’s locked in place.
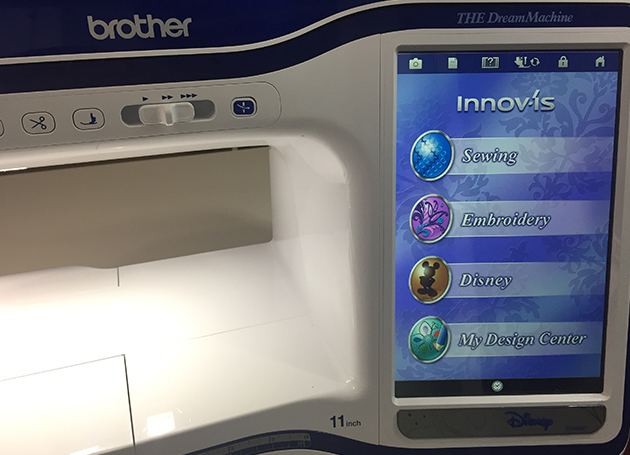
From the machine’s home page, select “My Design Center”.
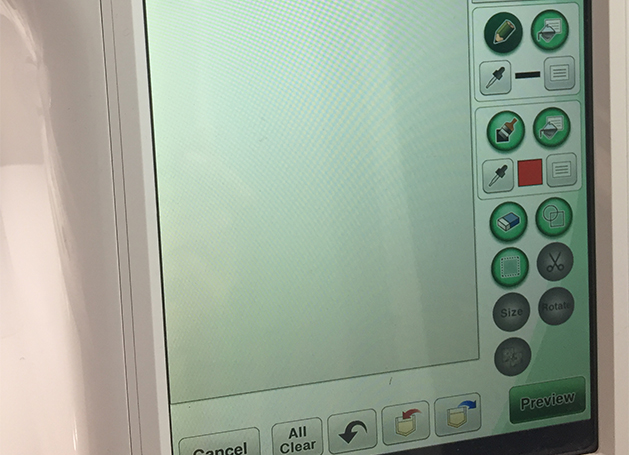
Select “Illust.” then “Scan”.
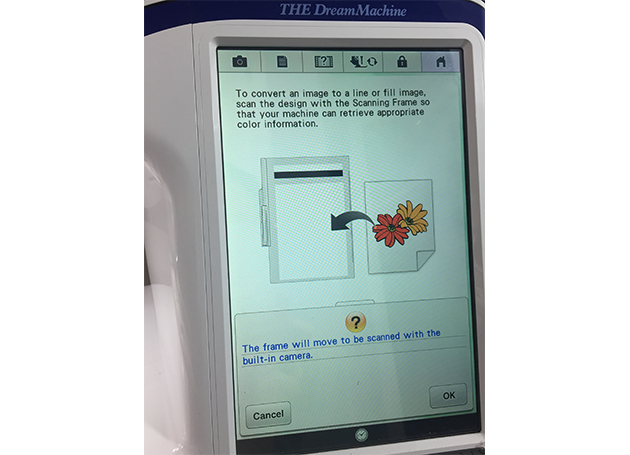
When the notification screen appears, select “OK” and the machine will scan your message.
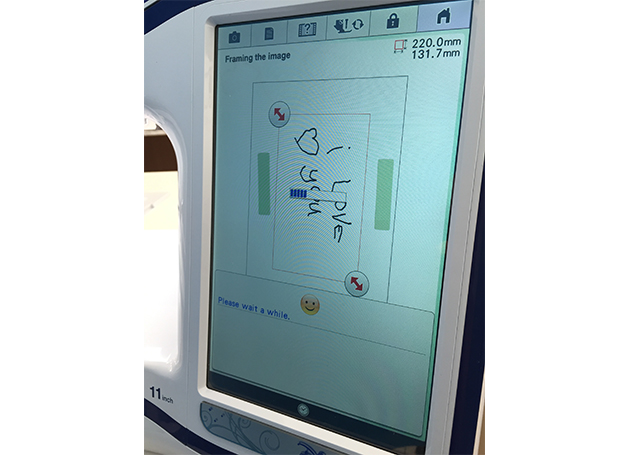
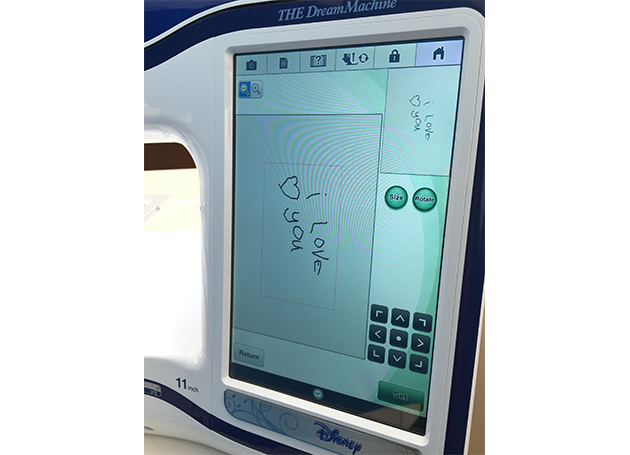
Click and drag the red arrows to crop into the message in order to remove the green magnets from the final scanned image file.

Select “OK”, wait while it processes, then select “OK” again.
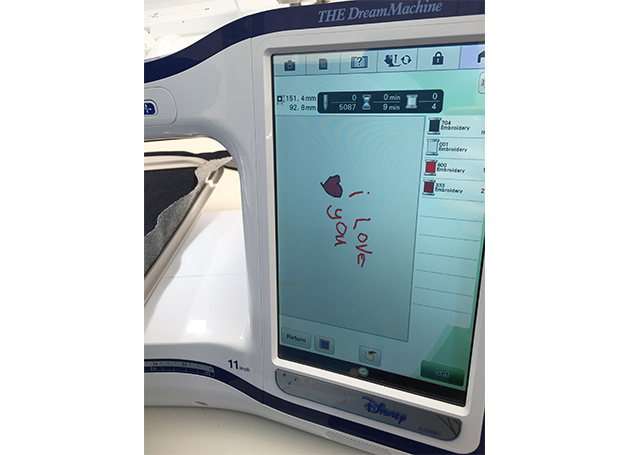
Adjust the size or rotate the image as needed. I left mine as-is because I drew it to fit and because of the orientation I want within the frame. Select “Set”.
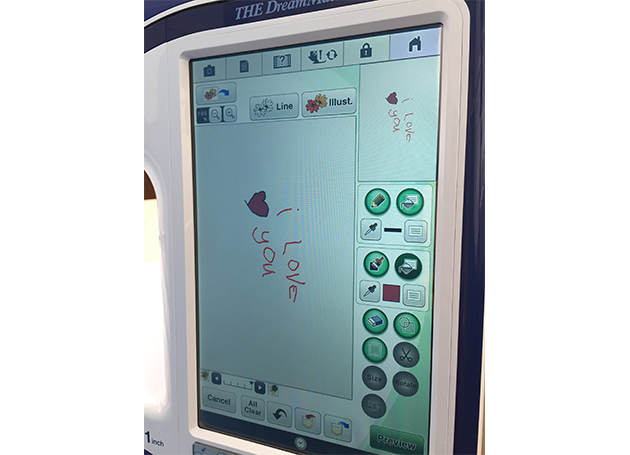
Select the paintbrush fill tool and the colour you want, then fill each area of your message individually. (Although I will embroider the heart border in white, I’ve shown it black here so it’s easy to identify in these photos.)

Select “Preview” then make fine adjustments as desired. Select “OK” when ready. You’ll now see a preview of the thread colours and embroidery duration.
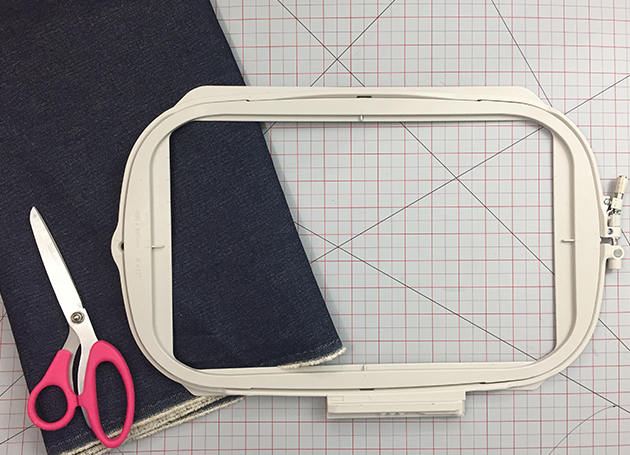
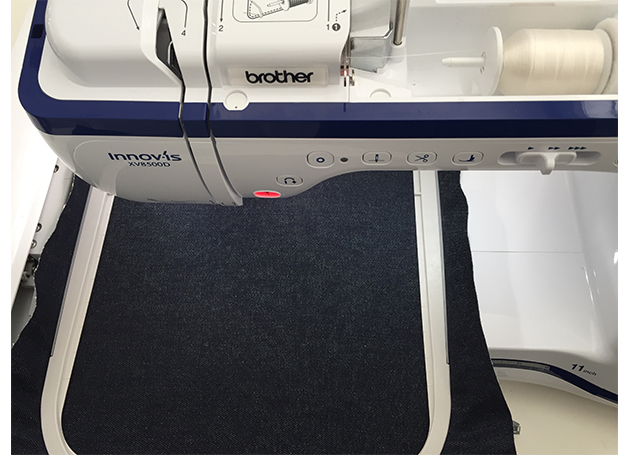
Hoop your denim (I’ve used an 8” x 12” hoop),
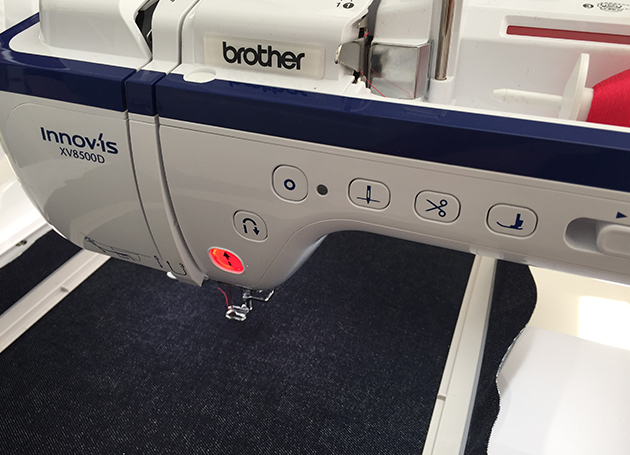
Change your presser foot to an embroidery foot.
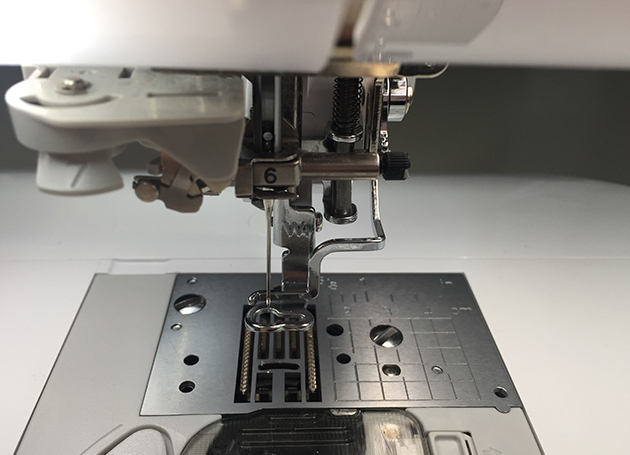
Put the hoop in the machine and load your machine with the first thread colour.
Select “Set” then select “OK”. Select “Embroidery” and the machine may adjust to prepare.
Lower the presser foot, and the start/stop arrow will turn green indicating you’re all set.
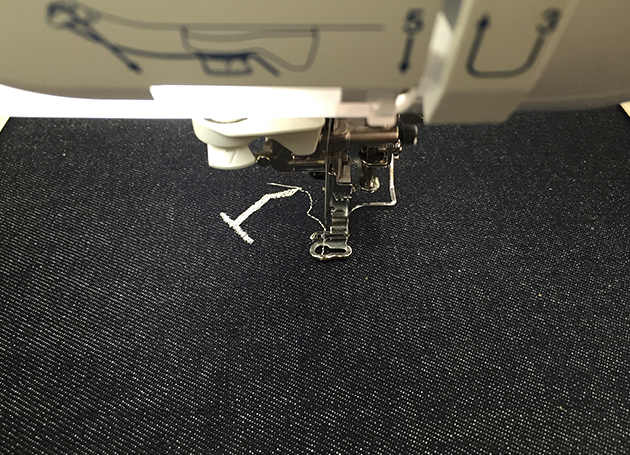
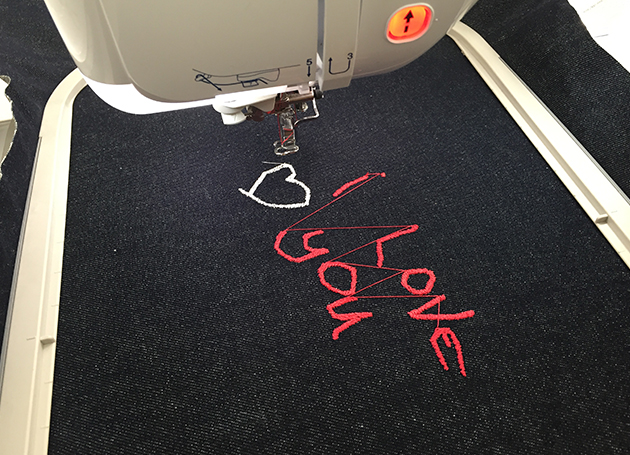
Press the green arrow to begin embroidering your first colour. The machine will embroider until it’s time to change threads.
If you want to skip some of the steps that the machine is dictating (mine, for example, wants to fill the two “o” letters with white), select the needle image with the plus and minus signs. Then select the down double-arrows to advance to the stiches you want.

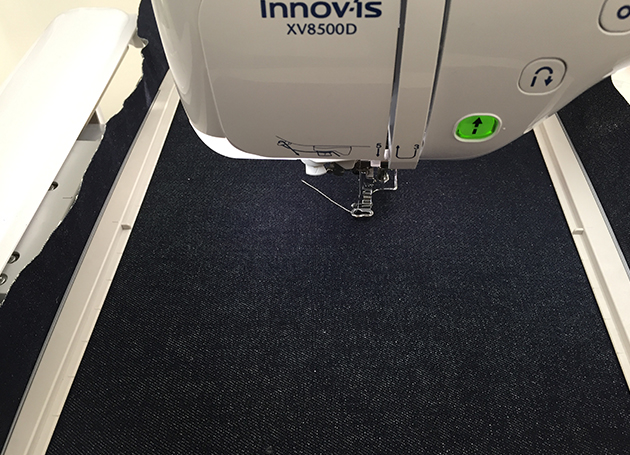
When the machine stops after Step 17, load your next thread, lower the presser foot, and press the green arrow again.
Repeat Step 19 until you’ve completed your entire design.
Remove the hoop from the machine and trim all of your jump threads.
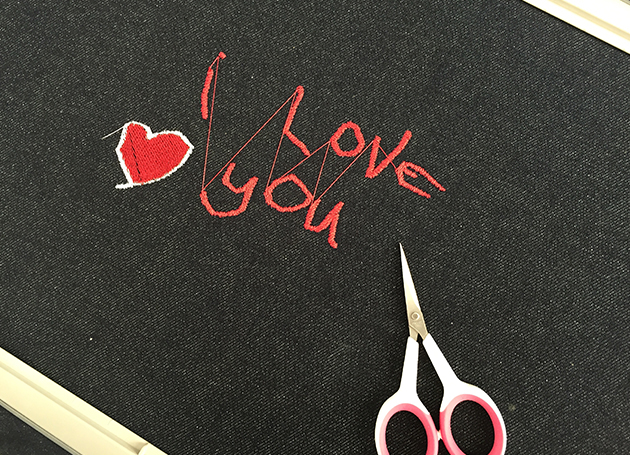
Cut the denim so it’s the perfect size for the inside of your frame.
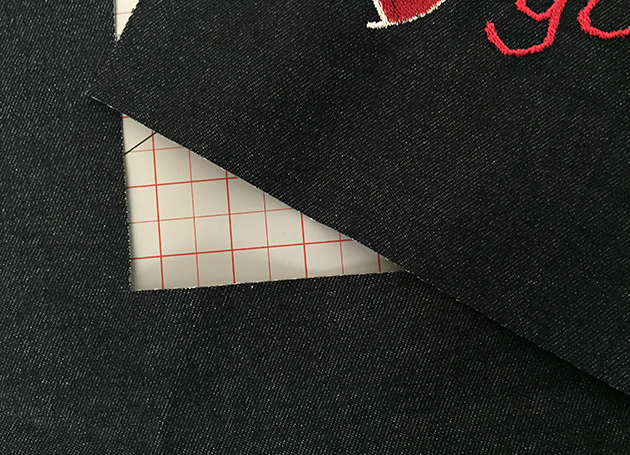
Place the message inside your frame, face down.
Leave your loving message somewhere it will be found and enjoyed on Valentine’s Day.
About Denise Wild
Sewing, crafting and DIY expert, Denise Wild combines her enthusiasm and expertise to create easy-to-follow tutorials for simple, stylish projects that showcase valuable tips and tricks. Founder of LoveSewing magazine, Denise is also a brand spokesperson, TV host, author and magazine editor. Get inspired to create your very own projects with personalized style. Learn more about Denise at denisewild.com or follow her on Facebook at @medenisewild.You Might Also Like