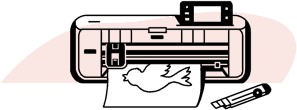
Flower Girl Bracelet
Time required: 20 minutes
Personalize a made-by-me bracelet for your flower girl to wear on your special day. Modify the length of the ribbon and the text to create something unique for your bridesmaids, your mother, your mother-in-law to-be, or for yourself.

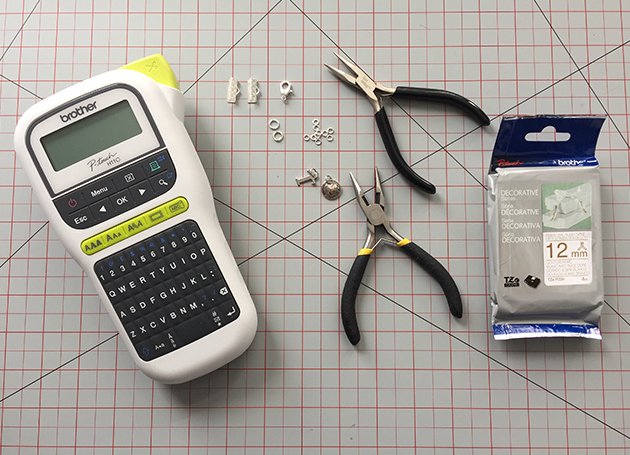
Materials
- Brother P-touch (this project was made on the PT-H110)
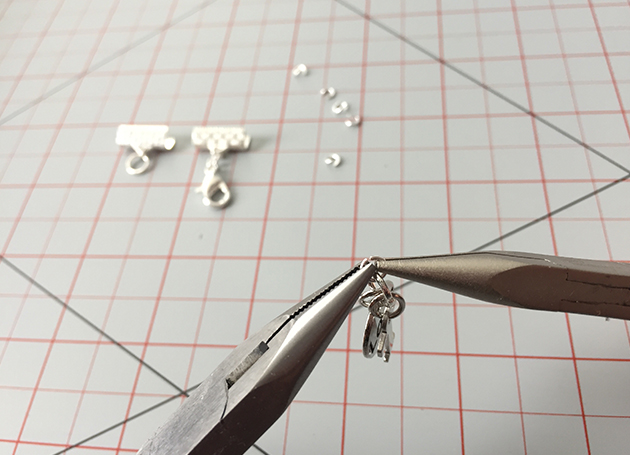
- 2 x chain nose pliers
- 2 x ribbon clamps
- 1 x lobster clasp
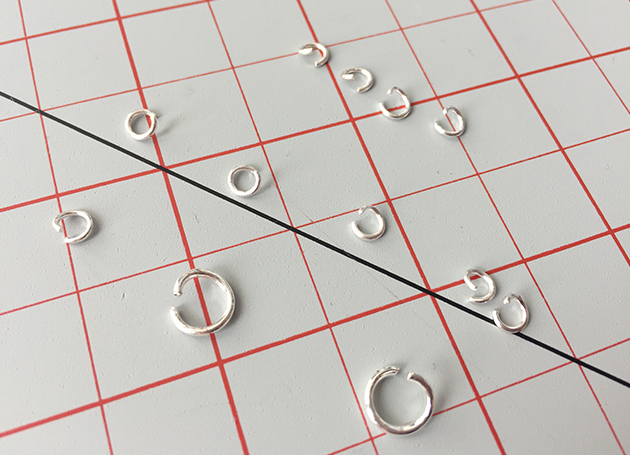
- 2 x 7 mm jump rings
- 7 x 4 mm jump rings
- 1 x letter charm
- 1 x heart charm
- Brother TZ Tape Decorative Series 12 mm Ribbon Tape in Gold on White
Instructions
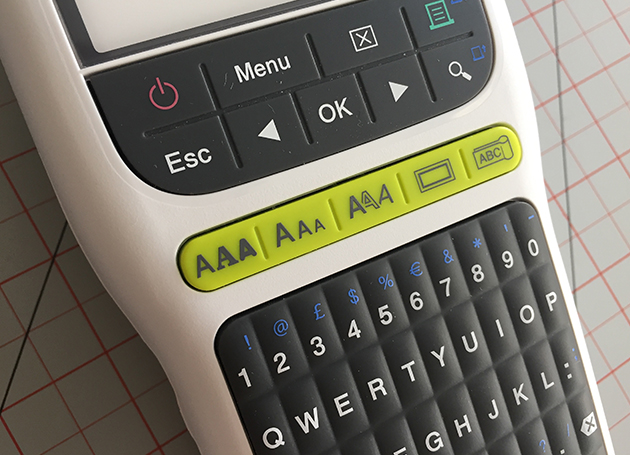
1. Press the left-most “AAA” button to select a font.
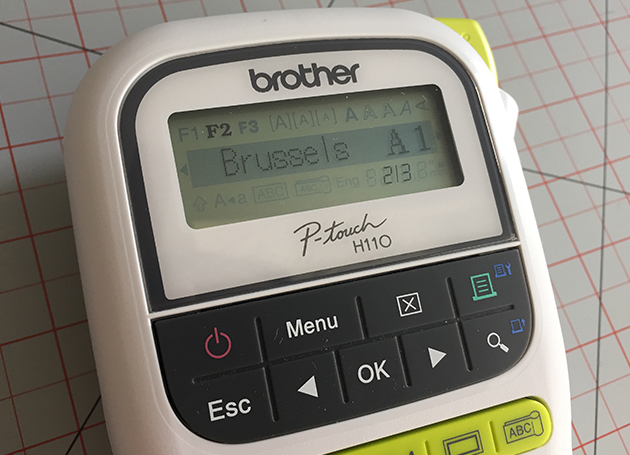
2. Continue pressing it until “Brussels” appears. Press “OK”.
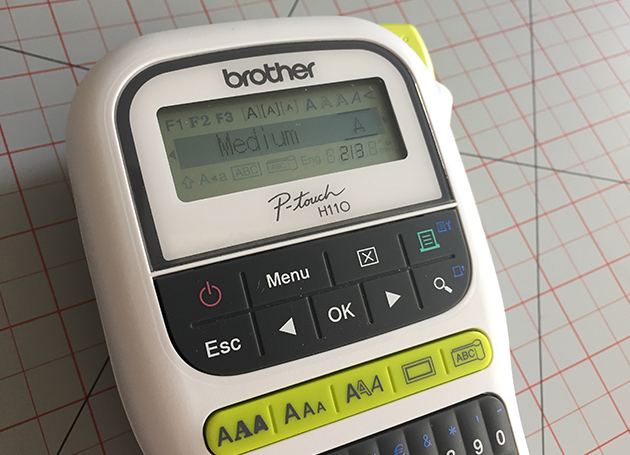
3. Select the second-to-left “AAA” to choose a width. Click it until “Medium” appears. Press “OK”.
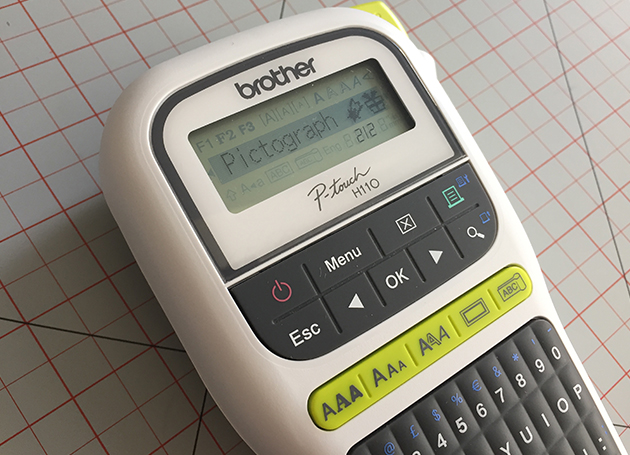
4. Press the #, mail, star key in the bottom right corner until “Pictograph” appears. Press “OK”
5. Press the right arrow until you see “Fun”. Press “OK”.
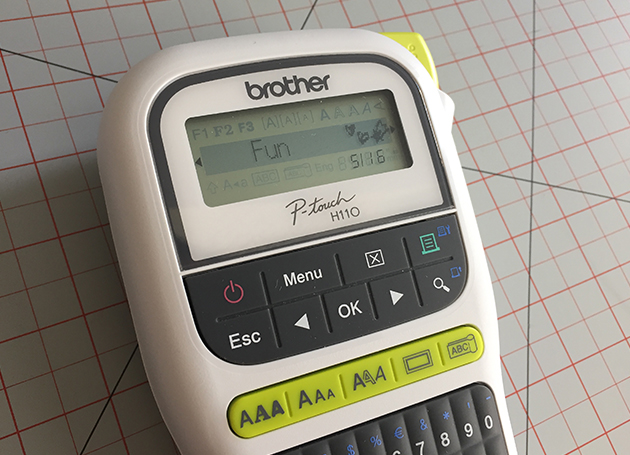
6. Press “OK” to select the double heart.
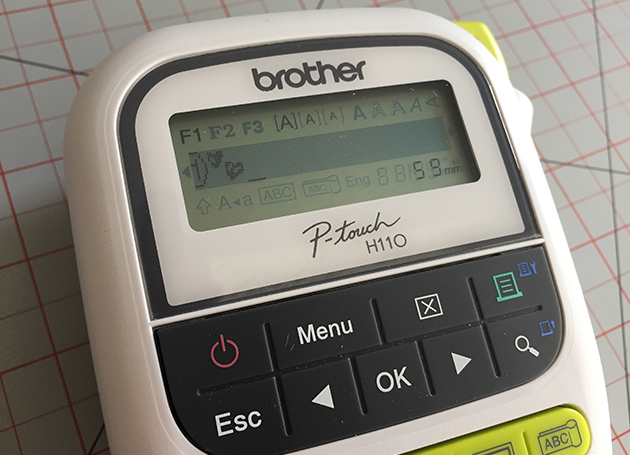
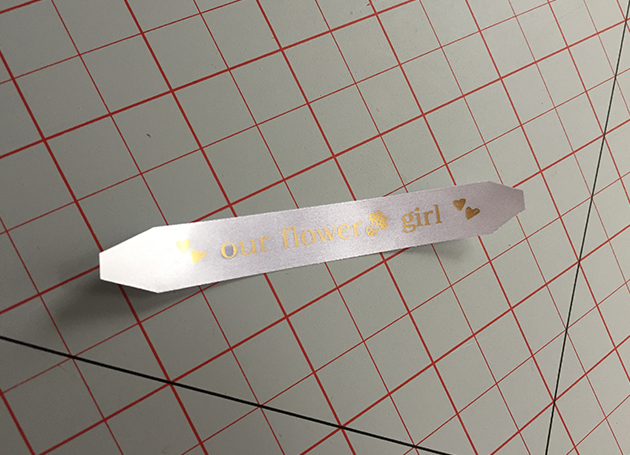
7. Type a space, then type “our flower”.

8. Press the #, mail, star key until “Pictograph” appears. Press “OK”.
9. Click the right arrow until “Garden” appears.
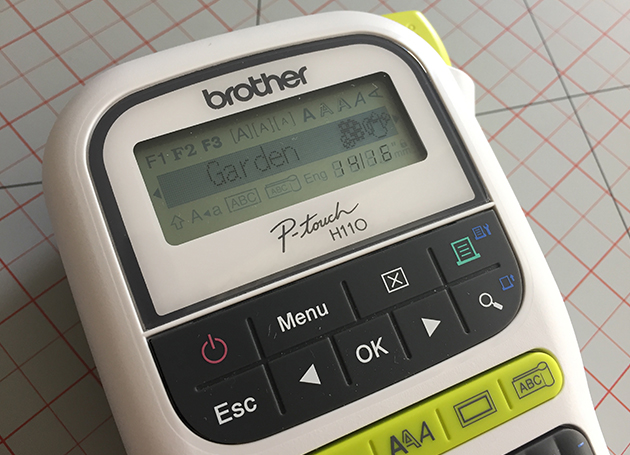
10. Click “OK” and click “OK” again to select the first bouquet of flowers.
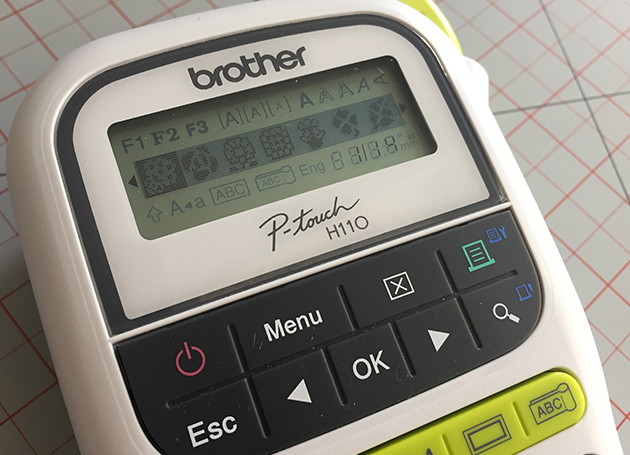
11. Type space “girl” space.

12. Press the #, mail, star key in the bottom right corner until “Pictograph” appears. Press “OK”
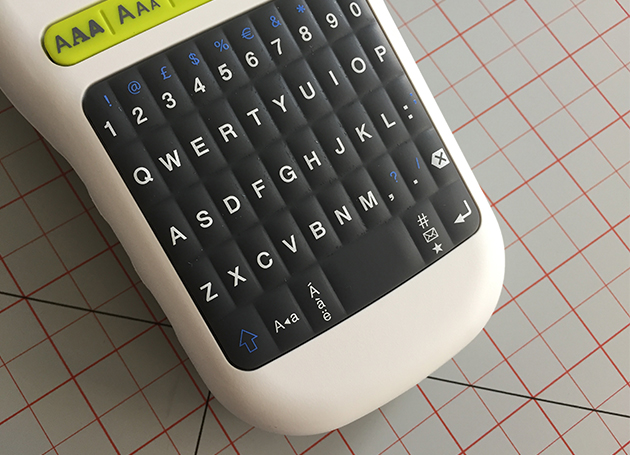
13. Press the right arrow until you see “Fun”. Press “OK”.
14. Press “OK” to select the double heart.
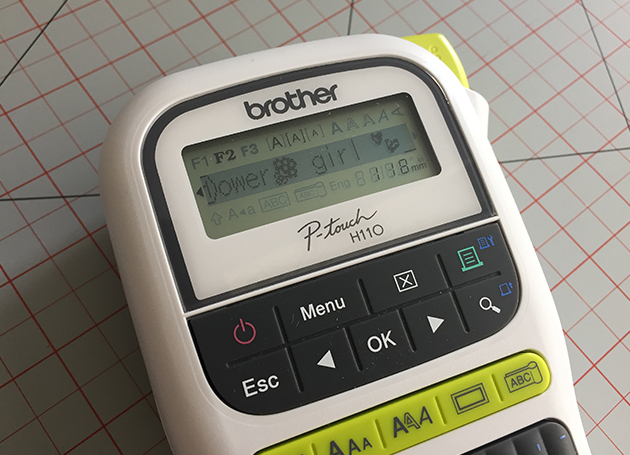
15. Press the green print button in the top right corner of the machine then press “OK” to select one copy.
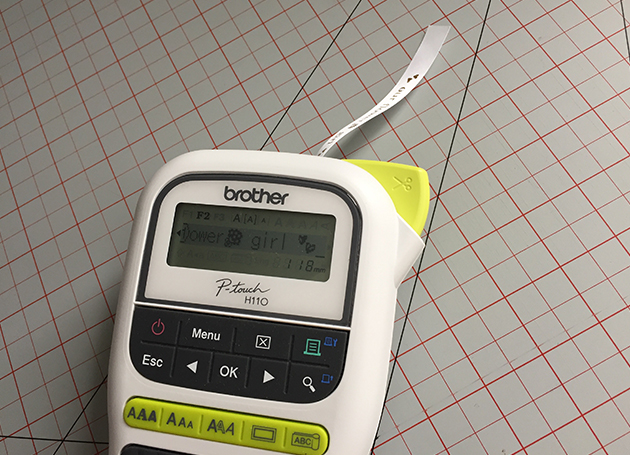
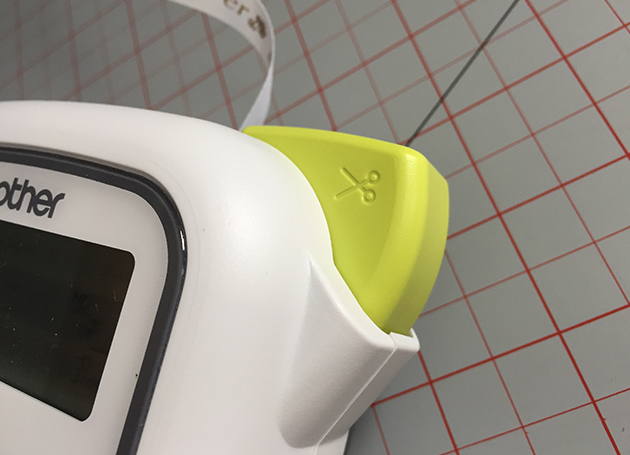
16. Depress the green button to cut the ribbon.
17. Taper the ribbon ends on both sides.
18. Use the chain nose pliers to open all of the jump rings.
 19.
19. 19. Add a 4 mm jump ring and then a 7 mm jump ring to one of the ribbon clamps. To the other ribbon clamp, add three 4 mm jump rings and then the lobster clasp. Connect the two charms with a 7 mm jump ring and then add three 4 mm jump rings, connecting the third jump ring to the ribbon clamp that has the lobster clamp attached. Close all of the jump rings once connected.
 20.
20. 19. Use the pliers to close the ribbon clamps around each ribbon end.

Inspiration
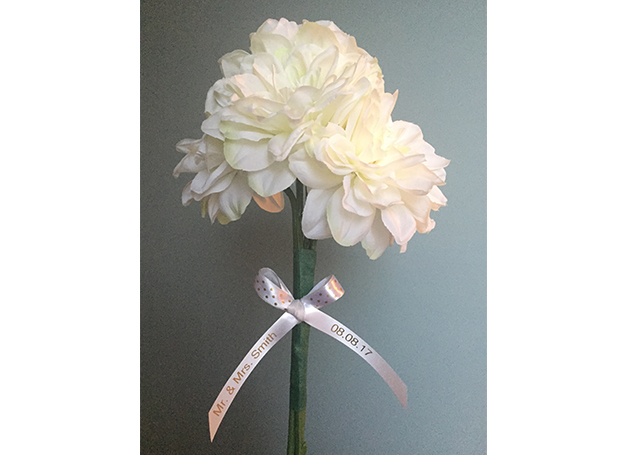
Use the P-touch ribbon printer to customize every part of your wedding from your flowers and bridesmaids’ gifts to your guest favours and table decor. Print decorative patterns, heartfelt messages, your initials, or your wedding date. Money-saving tip: Create an upscale faux bouquet that will preserve perfectly in a box frame.
About Denise Wild
Sewing, crafting and DIY expert, Denise Wild combines her enthusiasm and expertise to create easy-to-follow tutorials for simple, stylish projects that showcase valuable tips and tricks. Founder of LoveSewing magazine, Denise is also a brand spokesperson, TV host, author and magazine editor. Get inspired to create your very own projects with personalized style. Learn more about Denise at denisewild.com or follow her on Facebook at @medenisewild.You Might Also Like

Embroidery:Thread-Painted Fantasy Flower Pillow

Sewing:Leather Clutch