
How To Choose Interfacing and Tips For Attaching It
Interfacing is a type of fabric that’s used to give body or stability to a garment, craft project or accessory. It’s an additional layer that’s hidden inside your project, attached to the fabric, facing or lining that can be the full size of your pattern piece or only a portion of it.

Interfacing gives more durability to your fabric and prevents your project from stretching or distorting in certain areas. You’ll often find interfacing in garment facings, waistbands, pocket edges, collars, cuffs, purses and curtains.
See the types of interfacing listed below to understand how to choose it based on your fabric choice. The amount of stretch in your interfacing should match the stretch of your project fabric. Additionally, the weight of your interfacing should be lighter than or equal to the weight of the fabric you’re using, unless your project dictates something specific, such as a heavyweight interfacing added to a purse.
Types of Interfacing:
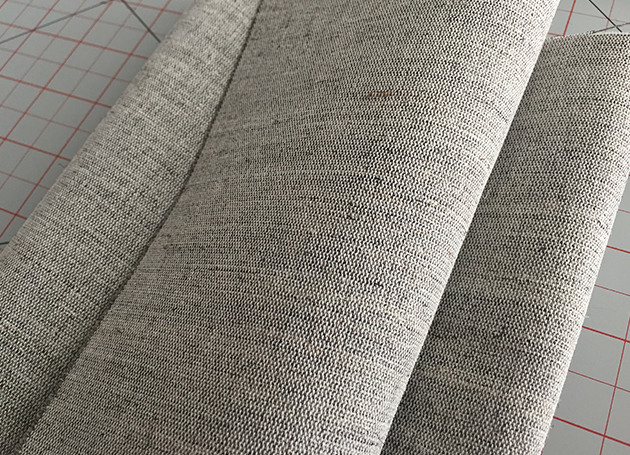
Woven interfacings can be made of synthetic fibres, natural fibres or a blend of fibres and are available in a variety of weights and structures. Woven interfacings tend to be the strongest and longest lasting.
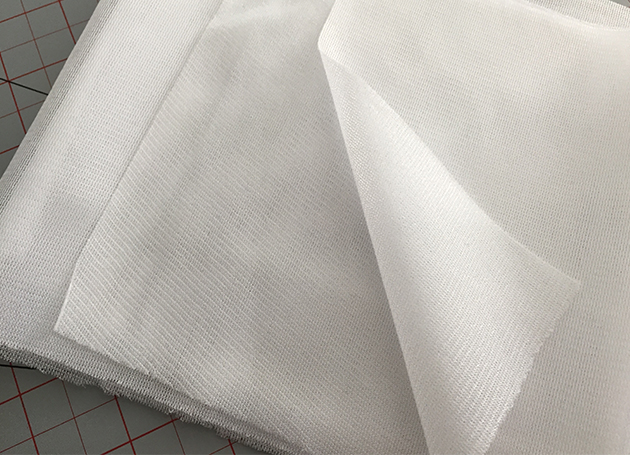
Non-woven interfacing is made of synthetic fibres bonded together in weights ranging from sheer to heavy. It has no grain line, making it the easiest to work with because you don’t have to cut the pieces on-grain.

Knit interfacing (also known as tricot interfacing) has a bit of give and stretch and provides flexibility, making it ideal for use with lightweight knits and woven fabrics.
Interfacing Applications:
In addition to choosing an interfacing type, you’ll also need to choose between iron-on or sew-in applications.
Non-fusible interfacing must be sewn into the garment. This type is permanently basted in place, either by hand or by machine.
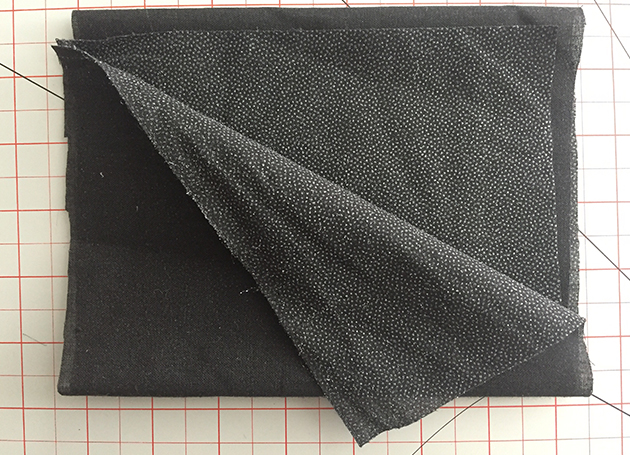
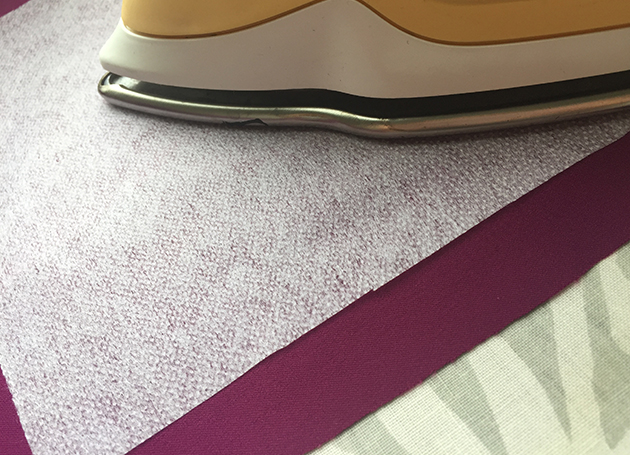
Fusible interfacing features an adhesive coating on the wrong side of the interfacing (the little white dots shown in the image below) that will be heat-sealed and adhered to the fabric using an iron.
Sometimes a fusible interfacing won’t bond well with a particular fabric. Other times, a sew-in interfacing may seem a bit too bulky. It’s best to test a scrap of fabric with your interfacing before committing to using it for your project in case you want to make adjustments based on the results.
Interfacing Tips:
- When cutting woven or tricot interfacing, follow the same grain line rules as when you’re cutting fabric.
- Trim interfacings to reduce bulk, ensuring the edges of sew-in interfacings will still be caught when sewn.
- Cut down interfacing corners to further reduce bulk.
- When attaching fusible interfacing, adhere it (glue-side down) to the wrong side of your fabric.
- Apply direct pressure from your iron for 10-15 seconds to attach fusible interfacing. If the interfacing doesn’t adhere, adjust the heat and steam settings, slightly.
- Allow the fabric and fusible interfacing to cool completely before sewing.
About Denise Wild
Sewing, crafting and DIY expert, Denise Wild combines her enthusiasm and expertise to create easy-to-follow tutorials for simple, stylish projects that showcase valuable tips and tricks. Founder of LoveSewing magazine, Denise is also a brand spokesperson, TV host, author and magazine editor. Get inspired to create your very own projects with personalized style. Learn more about Denise at denisewild.com or follow her on Facebook at @medenisewild.You Might Also Like
Tips & Tricks:Setting Up Your Brother Q-Series Sewing Machine

Embroidery:Love Tea Towels