Tips & Tricks

Tips & Tricks

[text_with_img_right_arhive_module right_image=”2964″ text_image=”2926″ section_title=”Pro Pointers”]There’s almost always a way to do anything better, faster or easier. Check out our tried and true techniques and expert advice from people who’ve been there and done that. [/text_with_img_right_arhive_module]

How To Install An Invisible Zipper

[vc_custom_post_meta]

Whether used in home décor or garment sewing, an invisible zipper appears nearly invisible (hence the name) from the project right side, so it’s ideal for formal pieces and high-end fabrics.

How To Choose Interfacing and Tips For Attaching It

[vc_custom_post_meta]

Interfacing is a type of fabric that’s used to give body or stability to a garment, craft project or accessory. It’s an additional layer that’s hidden inside your project, attached to the fabric, facing or lining that can be the full size of your pattern piece or only a portion of it.

What To Look For When You’re Upgrading Your Sewing Machine

[vc_custom_post_meta]

Denise Wild is here with a few helpful tips that’ll take the guesswork out of buying the perfect sewing machine for your needs.

How to Personalize A Kid’s Jacket With Decorative Stitches

[vc_custom_post_meta]

Find out how easy it is to take an already adorable jacket and elevate it to new heights of cuteness with the simple addition of decorative stitches.

How To Sew Stretch Fabrics Without A Serger

[vc_custom_post_meta]

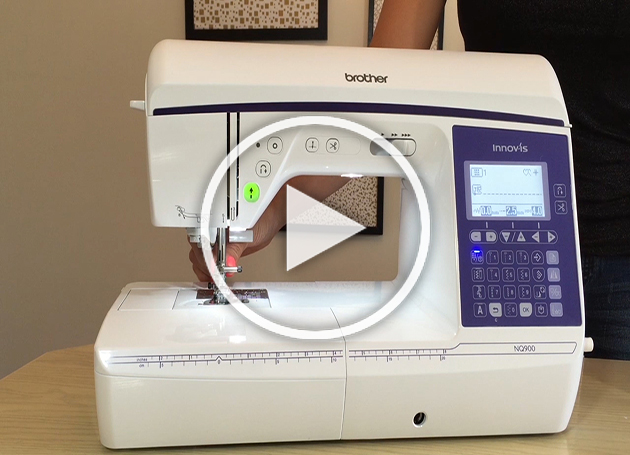
Watch Denise use her Brother NQ900, a ballpoint sewing machine needle and a walking foot to make an easy and adorable dress for her daughter.

How To Make A Zipperless Pillow

[vc_custom_post_meta]

This step-by-step tutorial from Denise Wild shows us how fun and easy it is to make a stylish cushion cover featuring a button closure instead of a zipper.

Setting Up Your Brother Q-Series Sewing Machine

[vc_custom_post_meta]

Denise Wild has made this easy step-by-step video to take the guesswork out of the process and help you get your machine out of the box and ready to sew!

Discover Brother’s Q-Series Sewing Machines

[vc_custom_post_meta]

Check out this video where Denise Wild shares what she loves about our ever-popular Brother Q-Series Sewing & Quilting Machines

How I Organized My Home With A P-touch Labeller

[vc_custom_post_meta]

How I organized my home with the Brother P-touch 400 AD labeller

Three In Four Parents Agree: Labelling Rocks

[vc_custom_post_meta]

Let’s face it, as a parent, dealing with an over-burdened schedule can be tough. Whether it’s day camp, school or just tidying up the house, the challenges you face…

’Tis The Season To Be Busy

[vc_custom_post_meta]

If Christmas’s definitely the jolliest time of the year, it’s also the busiest season of the year. No worries, Brother’s got your back!

P-touch® Labellers – No Sock Left Behind!

[vc_custom_post_meta]

It’s summer camp season. Are you already imagining your kids coming back from camp with clothes missing?
[random_posts_module section_title=”You Might Also Like” posts_number=”3″]

How To Install An Invisible Zipper

An invisible zipper is the perfect blend of beauty and function. You get the utilitarian benefits of a zipper without the bulk or visible details that can often distract from a project’s clean lines. Whether used in home décor or garment sewing, an invisible zipper appears nearly invisible (hence the name) from the project right side, so it’s ideal for formal pieces and high-end fabrics.

Instructions

Invisible zippers aren’t hard to install. In fact, they require fewer steps than a regular zipper, so many sewers find them easier to install than a standard zipper. They do take some getting used to, though. With practice and the tips below, you’ll be on your way to sewing an invisible zipper with confidence.

An invisible zipper

A regular zipper is different than an invisible zipper. So how can you spot the difference? Pay attention to a zipper’s details to determine if you’ve got a true invisible zipper. Here are two things you want to look for:

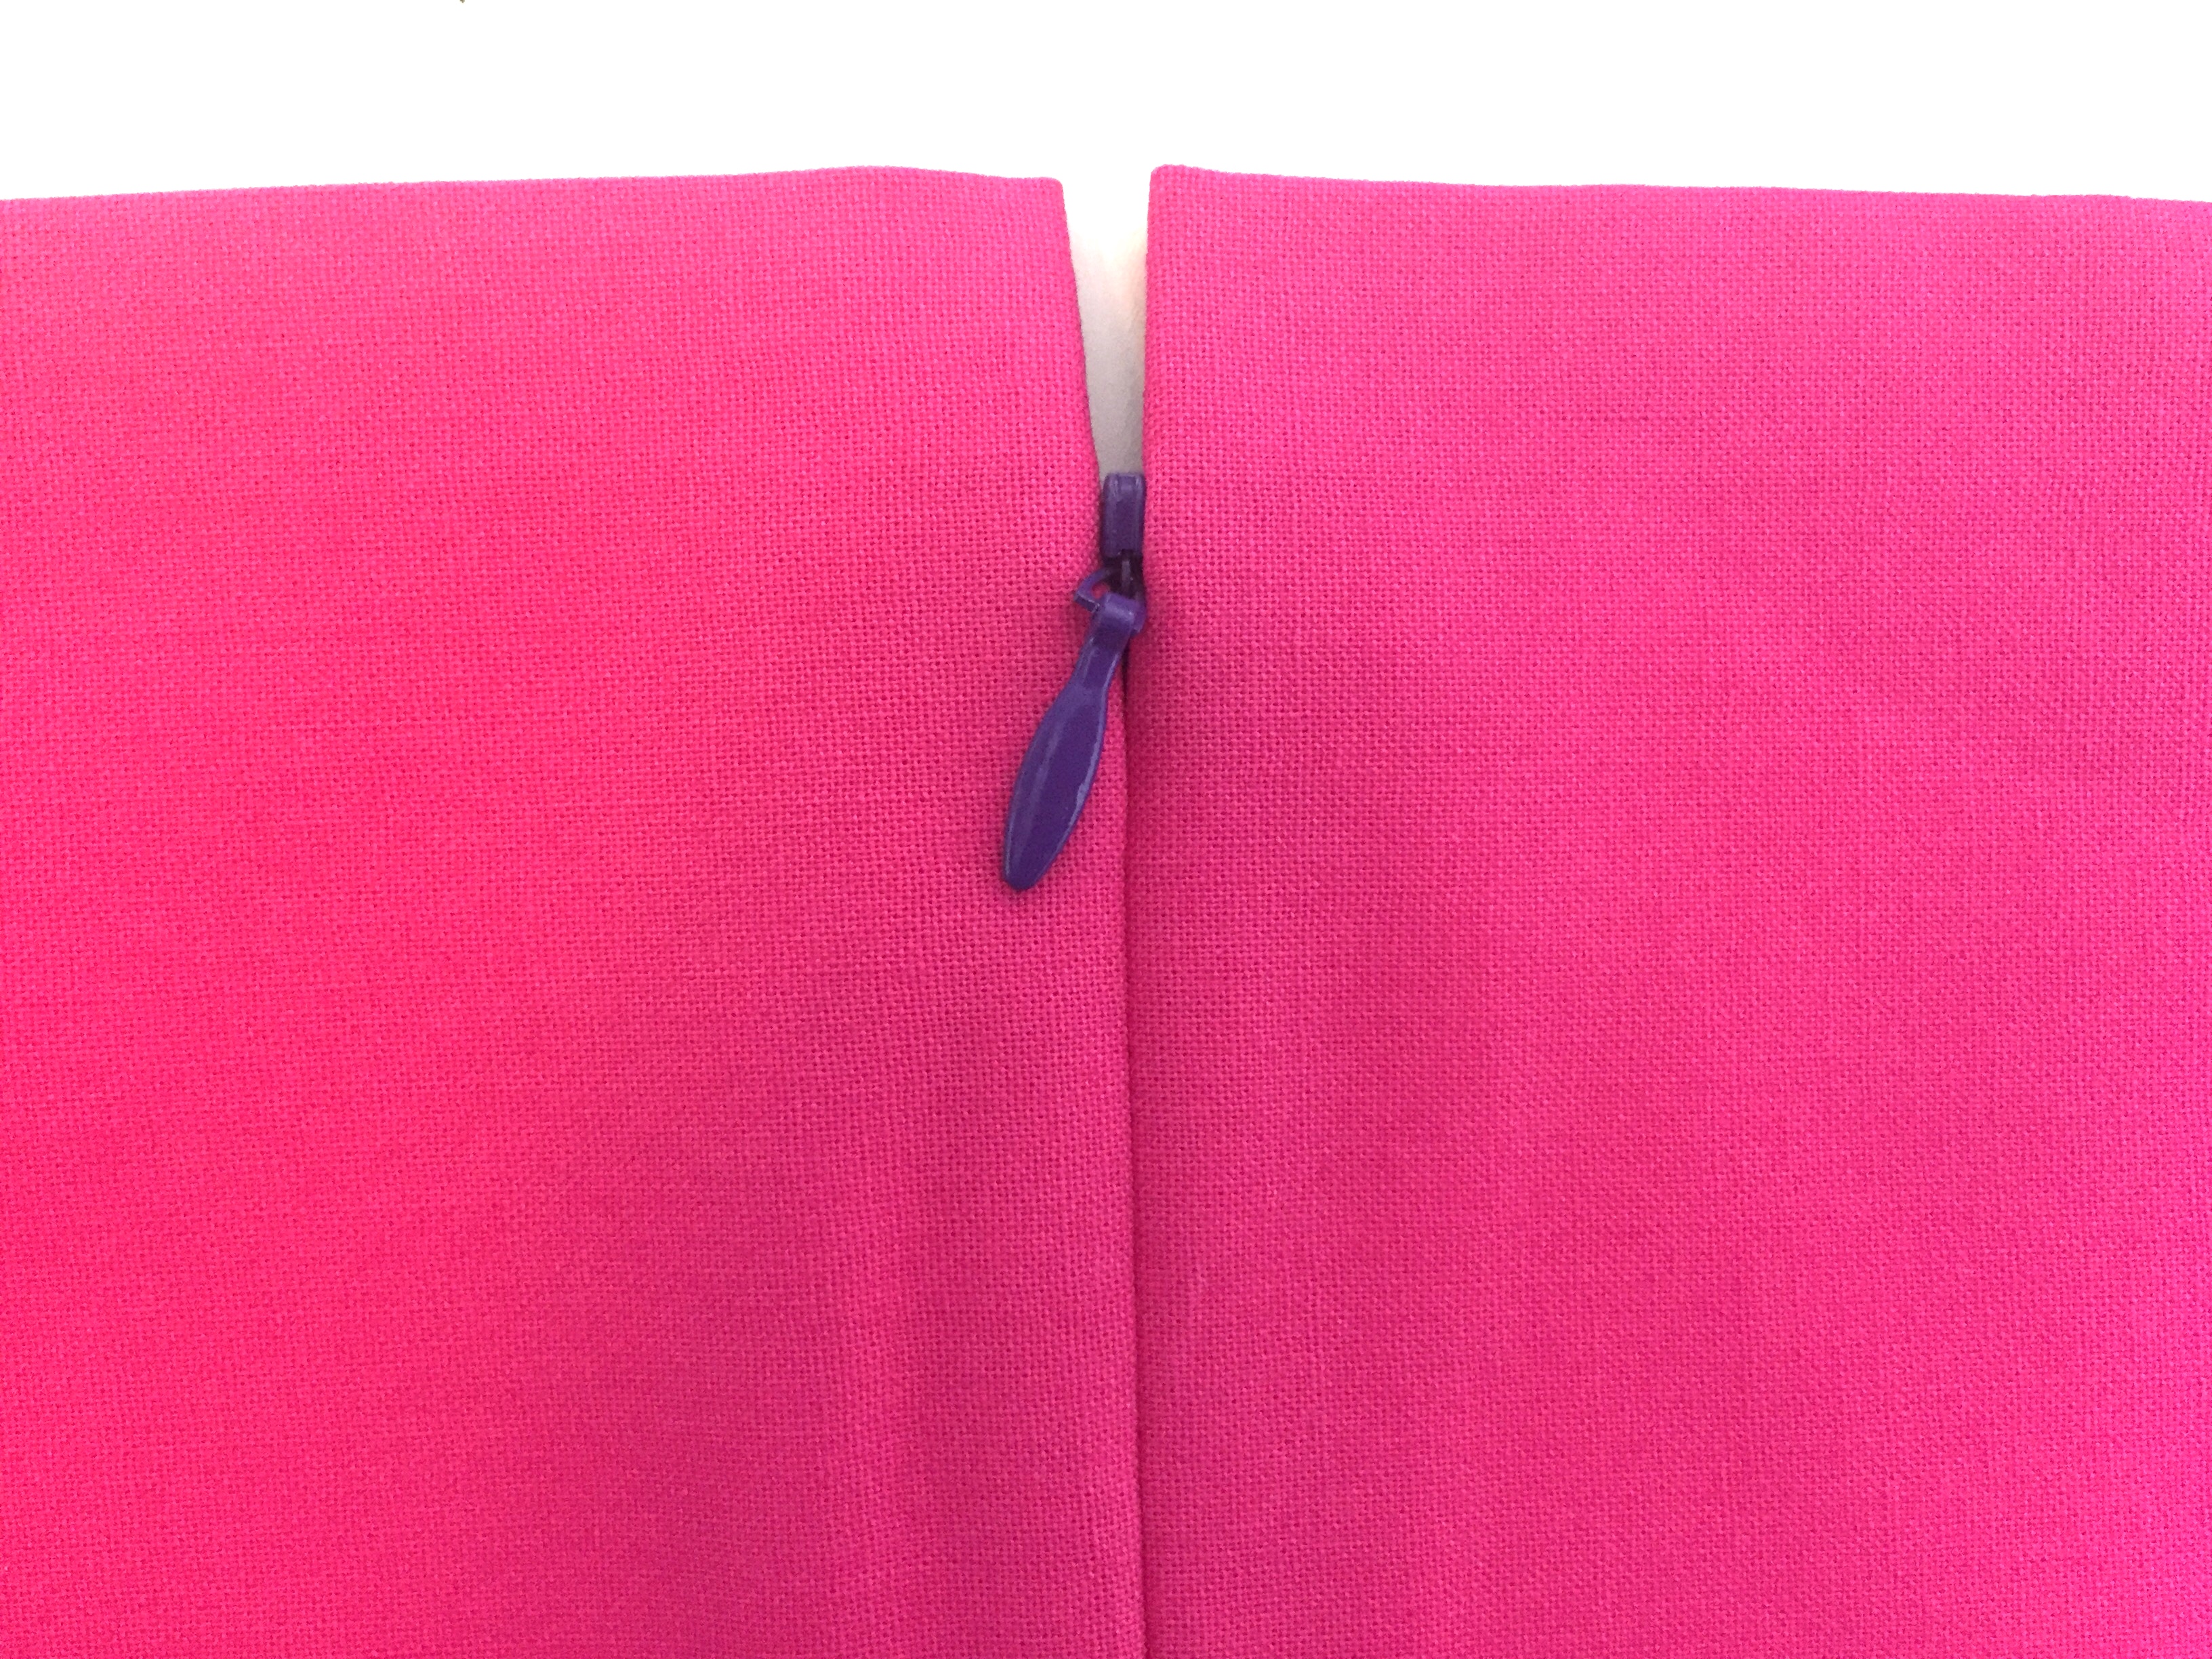
  1. The easiest way to spot an invisible zipper is to look at the pull tab. The pull tab on an invisible zipper is delicate, narrow, and pointed, whereas a regular zipper pull tab is usually flat, rectangular, and comparatively bulky.
  2. The teeth on an invisible zipper are on the wrong side of the zipper, the opposite of the pull tab. Think of it as the teeth being on the “back” of the zipper.

[IMG_7106.jpeg]

An invisible zipper foot

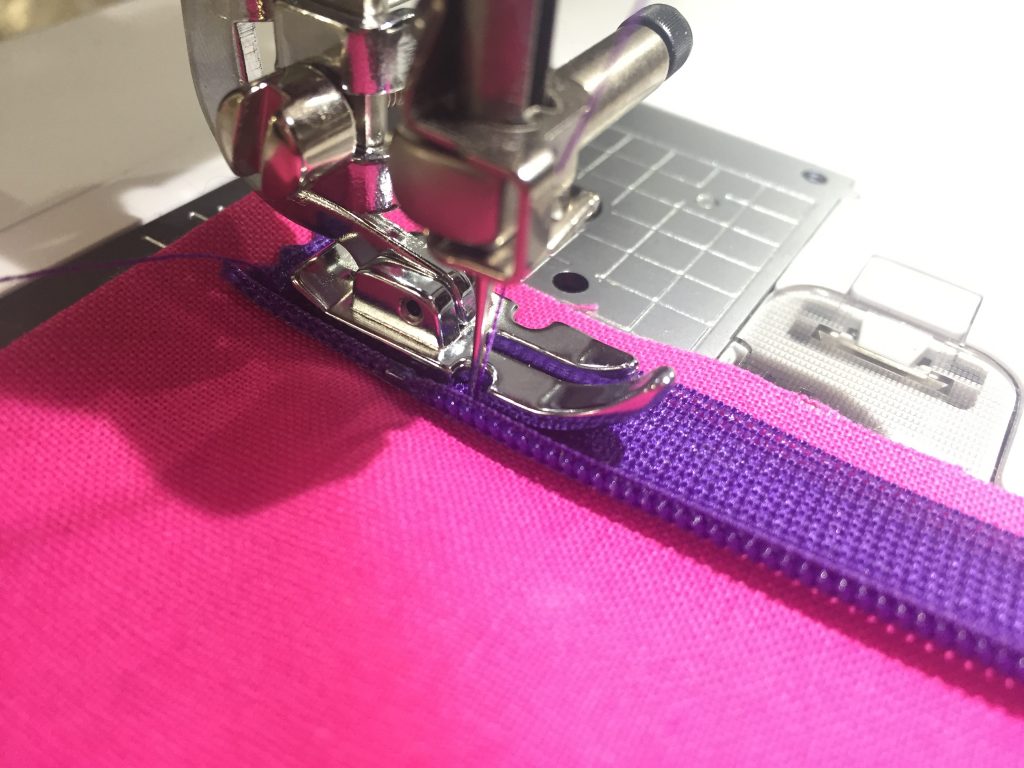
When sewing an invisible zipper, you can’t use a regular presser foot or even a regular zipper foot. Both won’t allow you to get close enough to the zipper teeth while sewing, which will result in a zipper that can be seen from the project right side. Instead, look for a proper invisible zipper foot, which has grooves or tunnels on the underside. Those grooves hold the zipper teeth out of the way, allowing your sewing machine’s needle and thread to get close to the zipper teeth. I prefer to sew my invisible zippers using a piping and cording foot. It doesn’t hold the teeth back (you have to do that with your fingers, so it requires more skill to use), but I find that I can sew even closer than with an invisible zipper foot.

[IMG_7115.jpeg, IMG_7117.jpeg]

Prepping for installation

Before you install an invisible zipper, there are a few things to do that will make it easier.

  1. Finish your fabric raw edges if you plan on finishing them. It’s easier to do this before the zipper is installed, rather than after.
  2. Iron your zipper on low heat in order to flatten the fold at the teeth. I don’t like to do this because I prefer to see where my groove is, but I know some people swear by this and feel that it makes things easier.
  3. Sew the seam of your project below the zipper before installing an invisible zipper.

[IMG_7108.jpg]

Invisible zipper installation

[IMG_7126.jpeg]

  1. Open the zipper.
  2. Lay one side of the zipper tape on top of your fabric, right sides together. Make sure the raw edge of the fabric is on the same side as the edge of the fabric tape, and align your zipper tape so the groove next to the teeth is at your seam allowance. Pin the zipper tape and fabric together.
  3. Switch to an invisible zipper foot.
  4. Baste the zipper tape in place.
  5. Sew the one side of the zipper tape in place, ensuring the stitches go directly in the groove next to the teeth. Sew from the top of the zipper tape to as far as you can go while staying in the groove.
  6. Repeat Steps 2 to 5 on the other side of the fabric with the other side of the zipper. For Step 3, instead of changing presser feet, adjust your invisible zipper foot for the opposite side.

Whether you’ve sewn invisible zippers before or you’re about to for the first time, the tips above will help make the process easier.

Tips & Tricks | 0 (s)

How To Choose Interfacing and Tips For Attaching It

Interfacing is a type of fabric that’s used to give body or stability to a garment, craft project or accessory. It’s an additional layer that’s hidden inside your project, attached to the fabric, facing or lining that can be the full size of your pattern piece or only a portion of it.

Interfacing gives more durability to your fabric and prevents your project from stretching or distorting in certain areas. You’ll often find interfacing in garment facings, waistbands, pocket edges, collars, cuffs, purses and curtains.

See the types of interfacing listed below to understand how to choose it based on your fabric choice. The amount of stretch in your interfacing should match the stretch of your project fabric. Additionally, the weight of your interfacing should be lighter than or equal to the weight of the fabric you’re using, unless your project dictates something specific, such as a heavyweight interfacing added to a purse.


Types of Interfacing:


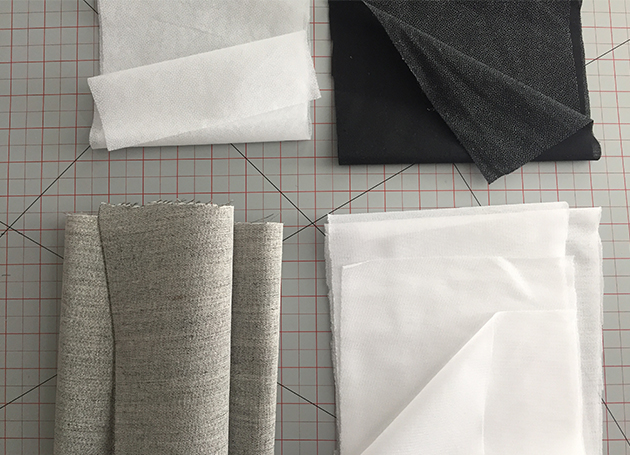
Woven interfacings can be made of synthetic fibres, natural fibres or a blend of fibres and are available in a variety of weights and structures. Woven interfacings tend to be the strongest and longest lasting.


Non-woven interfacing is made of synthetic fibres bonded together in weights ranging from sheer to heavy. It has no grain line, making it the easiest to work with because you don’t have to cut the pieces on-grain.


Knit interfacing (also known as tricot interfacing) has a bit of give and stretch and provides flexibility, making it ideal for use with lightweight knits and woven fabrics.

Interfacing Applications:


In addition to choosing an interfacing type, you’ll also need to choose between iron-on or sew-in applications.


Non-fusible interfacing must be sewn into the garment. This type is permanently basted in place, either by hand or by machine.


Fusible interfacing features an adhesive coating on the wrong side of the interfacing (the little white dots shown in the image below) that will be heat-sealed and adhered to the fabric using an iron.


Sometimes a fusible interfacing won’t bond well with a particular fabric. Other times, a sew-in interfacing may seem a bit too bulky. It’s best to test a scrap of fabric with your interfacing before committing to using it for your project in case you want to make adjustments based on the results.


Interfacing Tips:

  • When cutting woven or tricot interfacing, follow the same grain line rules as when you’re cutting fabric.
  • Trim interfacings to reduce bulk, ensuring the edges of sew-in interfacings will still be caught when sewn.
  • Cut down interfacing corners to further reduce bulk.
  • When attaching fusible interfacing, adhere it (glue-side down) to the wrong side of your fabric.
  • Apply direct pressure from your iron for 10-15 seconds to attach fusible interfacing. If the interfacing doesn’t adhere, adjust the heat and steam settings, slightly.
  • Allow the fabric and fusible interfacing to cool completely before sewing.
Sewing, Tips & Tricks | 0 (s)

What To Look For When You’re Upgrading Your Sewing Machine

Time required: 2 hours

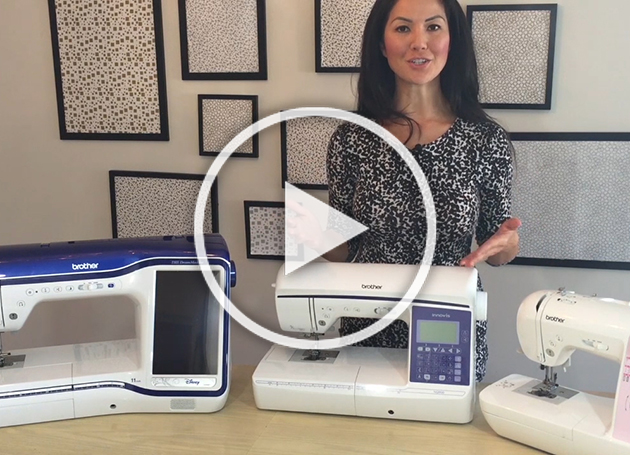
When faced with all the options available, picking out a new sewing machine can seem like a daunting task. Denise Wild is here with a few helpful tips that’ll take the guesswork out of buying the perfect sewing machine for your needs. In this video she explains the different features and functions found in entry level, advanced and top-of-the-line models. Whether you need a machine only a few times a year for basic mending and sewing, or plan on using it much more often for highly detailed sewing, embroidery and quilting projects, she’s got the info to help you buy your ideal machine. Watch the video now. >>>

Tips & Tricks, Videos | 0 (s)

How to Personalize A Kid’s Jacket With Decorative Stitches

Time required: 2 hours

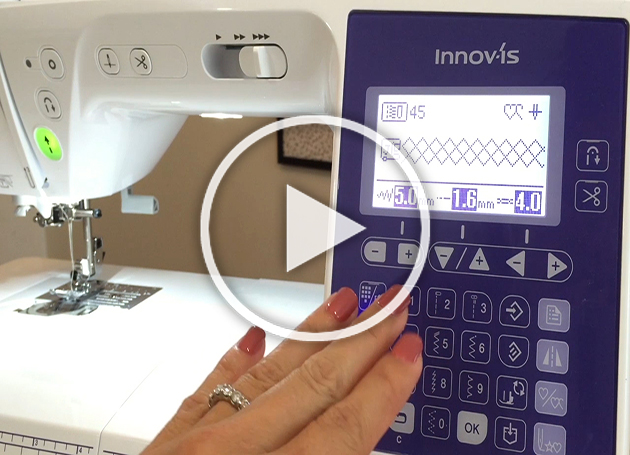
Find out how easy it is to take an already adorable jacket and elevate it to new heights of cuteness with the simple addition of decorative stitches. This video featuring Denise Wild shows you just how quick it is to do when you’ve got Brother’s THE Dream Machine Innov-is XV8500D Sewing, Quilting & Embroidery Machine at your service. Denise walks you through all the user-friendly features you need to add a personalized touch to any of your projects. You’ll see how to navigate the many stitch options, edit, combine and flip stitches and preview stitch placement before you sew a single stitch. Check out the video. >>>

Tips & Tricks, Videos | 0 (s)

How To Sew Stretch Fabrics Without A Serger

Time required: 2 hours

Think you need a serger to sew stretchy materials? Think again. Denise Wild has a few tips and tricks to show you in this simple how-to video. Watch Denise use her Brother NQ900, a ballpoint sewing machine needle and a walking foot to make an easy and adorable dress for her daughter. You’ll learn how a zigzag stitch lets you sew on stretchy fabrics and how when your material stretches, the zigzag does too – something a straight stitch just can’t do. With Denise’s tutorial, you’ll soon be able to transfer your new skills to create your own stylish pieces. Get inspired. >>>

Tips & Tricks, Videos | 0 (s)

How To Make A Zipperless Pillow

Time required: 2 hours

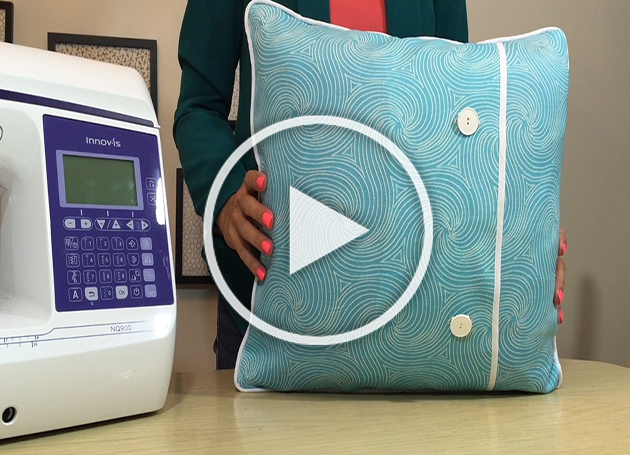
Changing the look of your decor doesn’t have to be hard. Adding a new pillow or two is a simple and inexpensive way to revive any room. This step-by-step tutorial from Denise Wild shows us how fun and easy it is to make a stylish cushion cover featuring a button closure instead of a zipper. With her Brother NQ900 Sewing Machine, Denise demonstrates the simple-to-use one-step buttonhole function found on most of the Q-Series machines. She also shows us how to add piping and a contrast edge as special finishing touches. To update the look of your decor, watch here.

Tips & Tricks, Videos | 0 (s)

Setting Up Your Brother Q-Series Sewing Machine

Congrats on the purchase of your new Q-Series Sewing Machine! If you’re like a lot of people, getting your machine up and running can seem like a daunting task. That’s why Denise Wild has made this easy step-by-step video to take the guesswork out of the process and help you get your machine out of the box and ready to sew! This video shows setup tips and tricks on the Brother NQ900 Sewing Machine but the steps pretty much apply to any Q-Series machine (and any other home sewing machines, really!). Watch now!

Tips & Tricks, Videos | 0 (s)

Discover Brother’s Q-Series Sewing Machines

Check out this video where Denise Wild shares what she loves about our ever-popular Brother Q-Series Sewing & Quilting Machines. Loaded with great features like an impressive array of built-in stitches, buttonholes and fonts, a large arm-to-needle workspace, variable speed control and tons of other amazing functions, it’s no wonder these machines have got her under their spell. Watch Denise walk us through the Brother NQ900 and dish about her favourite features of this machine and the Q-Series in general. One look and you’ll be hooked, too!

Tips & Tricks, Videos | 0 (s)

How I Organized My Home With A P-touch Labeller

As a professional writer who works out of a home office, and a mom with a bustling social life, keeping the house organized has always felt like plate spinning.

label organize brother

At least it did until Brother sent me a P-touch 400AD labeller to test out. I never knew something so small could organize my life in such a big way.

The PT400AD is a portable, handheld unit, smaller than a tablet, with touch keys I can easily tap with my thumbs. It’s super easy to use and addictive. Write a word and the tape pops right out, ready for sticking. The TZe tape is dishwasher proof and can withstand freezers, heat and scrubbing. Plus, it’s flexible: you can use batteries or plug it in. I immediately thought of half-a-dozen things I could organize with the PT400AD. I attacked my freezer first.

The freezer

I swiftly labelled every unidentified frozen leftover and, unlike the masking tape I’d used in the past, the labels stuck right on. The PT400AD handles like you’re texting. A screen display lets you fix typos before wasting tape; the spool design allows any length; and five minutes with the instruction sheet opens the door to 14 fonts, 600 symbols and decorative flourishes.

Before:                                                  After:
Br-freezer-prelabel-300x161  Br-freezer-v2-EN-300x222

The breaker box

The breaker box in my house was a visual mess. Scrawled in pencil, incomplete—even occasionally inaccurate—hitting the right breaker was sheer guesswork. For safety’s sake, it was begging for proper labelling.

Before:                                                   After:
Br breakers pre-labels  Br breakers EN

Spices

Br spices EN
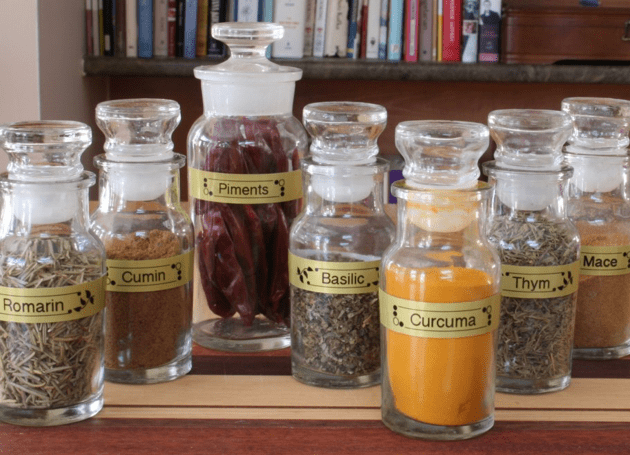
I snagged a bagful of beautiful glass bottles with stoppers a few years ago. My intention was to label them prettily and use them for spices. But, like the handwriting-challenged procrastinator I am, I feared making a mess of them and never got around to it. It was the perfect opportunity to use the PT400AD’s gorgeous gold labels: leaf frame for herbs, bubble frame for spices.

School supplies

Br school supplies
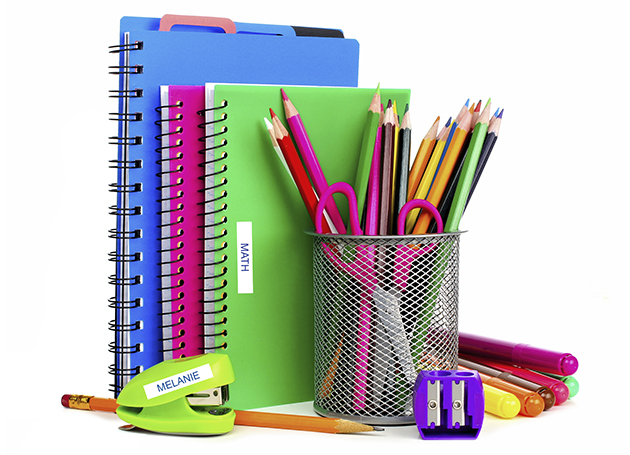
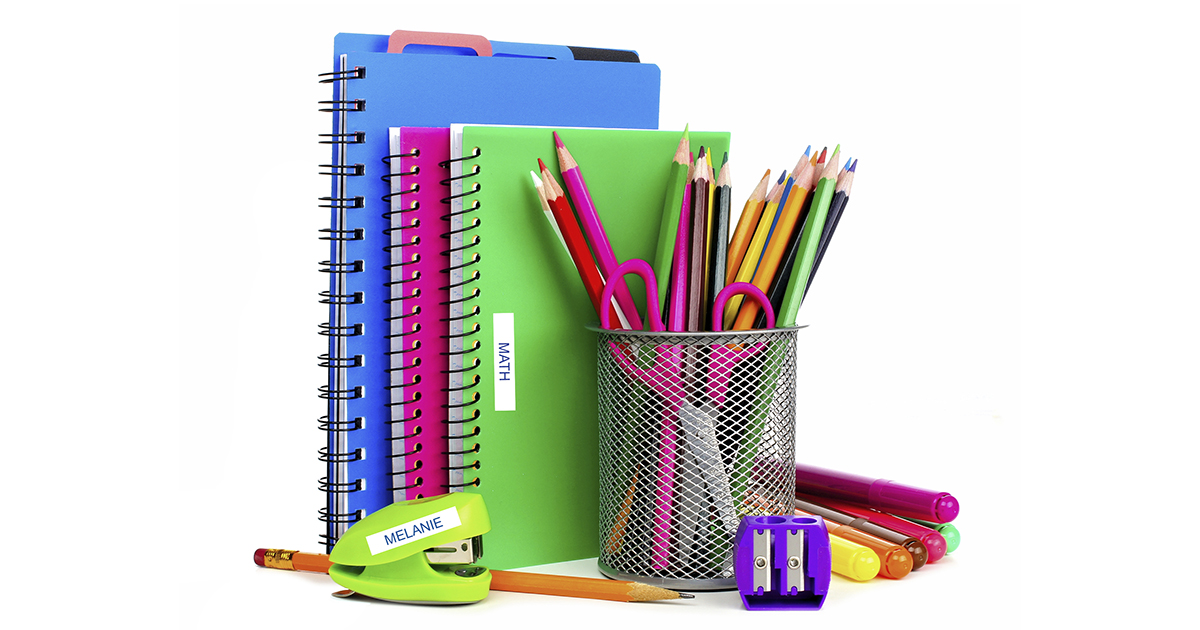
Elementary schools demand labelling of each child’s supplies. It’s a breeze in kindergarten, labelling a few chubby pencils and an eraser. By Grade 5—when coloured pencils, markers, pens, sharpeners, erasers, a geometry set, calculator and ruler have to be individually ID’d—it’s a tedious task that will make you rue the day you named your child Stephanie and not Sue. But it’s a snap for the PT400AD. Repeat a label? Just use the multiple printing function for more copies!

Household finances

Br P90 files EN closeup
My better self would be someone who files important papers regularly, not the current someone who heedlessly jams them into an accordion file. And searching for a particular bill would take seconds, not be an exercise in frustration that involves riffling through a random pile that lacks any order. The simple answer is file folders; the labeller makes them cute, so they’re clearly marked and fun to use.

Bake sales

Br baking EN copy
The PT400AD will be a huge timesaver when I help out at our spring church bake sale. We have to repackage tonnes of baked goods into smaller containers to spur sales. Each packet needs its own label, and those labels can be pretty detailed (like last year’s “Orange, cranberry and white chocolate muffins. No nuts”). This year, the PT400AD will be a big help. Since its memory stores up to 50 completed designs, I can make all my pretty labels in batches.

Just use the multiple printing function for more copies!

Tips & Tricks | 0 (s)

Three In Four Parents Agree: Labelling Rocks

Let’s face it, as a parent, dealing with an over-burdened schedule can be tough. Whether it’s day camp, school or just tidying up the house, the challenges you face organizing your kids’ lives can sometimes feel overwhelming. But in a recent Brother survey, 3 in 4 parents agreed that it doesn’t need to be this way!

The new school year is just around the corner. As much as this is fun and exciting, getting ready for school normally brings on some levels of stress and frenzy in the household. Let’s be honest – there’s a lot to do and to think about. But don’t fret. Organizing the kids for school is easier than you think.

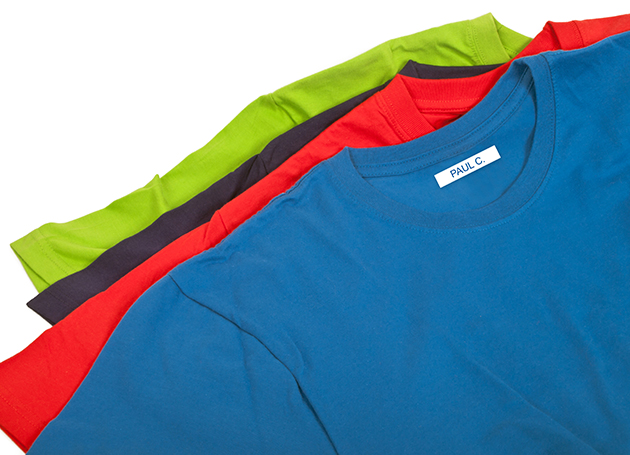
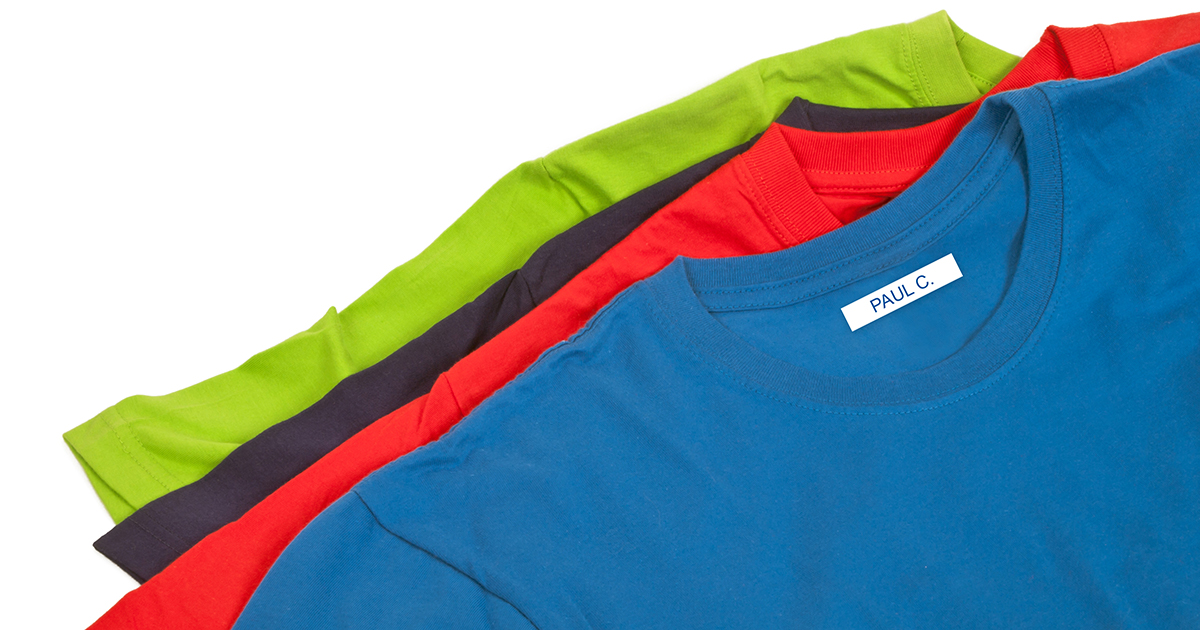
If you’re already imagining your kids coming back from school with personal items and clothes missing, why not label them? Brother carries a variety of P-touch labellers that are affordable and perfect for on-the-go use. P-touch TZe tape conveniently comes in iron-on format and it’s real easy to use:

  • Just type a label, print it and iron it on.
  • The adhesive doesn’t damage clothes
  • And it can stay on for up to 20 washes or more

Shirts, t-shirts, pyjamas, underwear, face and bath towels, socks, shorts pullovers, swimsuits… you name it! Let nothing escape your labelling powers.

Pyjamas, shirts, t-shirts, underwear, face and bath towels, socks, shorts pullovers, swimsuits… you name it! Let nothing escape your labelling powers.

P-touch laminated labels on the other hand, come in all sorts of colours and sizes and are virtually indestructible. They’re great for anything that’s not clothes. Why are they super-tough? Well, they’re scrape-proof, water-proof and U.V. resistant. They’ll easily stick to your child’s belongings all through camp and way beyond. These are essential for things like toiletry kits, flashlights, and medication!

Getting organized this summer by labelling your child’s belongings will help avoid lots of headaches and stress. It might even save you money in the long run as you will avoid lost items!

So start labelling today and share your labelling stories with us on our Facebook Page: www.facebook/BrotherCanada. We would love to see your great labelling ideas and we’re certain our other customers will too!

Enjoy your summer!

Survey source: Survey conducted for Brother Canada by third party.

Want more ideas on how labelling can save you time? Find more here.

Tips & Tricks | 0 (s)

’Tis The Season To Be Busy

If Christmas’s definitely the jolliest time of the year, it’s also the busiest season of the year. No worries, Brother’s got your back! Our early Christmas gift to you: three DIY projects that’ll get you covered and ready to rock it like a Christmas Diva!

Quick & Easy DIY Christmas Cards

Nothing says better “Thinking of you” than a handmade Christmas card. Here are over 50 quick and easy Christmas card templates.

½ Fold Christmas Card Templates

¼ Fold Christmas Card Templates

Personalised 2014 Calendar

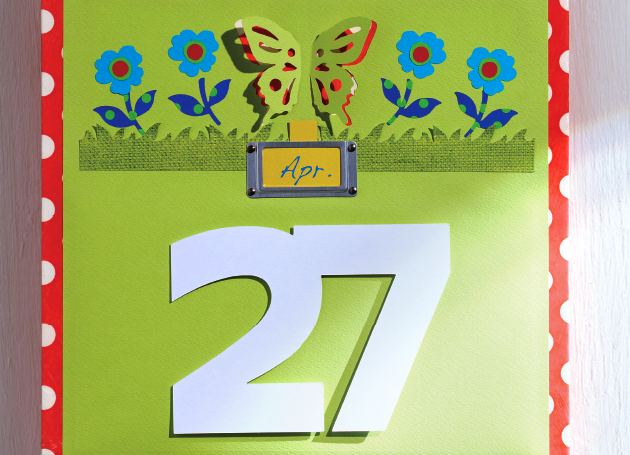
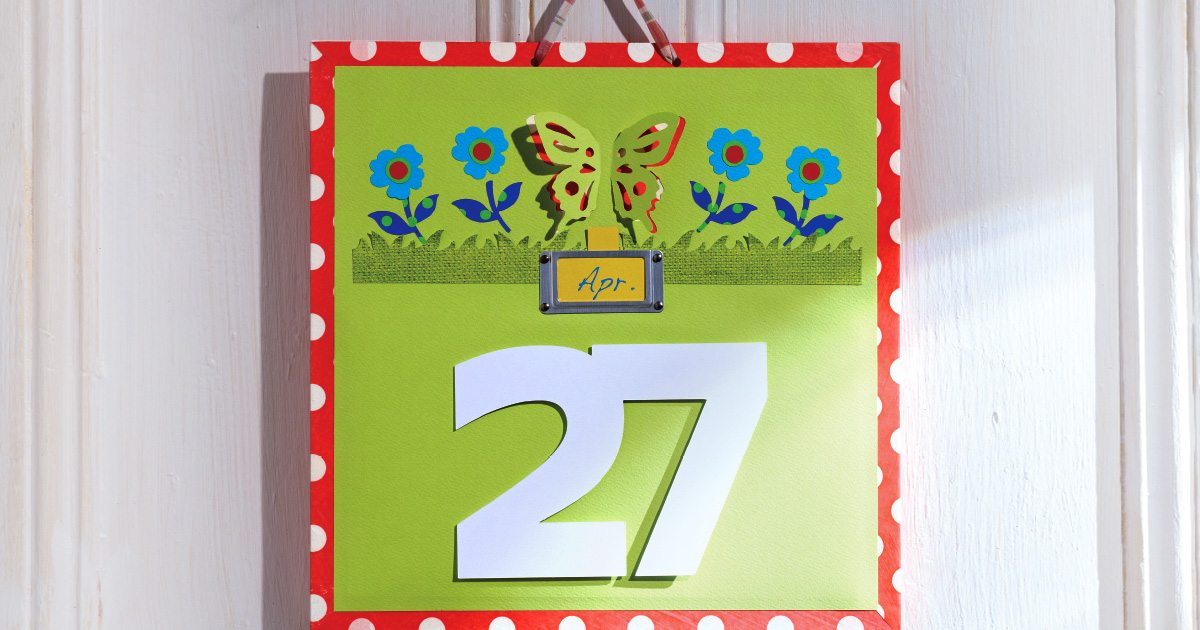
The New Year’s just around the corner and everyone’s going to need a new calendar. So, craft your very own 2014 calendar and offer it as a hostess gift!

Calendar Project

Download instructions to create your calendar.

Homespun Holiday Banner

Time to deck the halls and get your home all cozied up for Jack Frost’s arrival! Follow these easy steps to create a fabric banner that’ll greet family and friends as they enter your home.

Homespun Holiday Banner

Now, just remember to put on a smile! Because ’tis the season to be jolly…Fa la la la la, la la la la.

Wishing you Happy Holidays and a Happy New Year from the Brother Family!

Crafting, Tips & Tricks | 0 (s)

P-touch® Labellers – No Sock Left Behind!

It’s summer camp season. Are you already imagining your kids coming back from camp with clothes missing? Why not label them? (Their clothes, not them).
P-touch® labels are ideal for this.

Here’s why :

1. P-touch® TZe tape comes in iron-on format and is easy to use:

o Just type a label, print it and iron it on.
o The adhesive doesn’t damage clothes
o And it can stay on for 20 washes or more.

Pyjamas, shirts, t-shirts, underwear, face and bath towels, socks, shorts, pullovers, swimsuits… let nothing escape your labeling, and your smile will be even bigger you’re your little campers come home!

2. P-touch® laminated labels on the other hand are great for anything that’s not clothes. They’re super-tough: scrape-proof, water-proof and U.V. resistant. They’ll easily stick to your child’s belongings all through camp and way beyond.

Enjoy your summer!

For more information on Brother labellers and tapes, just visit http://brother.ca

Tips & Tricks | 0 (s)