
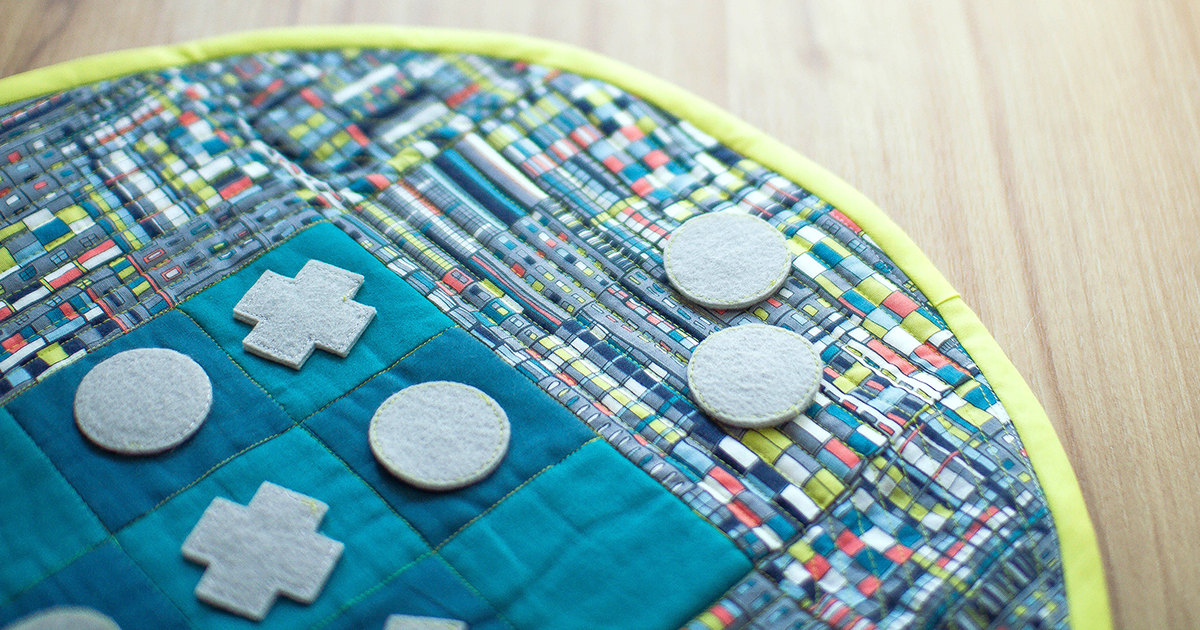
Magnetic Quilted Tic-Tac-Toe Board
Materials
• Brother ScanNCut Machine
• Brother Standard Mat (model CAMATF12) and Fabric Support Sheet (model CASTBL2)
• Brother Pen Holder (model CAPENHL1) and Fabric Pen (model CAPEN2)
• Brother Standard Blade (model CABLDP1) and Carriage (model CAHLP1)
• Iron-on Fabric Appliqué sheet (CASTBL1)
• Quilting Cotton Poly Felt
• Quilt Batting
• 9-10 magnets (I used 1/4” x 1/16”)
• Pieces: 1.5” in diameter for both “O”s and “X”s
• Board squares: 2.8” each
• Curved corner: 8.5” x 8.5”
• Rectangle: 5” x 7”
• Triangles: 5.58” x 5.58”
• Brother Sewing Machine
• Thread
(Be sure to check out the Iron-On Adhesive Patterns at the end of this project!)
Step 1.
Begin by prepping your materials. Trim your fabrics down to a size that fits on the mat. Place the Fabric Support Sheet onto the mat (glossy side down). Remove the protective blue sheet when you are ready to use. (See Figure #1)
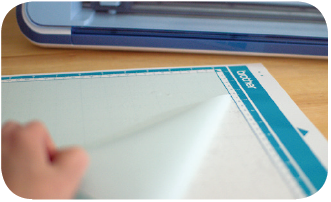
Figure #1
Step 2.
Begin by marking seam allowances. (See Figure #2)

Figure #2
Step 3.
Place fabrics on the mat. Use the “Background Scan” function to see exactly where the fabrics are placed. (See Figure #3)

Figure #3
Step 4.
Arrange the tic-tac-toe squares on the screen, using the “Background Scan” image as your guide. (See Figure #4)
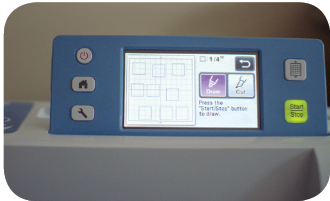
Figure #4
Step 5.
Begin first by marking seam allowances. Next, cut out your fabrics. (See Figure #5)

Figure #5
My Settings:
• Blade depth: 3.5
• Blade pressure: 5
• Blade speed: 1
Step 6.
Continue with the perimeter fabric pieces of the board. (See Figure #6)
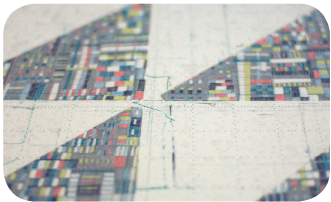
Figure #6
Step 7.
Begin piecing your quilt. Start with the tic-tac-toe grid by piecing in strips (three across). Then sew the strips together. You can either press seams to the side or make open. (See Figure #7)
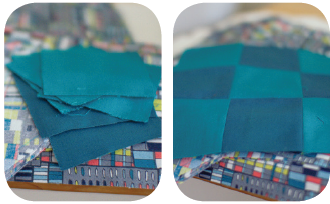
Figure #7
Step 8.
When you’ve finished piecing the top, attach the magnets that you will pocket inside. (See Figure #8)
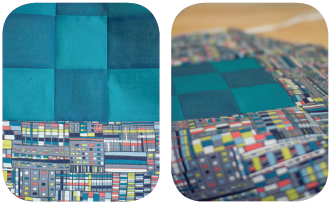
Figure #8
Step 9.
Cut a piece of quilt batting that is the same size as your tic-tac-toe grid. Measure a grid matching your quilted grid. (See Figure #9)
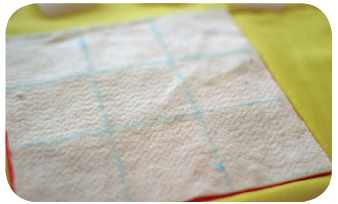
Figure #9
Step 10.
Using scrap quilting cotton, iron the Iron-on Adhesive to one side. Cut out the magnet squares from the pattern download. (Use the Standard Mat with the Iron-On Adhesive placed down. You can use the same settings that were used for the quilting cotton.) (See Figure #10)
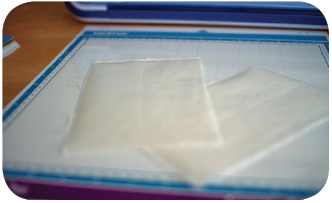
Figure #10
Step 11.
Place the magnets in the center of each tile. (See Figure #11)
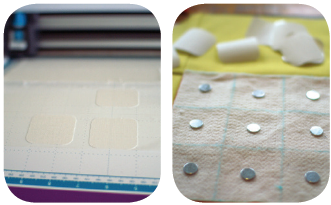
Figure #11
Step 12.
Iron the magnet squares over the top of each magnet to hold in place. (See Figure #12)
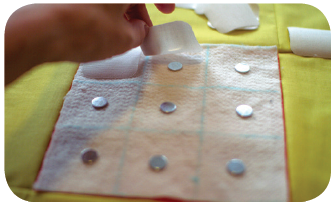
Figure #12
Step 13.
Place the magnet grid batting-side up under your quilt. Place another, larger piece of batting under it. Complete the quilt sandwich with a large piece of quilting cotton at the bottom. (See Figure #13)
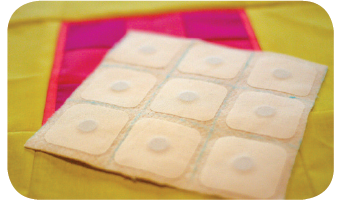
Figure #13
Step 14.
Quilt the sandwich using your Brother sewing machine. (If you have a Walking Foot, use it!) (See Figure #14)
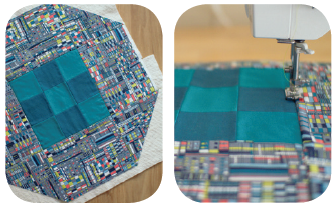
Figure #14
Step 15.
Now cut out your playing pieces from stiff poly felt. (See Figure #15)
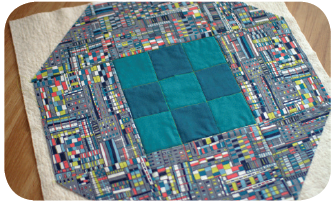
Figure #15
Step 16.
Place the felt on your Standard Mat with the Fabric Support sheet in place. Remember, if you have a lot of fuzzies and frays, use an alcohol-free and scent-free baby wipe to remove them to clean your mat. (See Figure #16)
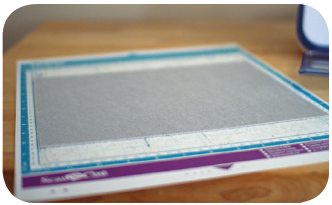
Figure #16
Step 17.
Use “Background Scan” for scanning your felt and then place the pattern pieces on it. (See Figure #17)

Figure #17
Step 18.
Change your settings, sit back, and let your ScanNCut do the work! (See Figure #18) In “Cut” Settings, set the following parameters:
• Blade Depth: “8”
• Blade Pressure: “’9”
• Blade Speed: “1”
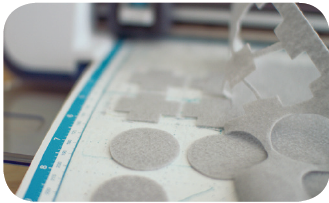
Figure #18
Step 19.
Sandwich a small magnet between the two layers and sew the perimeter. (See Figure #19)
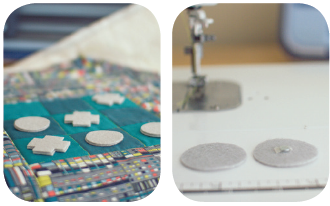
Figure #19
Step 20.
Next, take the circular template and cut from a piece of cardstock or large paper. Using the template, measure and mark the centre on your quilt and also mark the circular perimeter. Cut and discard scraps. (See Figure #20)
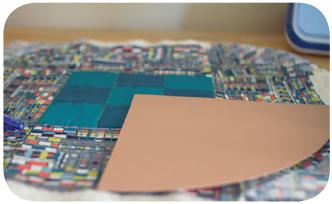
Figure #20
Step 21.
Now it’s time to add the binding. (See Figure #21)
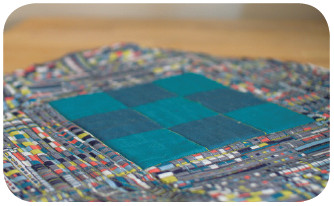
Figure #21
Step 22.
Bias tape is a great way to bind curved edges. See how to bind using bias tape here. (See Figure #22)
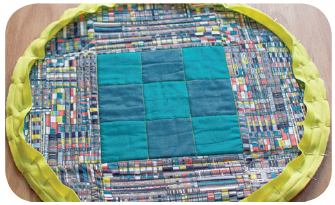
Figure #22
Step 23.
Sandwich a small magnet between the two layers and sew the perimeter. (See Figure #23) Attach a large hair elastic at the edge. To roll game, fold in two sides and roll towards the elastic. Use the elastic to keep your game rolled up.
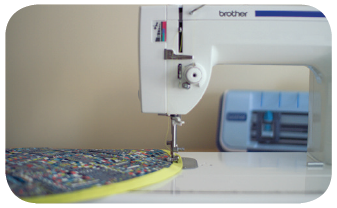
Figure #23
Ready? Set? Go! Enjoy a great game of tic-tac-toe on your awesome, quilted tic-tac-toe board.
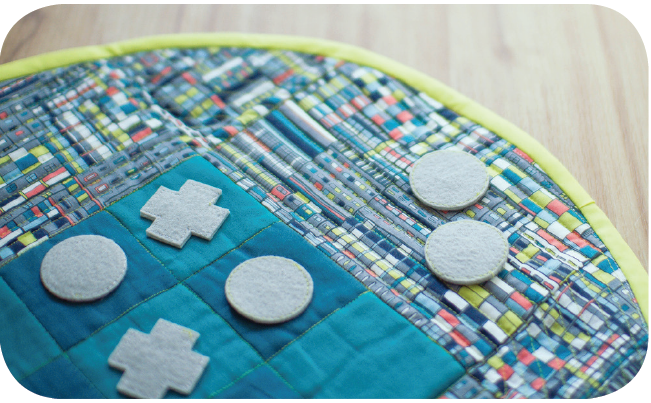
Figure #24
About Brother
Brother shares your passion, so, we’ve created this blog as a place where you can find inspiration from our many exciting sewing, quilting, embroidery, cutting and crafting projects. We develop tutorials that range from beginner to expert so there’s something for everyone’s specific interests and skills. Try something new, today!You Might Also Like


Embroidery:Easter Egg Placemats