Coussin à franges

[vc_row][vc_column][vc_column_text]

Temps requis : 45 minutes

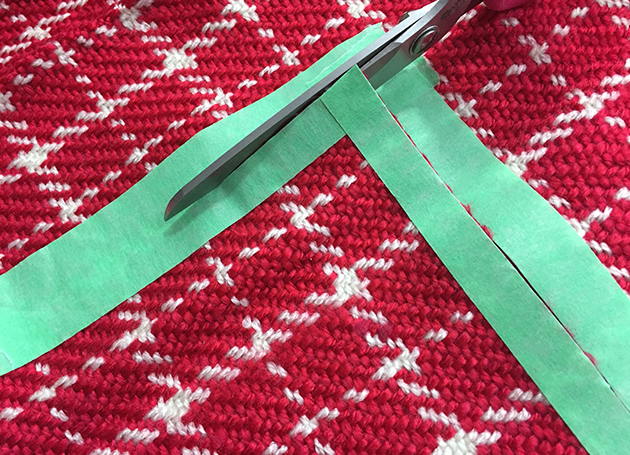
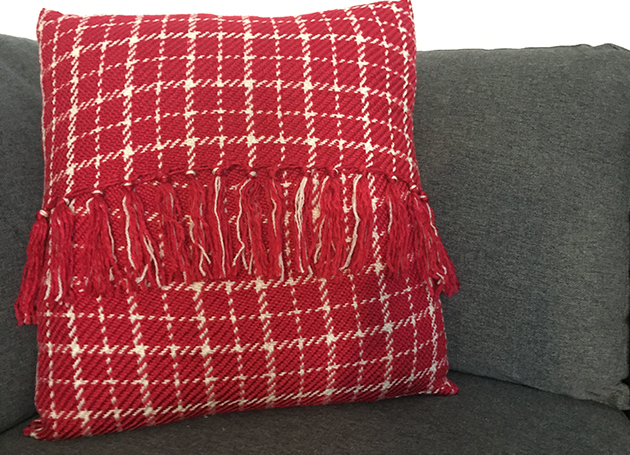
[/vc_column_text][vc_column_text el_class=”greytext”]Créez rapidement un coussin à franges à partir d’une couverture, sans même avoir besoin de fermeture éclair! Transformez une couverture que vous venez tout juste d’acheter, que votre grand-mère vous a donnée, ou que vous avez dénichée dans une friperie en un accessoire qui rehaussera votre décor. Le truc pour travailler avec un tissage lâche est de s’assurer que le tissu ne s’effiloche pas en le coupant. Mais comment? En utilisant du ruban![/vc_column_text][/vc_column][/vc_row][vc_row][vc_column][vc_single_image image=”11875″ img_size=”full”][/vc_column][/vc_row][vc_row][vc_column][vc_column_text]

Matériel requis

• Machine à coudre et surjeteuse (optionnel) Brother (ce projet a été réalisé avec La Machine de rêve et la surjeteuse 4234DT)
• Fil blanc
• Couverture à franges
• Coussin carré
• Ruban à mesurer flexible
• Ciseaux à tissu
• Ruban de peintre ou ruban protecteur à masquer[/vc_column_text][/vc_column][/vc_row][vc_row][vc_column width=”1/2″][vc_single_image image=”11881″ img_size=”full”][/vc_column][vc_column width=”1/2″][vc_single_image image=”11879″ img_size=”full”][/vc_column][/vc_row][vc_row][vc_column][vc_column_text]

Instructions:

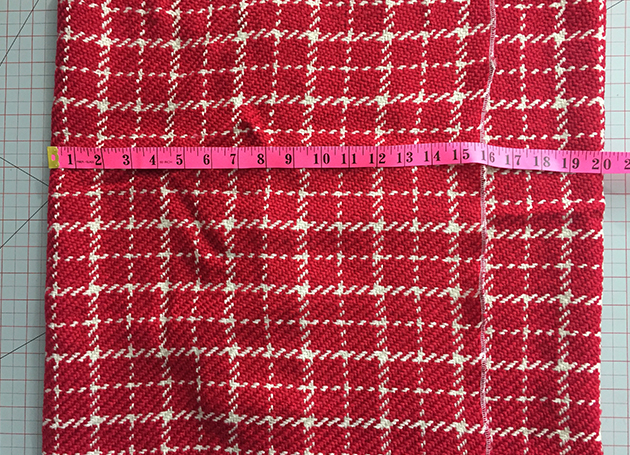
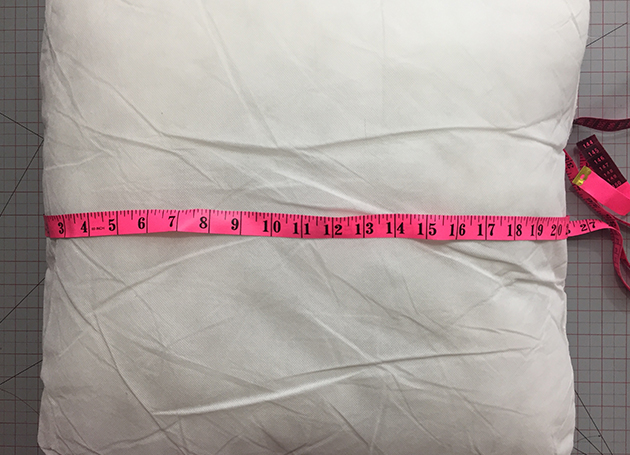
  1. Mesurez la largeur du coussin d’une couture à l’autre, et écrivez la mesure suivante : largeur du coussin (l); et largeur du coussin multipliée par 2,5 (L).

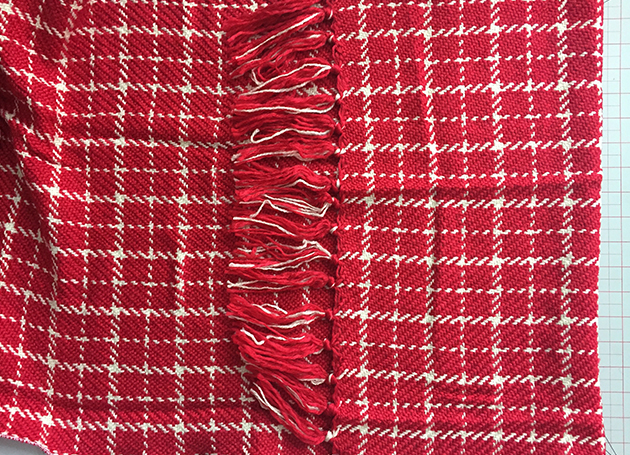
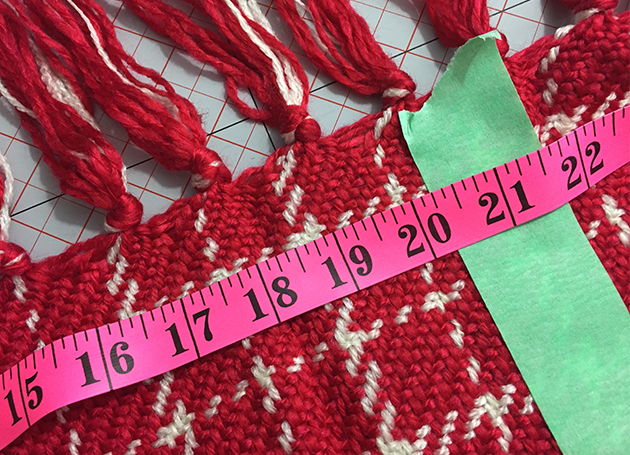
2. Utilisez le ruban de peintre pour créer une pièce dont les dimensions correspondent à celles déterminées à l’étape 1 sur la couverture en vous assurant que le ruban est placé à l’intérieur de la pièce. Assurez-vous que les franges de la couverture soient positionnées sur l’un des côtés courts de la pièce.

3. Coupez la pièce dans la couverture en coupant sur le ruban pour que le tissage demeure intact. Coupez tout le contour de la pièce.

4. Faites des surjets sur tout le contour de la pièce, en retirant le ruban de peintre au fur à mesure. Si vous n’avez pas de surjeteuse, utilisez votre machine à coudre et faites une couture en zigzag sur tout le contour, puis retirez le ruban de peintre. (Le point zigzag empêchera les mailles du tissu de se défaire.)

5. Pliez le côté court orné des franges vers le centre de la pièce, environ à la moitié de la largeur du coussin.

6. Pliez l’autre côté de la pièce jusqu’à ce que la largeur soit identique à celle du coussin à recouvrir.

7. Coudre les deux côtés qui n’ont pas été pliés dans la partie la plus épaisse au moyen d’un point zigzag large.

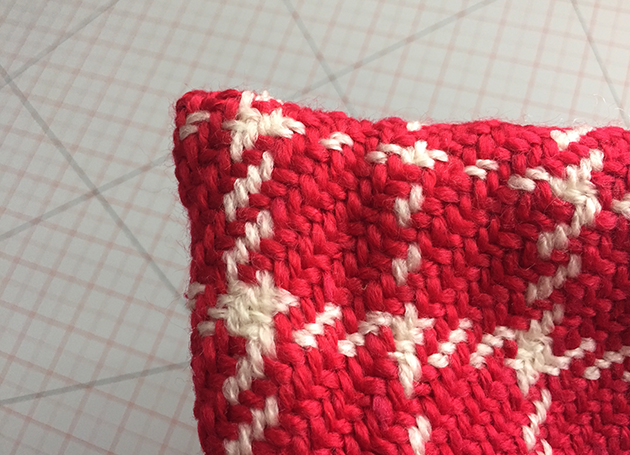
8. Retournez la housse de coussin à l’envers et en vous assurant de bien mettre en forme les coins.

9. Insérez le coussin dans votre nouvelle housse de coussin à franges, et profitez de la douceur et du confort de votre nouveau coussin.
[/vc_column_text][/vc_column][/vc_row][vc_row][vc_column][download_button text_link=”url:http%3A%2F%2Finspiration.brother.ca%2Fwp-content%2Fuploads%2F2018%2F01%2F18_0007-HAD_Blog-Post_Sewing-project_Fringe-pillow_EN.pdf|title:T%C3%A9l%C3%A9charger%20le%20projet%20PDF||”][/vc_column][/vc_row]
Couture | 0 (s)

About Denise Wild

Experte de la couture et de l’artisanat, Denise Wild met à profit son enthousiasme et son savoir-faire pour préparer des tutoriels faciles pleins de trucs et astuces pour la réalisation de projets simples et élégants. Fondatrice du magazine LoveSewing, elle en est la rédactrice en chef, en plus d’être porte-parole de marque, animatrice télé et auteure. Elle souhaite vous inspirer à créer vos propres projets et à y mettre votre touche personnelle. Vous trouverez le site Web de Denise à denisewild.com; sur les réseaux sociaux @medenisewild.

Fringed Blanket Pillow

[vc_row][vc_column][vc_column_text]Time required: 45 minutes[/vc_column_text][vc_column_text el_class=”greytext”]Turn a blanket into a beautiful part of your decor with this quick-sew, zipper-free, fringed pillow project. Whether it’s a blanket you just bought, something that was passed down to you from a loved one or something you found at a thrift shop, the end result will be fabulous.[/vc_column_text][/vc_column][/vc_row][vc_row][vc_column][vc_single_image image=”11875″ img_size=”full”][/vc_column][/vc_row][vc_row][vc_column][vc_column_text]Supplies:

  • Brother Sewing Machine and Serger (optional). This project was made on The Dream Machine and the 4234DT Serger.
  • White thread
  • Fringed blanket
  • Square pillow insert
  • Flexible measuring tape
  • Fabric scissors
  • Painter’s tape or masking tape

[/vc_column_text][/vc_column][/vc_row][vc_row][vc_column width=”1/2″][vc_single_image image=”11881″ img_size=”full”][/vc_column][vc_column width=”1/2″][vc_single_image image=”11879″ img_size=”full”][/vc_column][/vc_row][vc_row][vc_column width=”1/2″][vc_column_text]Tip:

When working with a loose weave, put tape on your cut line before cutting to ensure the blanket’s threads don’t unravel.[/vc_column_text][/vc_column][vc_column width=”1/2″][/vc_column][/vc_row][vc_row][vc_column][vc_column_text]Instructions:

1. Measure the pillow width from seam to seam and write down the following dimensions:

  • The pillow width (w)
  • 5 x that measurement (l)

2. Use painter’s tape to outline the dimensions from step 1 directly on the blanket, keeping the tape to the right of those dimensions. Be sure to include the fringed side of the blanket as one of the short ends.


3. Cut the blanket piece directly through the painter’s tape; this keeps the blanket’s weave intact. Cut around the entire outline.

4. Serge the perimeter of the blanket piece, cutting off the painter’s tape as you serge. If you don’t have a serger, use your sewing machine to sew a wide zigzag instead, then cut off the painter’s tape. (The zigzag stitch will prevent the blanket’s threads from unraveling.)

5. Fold the short, fringed end toward the centre of the blanket piece, approximately half of the width of the pillow insert.

6. Fold the other short end of the blanket piece in until the total width of the blanket piece is reduced to the width of the pillow insert.

7. Sew the two unfolded sides of the pillow through all thicknesses using a wide zigzag stitch.

8. Flip the blanket pillowcase right side out, making sure you poke out the corners.

9. Stuff the pillow insert into the cover.

Enjoy snuggling up in comfort and style with your new, fringed blanket pillow!

[/vc_column_text][/vc_column][/vc_row][vc_row][vc_column][download_button text_link=”url:http%3A%2F%2Finspiration.brother.ca%2Fwp-content%2Fuploads%2F2018%2F01%2F18_0007-HAD_Blog-Post_Sewing-project_Fringe-pillow_EN.pdf|title:Download%20PDF%20Project||”][/vc_column][/vc_row]

Sewing | 0 (s)

About Denise Wild

Sewing, crafting and DIY expert, Denise Wild combines her enthusiasm and expertise to create easy-to-follow tutorials for simple, stylish projects that showcase valuable tips and tricks. Founder of LoveSewing magazine, Denise is also a brand spokesperson, TV host, author and magazine editor. Get inspired to create your very own projects with personalized style. Learn more about Denise at denisewild.com or follow her on Facebook at @medenisewild.