
Thread-Painted Fantasy Flower Pillow
Finished Measurements: 20” by 20”
Cutting and Sewing Time: 3 hours
If you’re new to free-motion sewing, this is a perfect project to start on. You’ll embellish a canvas (your pillow top) by, basically, painting it with thread!

This project uses Brother’s new Free-Motion Kit for the PRS100. The kit lets you easily do free-motion embroidery, sewing and quilting. You get the freedom to control and guide your work with a hoop. As you “paint with thread,” you’ll gain confidence and improve your skills.
The end result? A whimsical raw-edge appliqué pillow—a perfect gift for Mom. (But the project’s so much fun, we’re sure you’ll want to make more pillows for yourself—and for everyone you know!)
Materials and Supplies
- Brother PRS100 Embroidery Machine
- Brother Free-Motion Kit (Model# PRSFMK1C)
- Brother Sewing Machine
- Brother ScanNCut
- Brother embroidery and bobbin thread
- Iron for pressing
- Variegated assorted thread (rayon or polyester) for thread painting
- Fabric for front and back of pillow top
- Assorted fabric scraps for flowers, leaves, stems and bird
- Brother Iron-On Fabric Appliqué Sheet (CASTBL1)
- Lightweight quilt batting 1 piece, size of pillow front
- Brother fusible stabilizer (Model# SA519)
- Purchased pillow form
- Spray baste (optional)
Instructions
1. Measure pillow form to determine size of fabric for front and back of pillow. Fabric for front of pillow should be 3” longer on each side than the pillow form. Fabric for back of pillow should be 6” longer than pillow form and 1” wider than pillow form.
Note: Cut fabric for back of pillow into two sections so that one piece is cut ¾ the height of the pillow. This will allow you to position the back with an overlap to form an envelope-type closure for the pillow.
2. Cut fabric for front of pillow; cut stabilizer and quilt bat to desired size (see step 1).
3. Fuse stabilizer to wrong side of fabric for front of pillow.
4. Stack quilt batting and fabric for front of pillow.
Note: You may want to spray baste your layers together to prevent slipping of fabric layers when stitching.
5. Prepare fabric for cutting with the ScanNCut by ironing appliqué material to the back of all fabric that will be cut. (That includes flowers, leaves, bird, etc.)
6. Select flowers and leaves you’d like to cut from the built-in designs on the ScanNCut. (I used an assortment of flowers and leaves for variety. I also added a bird created from a built-in pattern.)
7. Place fabric on ScanNCut mat; cut desired flowers and leaves
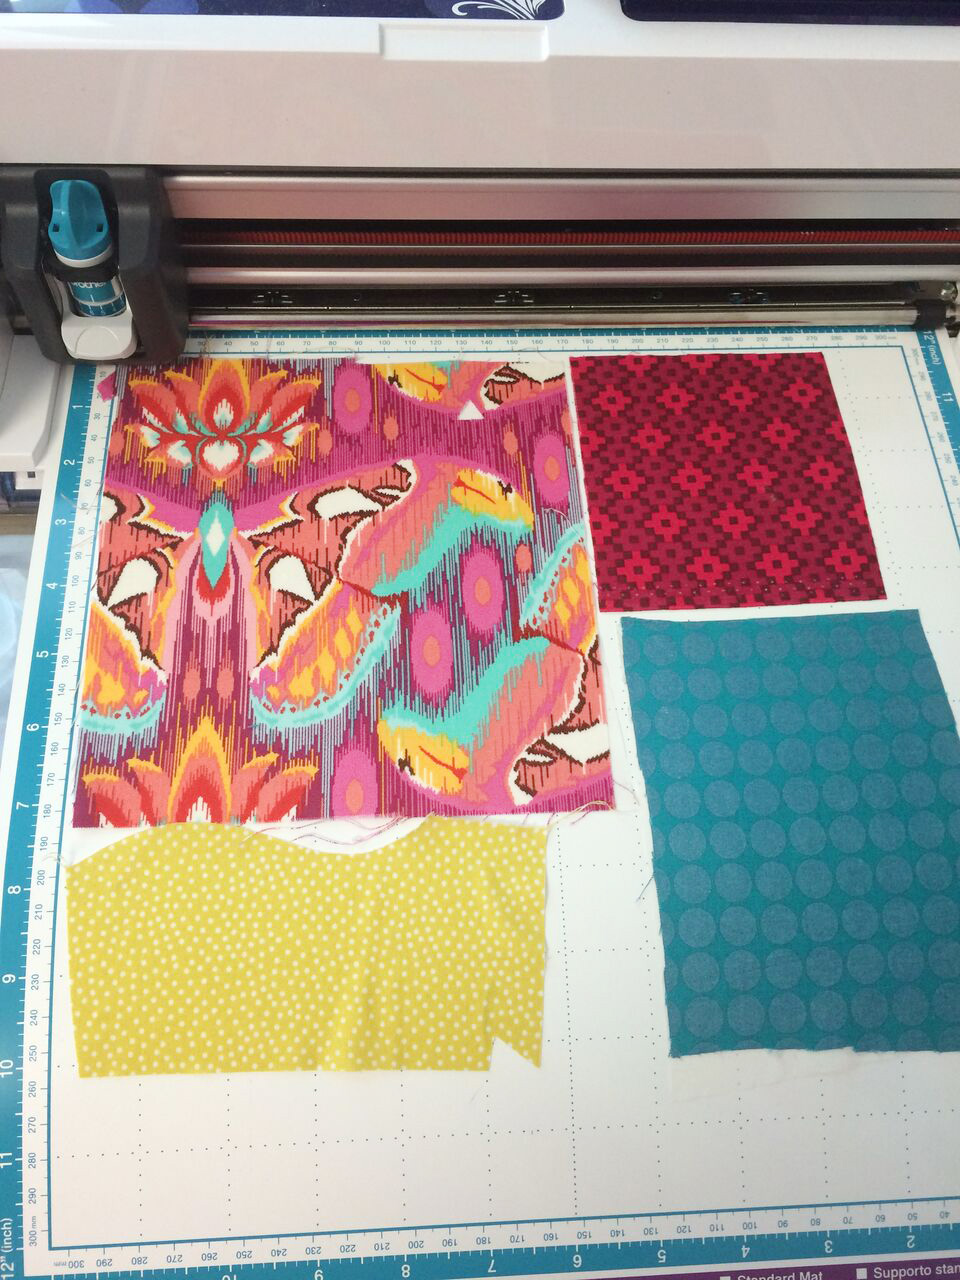
Place fabric on the ScanNCut mat.
Note: The size of your pillow will help you determine the number of flowers you use. I suggest using an odd number (i.e. 5 or 7).
8. Flower stems can be cut with the ScanNCut or free-form cut.
9. Adhere flowers, stems and leaves to pillow front by pressing with an iron.
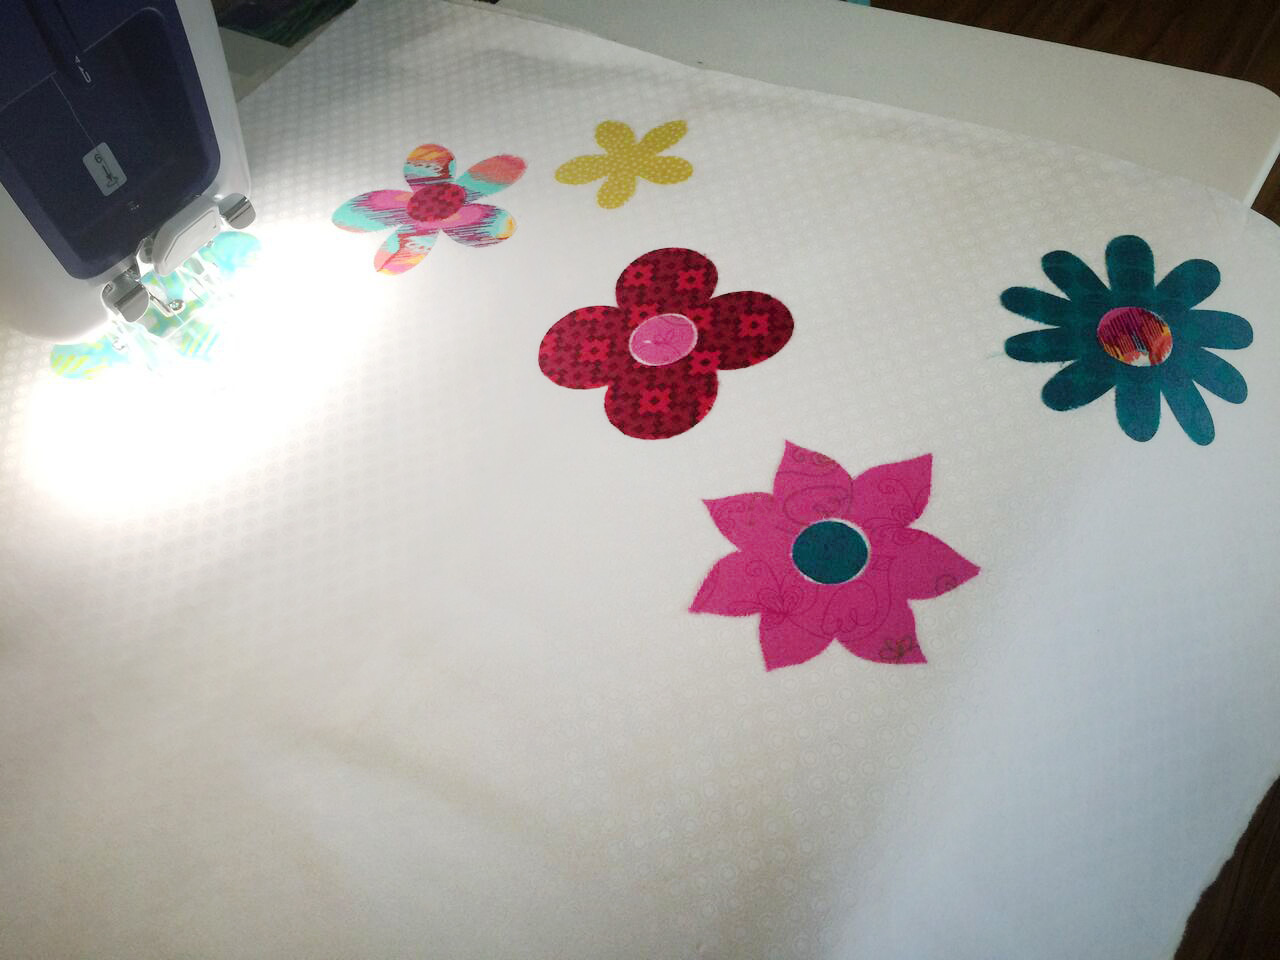
Add colourful flowers to your fabric.
Preparing the PRS100 for Free-Motion Embroidery mode
1. Attach needle guard.
2. Attach embroidery frame holder.
3. Wind bobbin with appropriate thread.
4. Place bobbin in bobbin case provided with Free-Motion Kit and place in PRS100.
5. An icon will appear on the main screen for free-motion embroidery.
6. Select the icon. The embroidery frame holder will move out of the way.
Note: Full instructions on set-up are provided with the Free-Motion Kit.
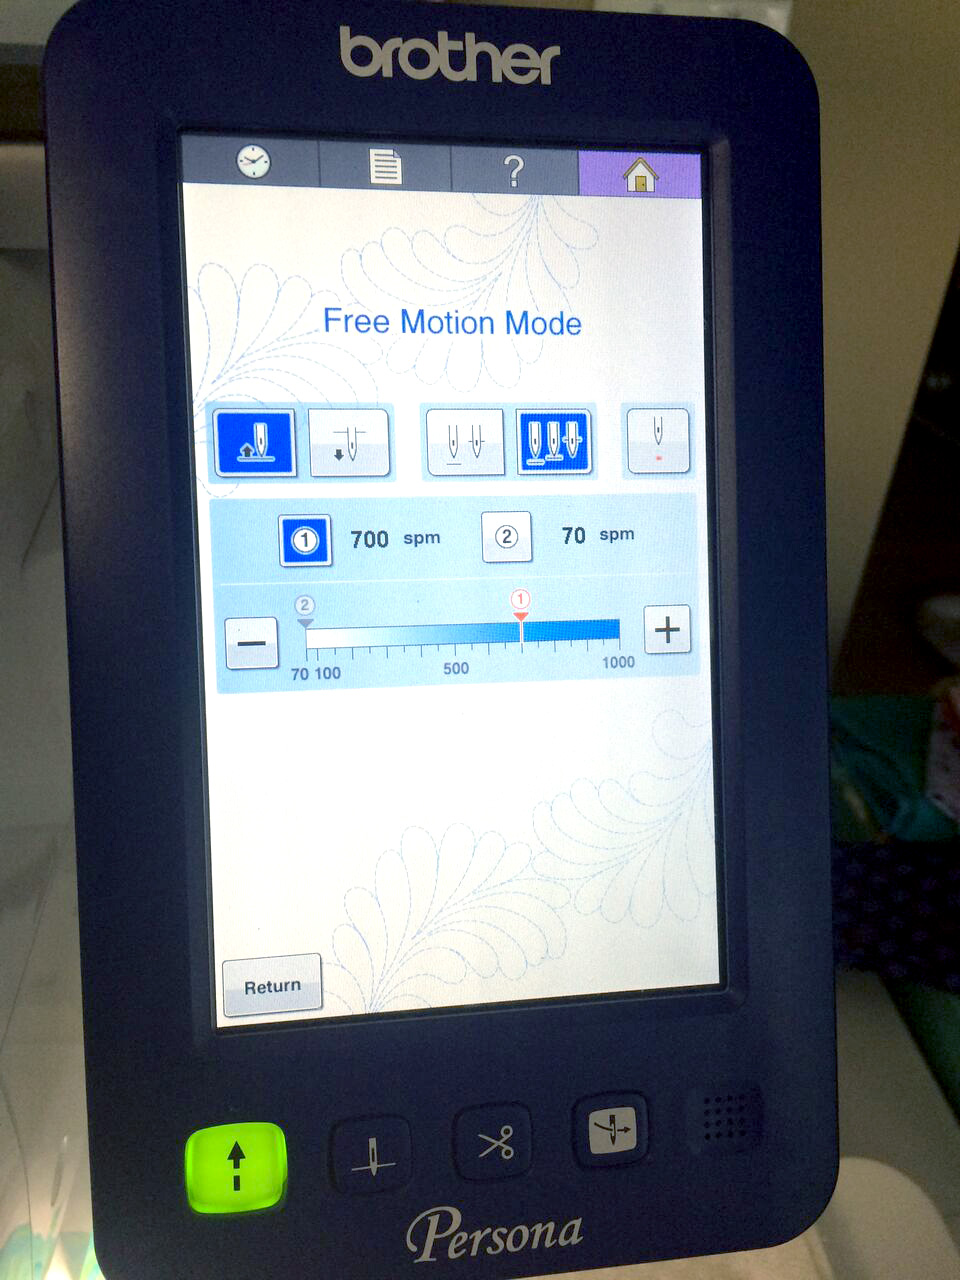
The new free-motion screen display.
Thread Painting
Note: Practice before you begin your pillow canvas. Use the scraps from your ScanNCut, or cut an extra flower or two so you can experiment with your stitching, thread painting and thread choices.
1. Activate the laser light by pressing the icon on the screen. The light shows you the exact location of your needle.
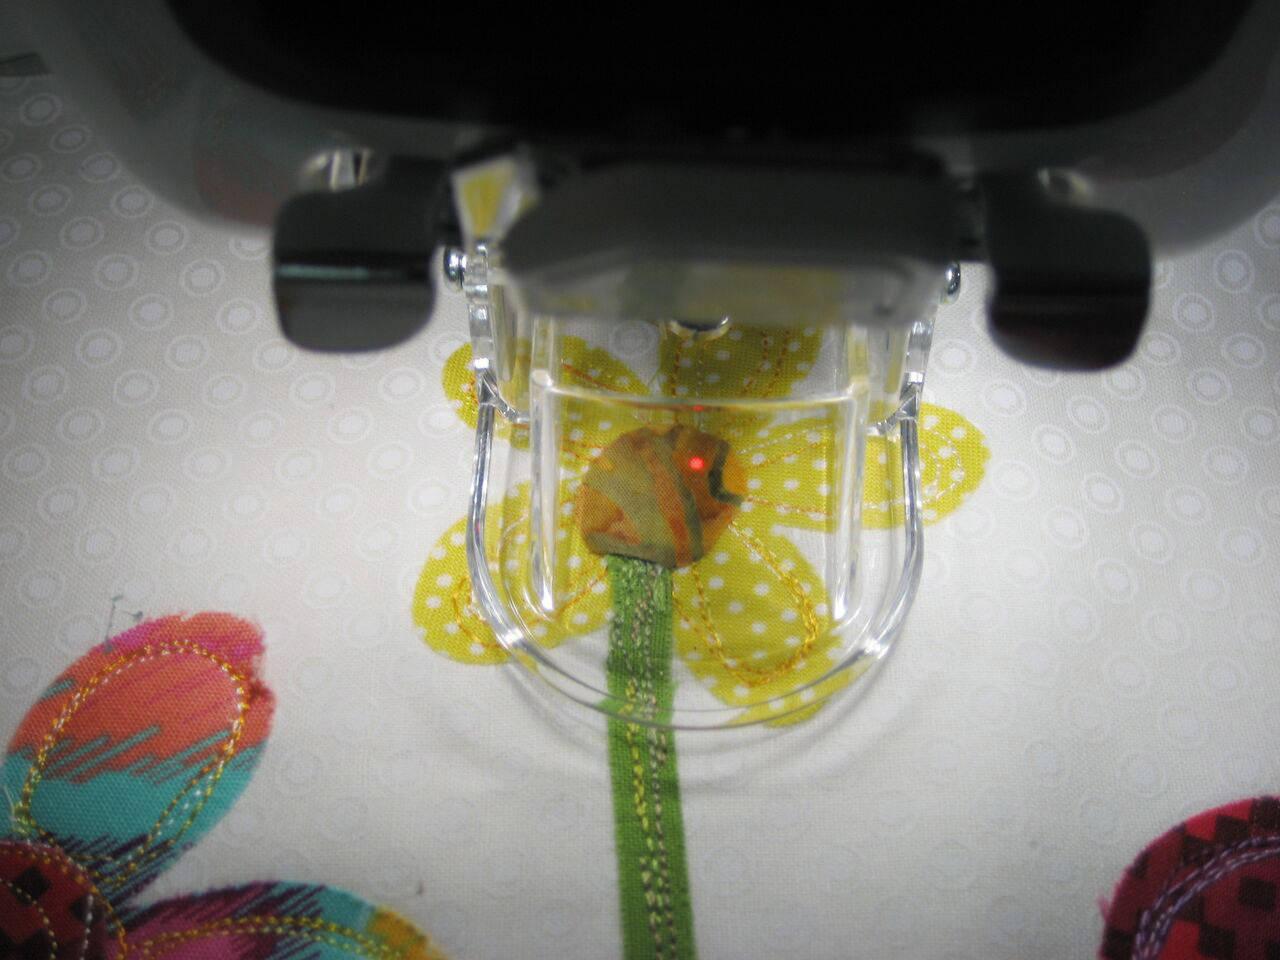
The light shows you the exact location of your needle.
2. Begin thread painting flowers. Start by stitching a row of stitches around the inside edge of each flower. I stitched around each flower at least 3 times so the thread would be dense. Don’t worry if your stitches aren’t even—as you stitch, you’ll add dimension and texture to the flower.
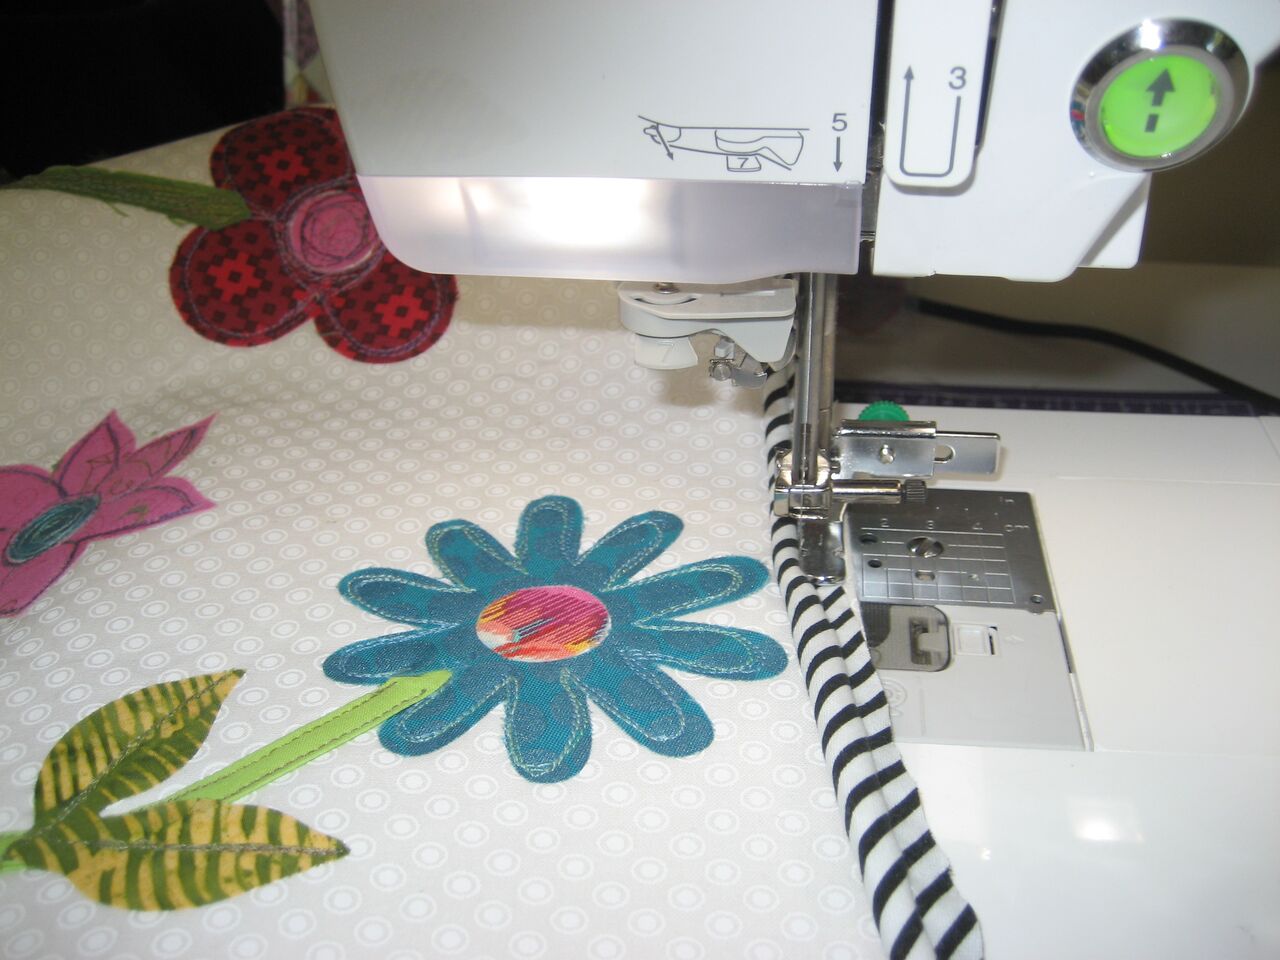
3. Continue to thread-paint the flowers. Stitch swirls or short back-and-forth jagged lines on the flower petals, leaves and stems.
4. Change thread colour to add variety and vary the look.
Additional Optional Design Ideas
1. Once you’ve completed thread painting, you may wish to use the PRS100 and Free-Motion Kit to add stippling around the flowers.
2. Add piping or a flange to the outside edge of the pillow front.
3. Add birds or butterflies.
4. Add buttons to centres of the flowers.
5. Add stippling around the flowers.
Assembling the Pillow
1. Using a rotary cutter and ruler, square the pillow front to fit the size of the pillow form.
2. Layer the two back panels over the right side of the pillow front, overlapping the folded edges to create an envelope for the back.
3. To finish, sew the pillow front and back together using a ½-inch seam allowance. Trim corners, turn right-side-out, press, and insert pillow form.
About Lynn Swanson
Bringing her undeniable passion to everything she does, Lynn Swanson is an enthusiastic quilter, sewer, embroiderer and crafter who explains her projects in a fun and easy way. Lynn’s eagerness to embrace new technology has made her a treasured resource for teaching crafting and sewing fanatics everything they need to know about Brother machines and design software as one of Brother’s educators. Check out her tutorials and catch her creativity bug!You Might Also Like

Crafting:’Tis The Season To Be Busy
Embroidery:Over-The-Top Holiday Sweater!