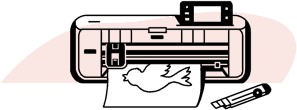

Rockin’ T-Shirt
You’re creative. You’ve got great ideas. Turn a simple T-shirt into a canvas of personal expression with the ScanNCut. Let your inner fashion designer loose with this fun and easy project!
Materials
• Brother ScanNCut machine
• T-shirt
• Fabric
• Iron-on fabric appliqué contact sheet
Step 1
Find a T-shirt, tank, maxi dress, etc., of your choice.
Step 2
Choose a medium-sized shape (we chose triangles). Adjust the size according to the proportions of your garment. Select an even number to duplicate as many as you like. The more shapes you have, the more options you’ll have to create a great mosaic pattern.
Step 3
Choose a small-sized shape. Adjust the size to the proportions of your garment. Select an even number to duplicate that is more than what you selected for the medium shapes. With these smaller pieces, you can add more detail to your design.
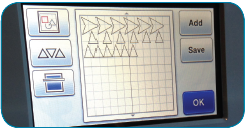
Step 4
Choose a large-sized shape. Once again, adjust the size to the proportions of your garment. Select an even number to duplicate that is less than what you selected for the medium shapes. These will serve as anchors and focal points in your design, so you don’t need as many.
Step 5
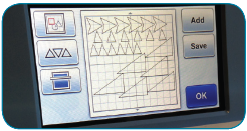
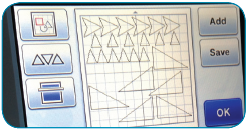
If you’ve chosen any asymmetrical pieces, you’ll need to mirror half of the number that you selected for each size. This will allow you to create a mirrored, symmetrical design on your garment.
Step 6
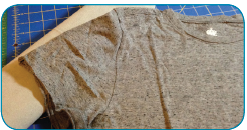
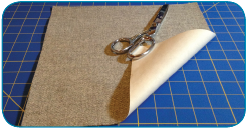
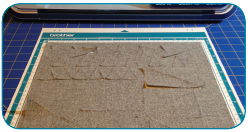
With a fabric of your choice, cut a square to fit the entire size of the mat.
Step 7
Place your fabric onto the standard mat firmly. Feed it into the machine.

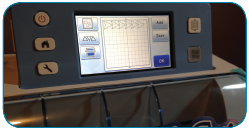
Step 8
Select “Cut” and let your ScanNCut do its magic! Remove the mat from the machine carefully so you don’t pull any pieces from your fabric.
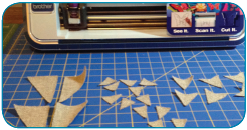
Step 9
Peel away all cut pieces.
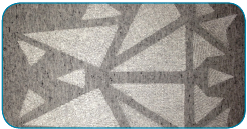
Step 10
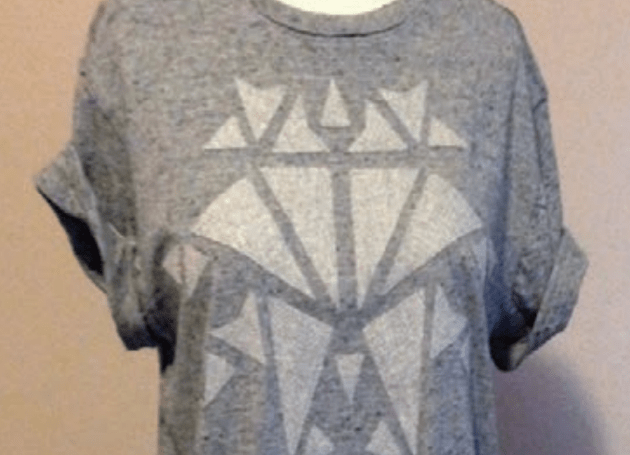
Now the fun begins! Create a pattern on your garment. Peel away the backing from each shape and iron onto your garment.
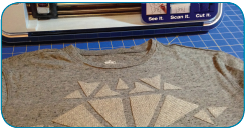
Step 11
Voilà! Your T-shirt is now complete and ready for you to rock!
About Brother
Brother shares your passion, so, we’ve created this blog as a place where you can find inspiration from our many exciting sewing, quilting, embroidery, cutting and crafting projects. We develop tutorials that range from beginner to expert so there’s something for everyone’s specific interests and skills. Try something new, today!You Might Also Like
Quilting:Pinwheel Patchwork Tote
Crafting:Felt Flower Power