
Poinsettia Card
Time required: 1 hour
It’s always fun to make your own custom greeting cards to send to your friends and family during the holiday season. Check out how I made this beautiful poinsettia card using the ScanNCut machine!

Materials and supplies
- Brother™ ScanNCut machine
- 6″ x12″ white cardstock card (rounded corners)
- Green and gold glittered paper
- Red fabric scrap
- Holiday sentiment stamp
- Black archival or solvent based ink (to stamp)
- Fabric support sheet (CASTBL2)
Instructions
-
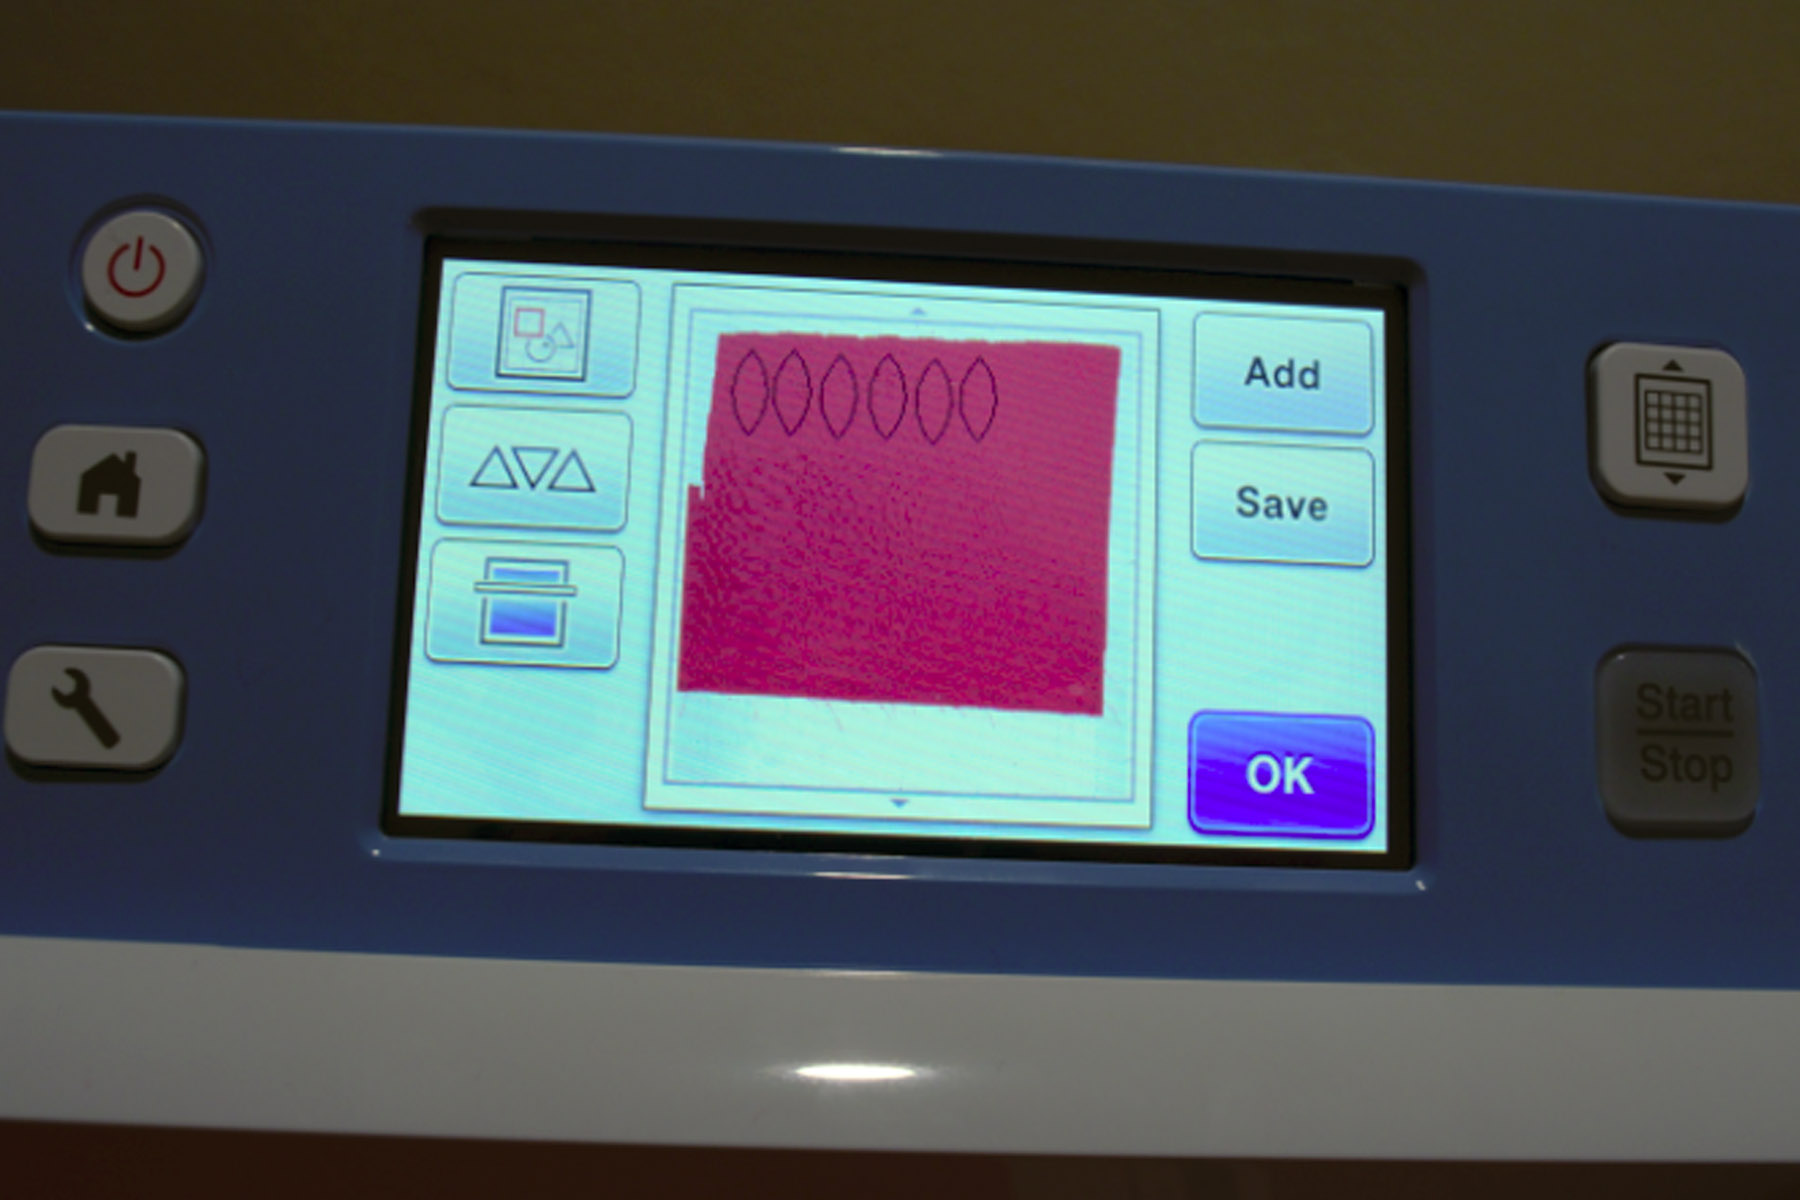
STEP 1: Take your red fabric scrap and place it securely on the standard mat with the fabric support sheet. For cotton fabric, use the settings as given in the Quick. Start Guide for fabric. Begin by testing out your fabric by creating a test cut.


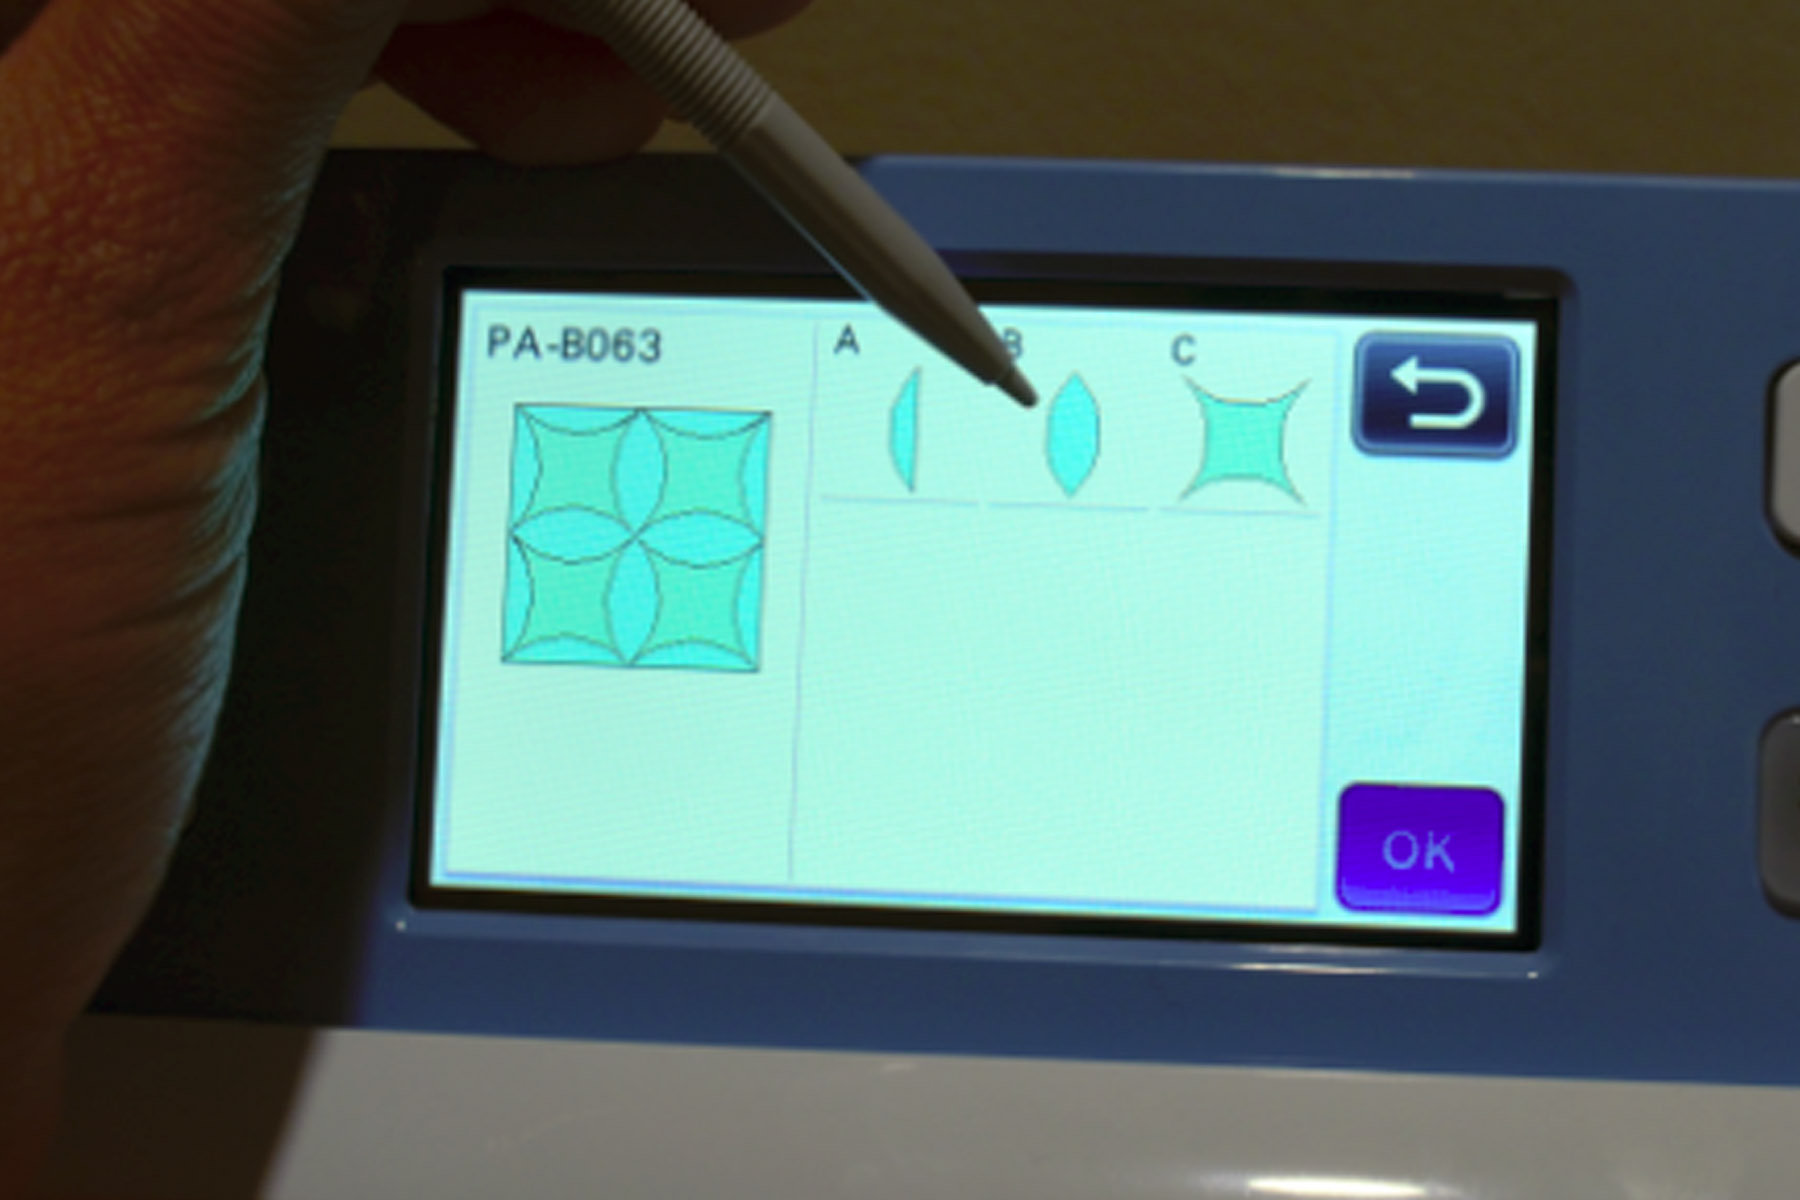
STEP 2: Once your machine is set, cut out 6 pointed ovals. You can find this shape in one of the “Quilt Patterns” as part of the quilt pieces.
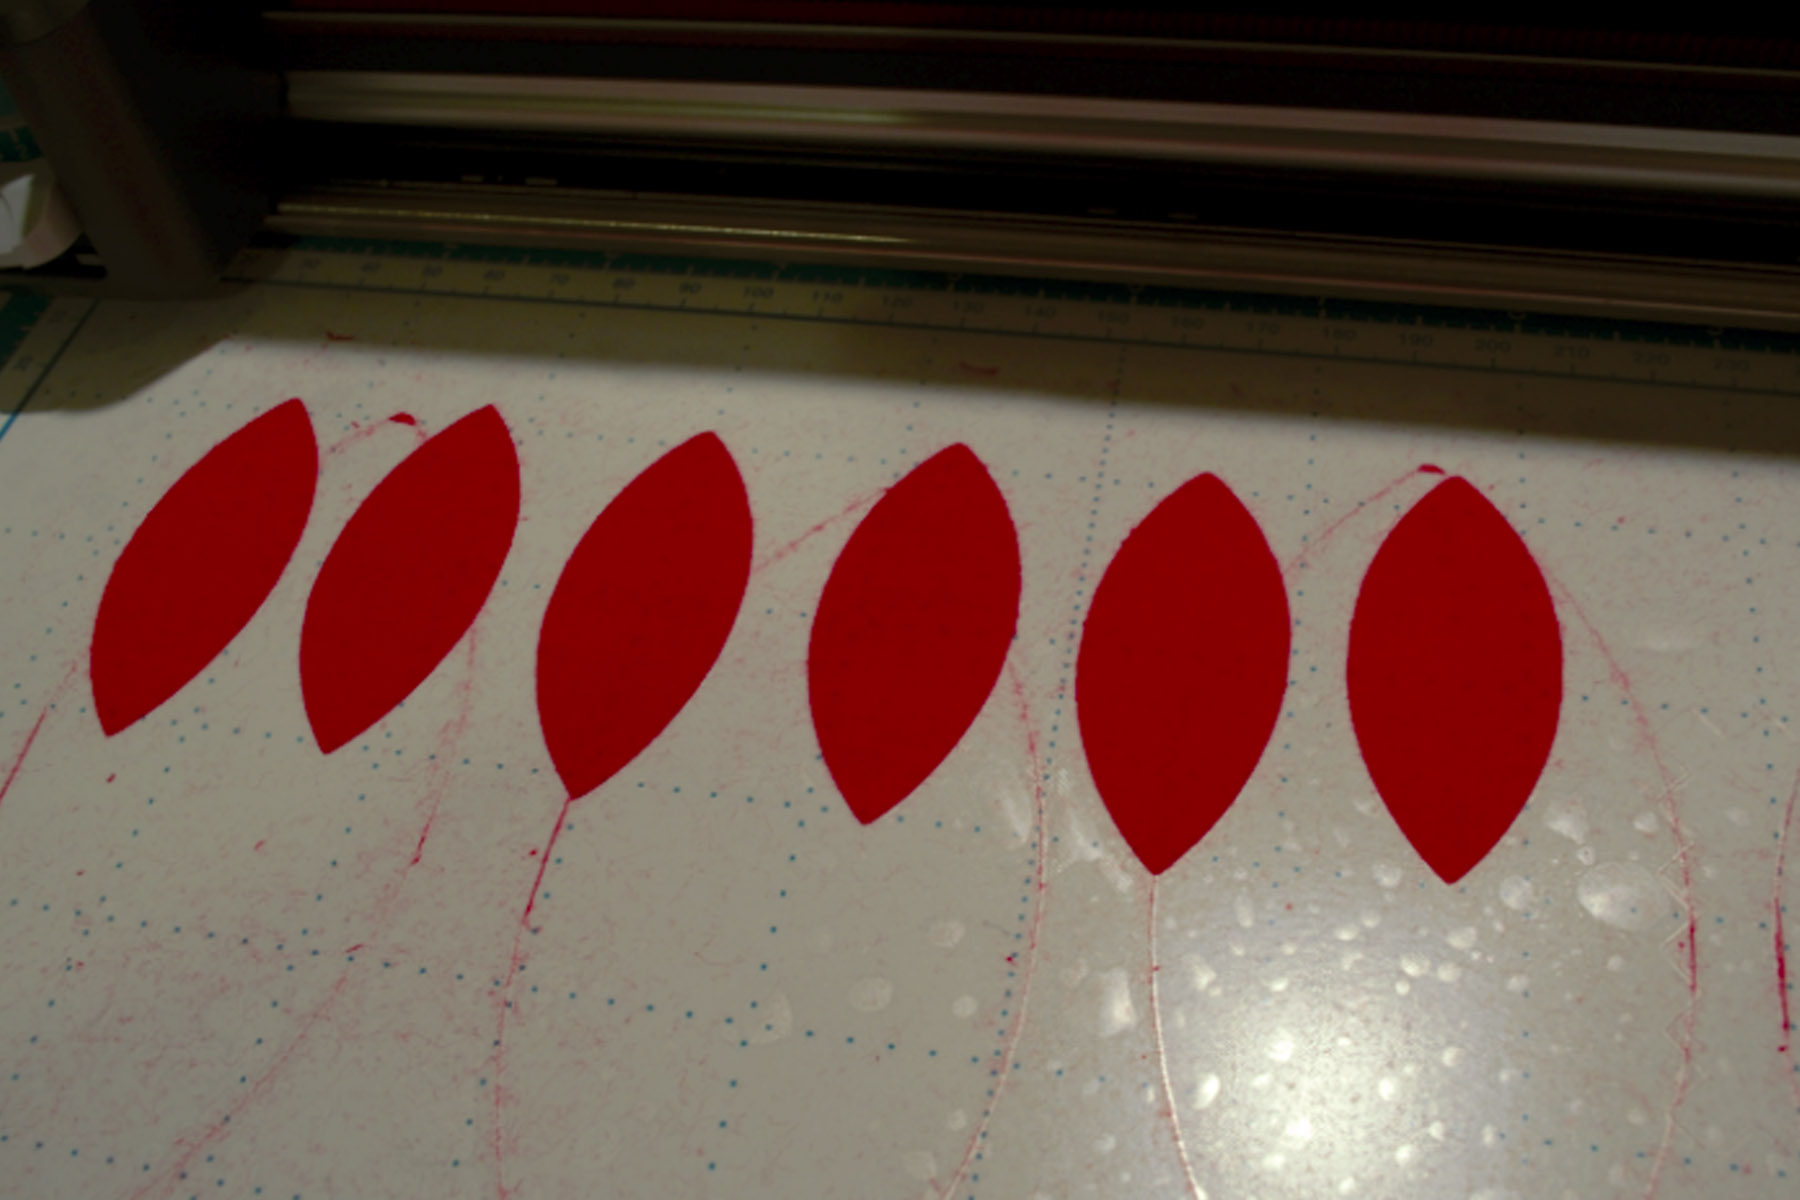
STEP 3: Make each petal about 2 1/2″ inches long. Cut flourish and circle out of gold glittered paper and cut leaves out of green glittered paper.
STEP 4: To begin your card, glue down your leaves and flourish, and allow them to completely dry before sewing.
STEP 5: To create a quilted effect with your poinsettia, place your top and bottom petals to position your card. (Make sure all of your petals fit before you begin to secure them down.)
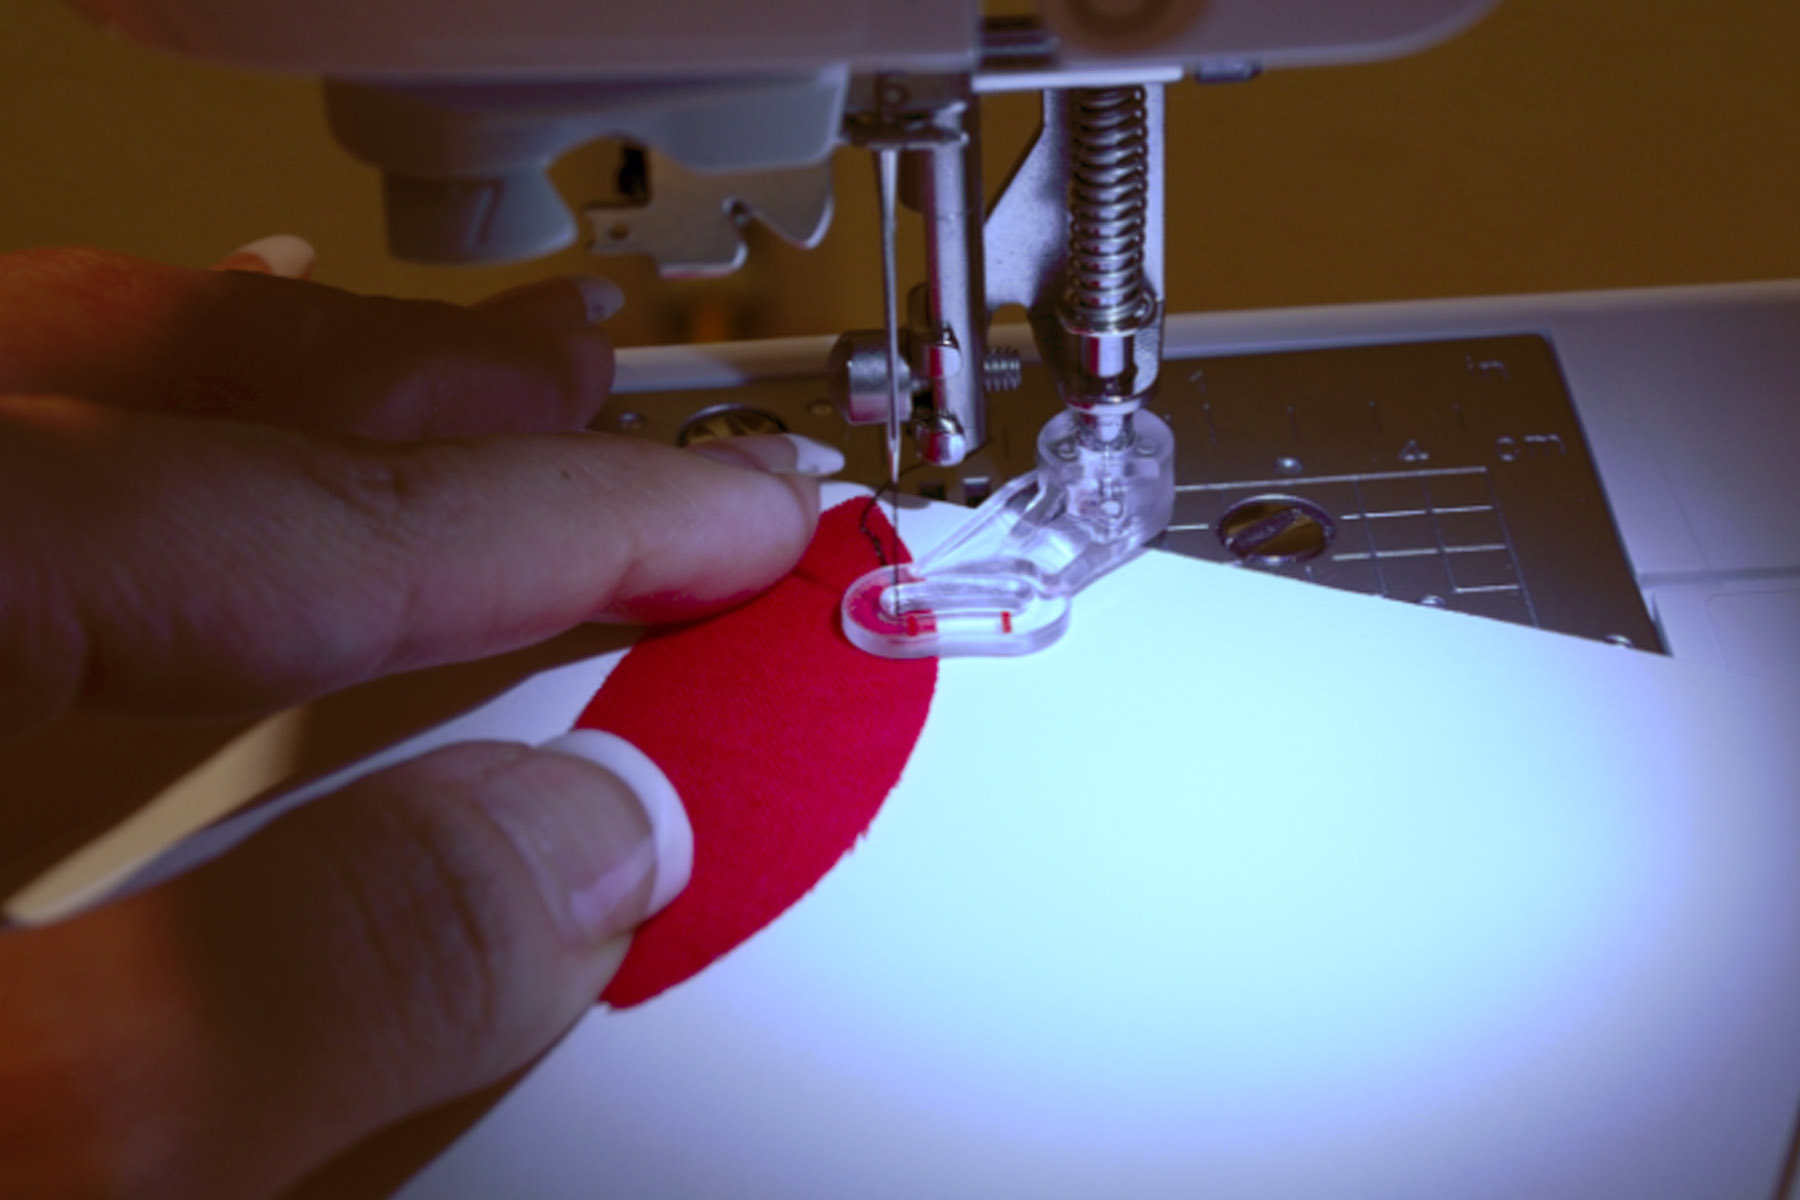
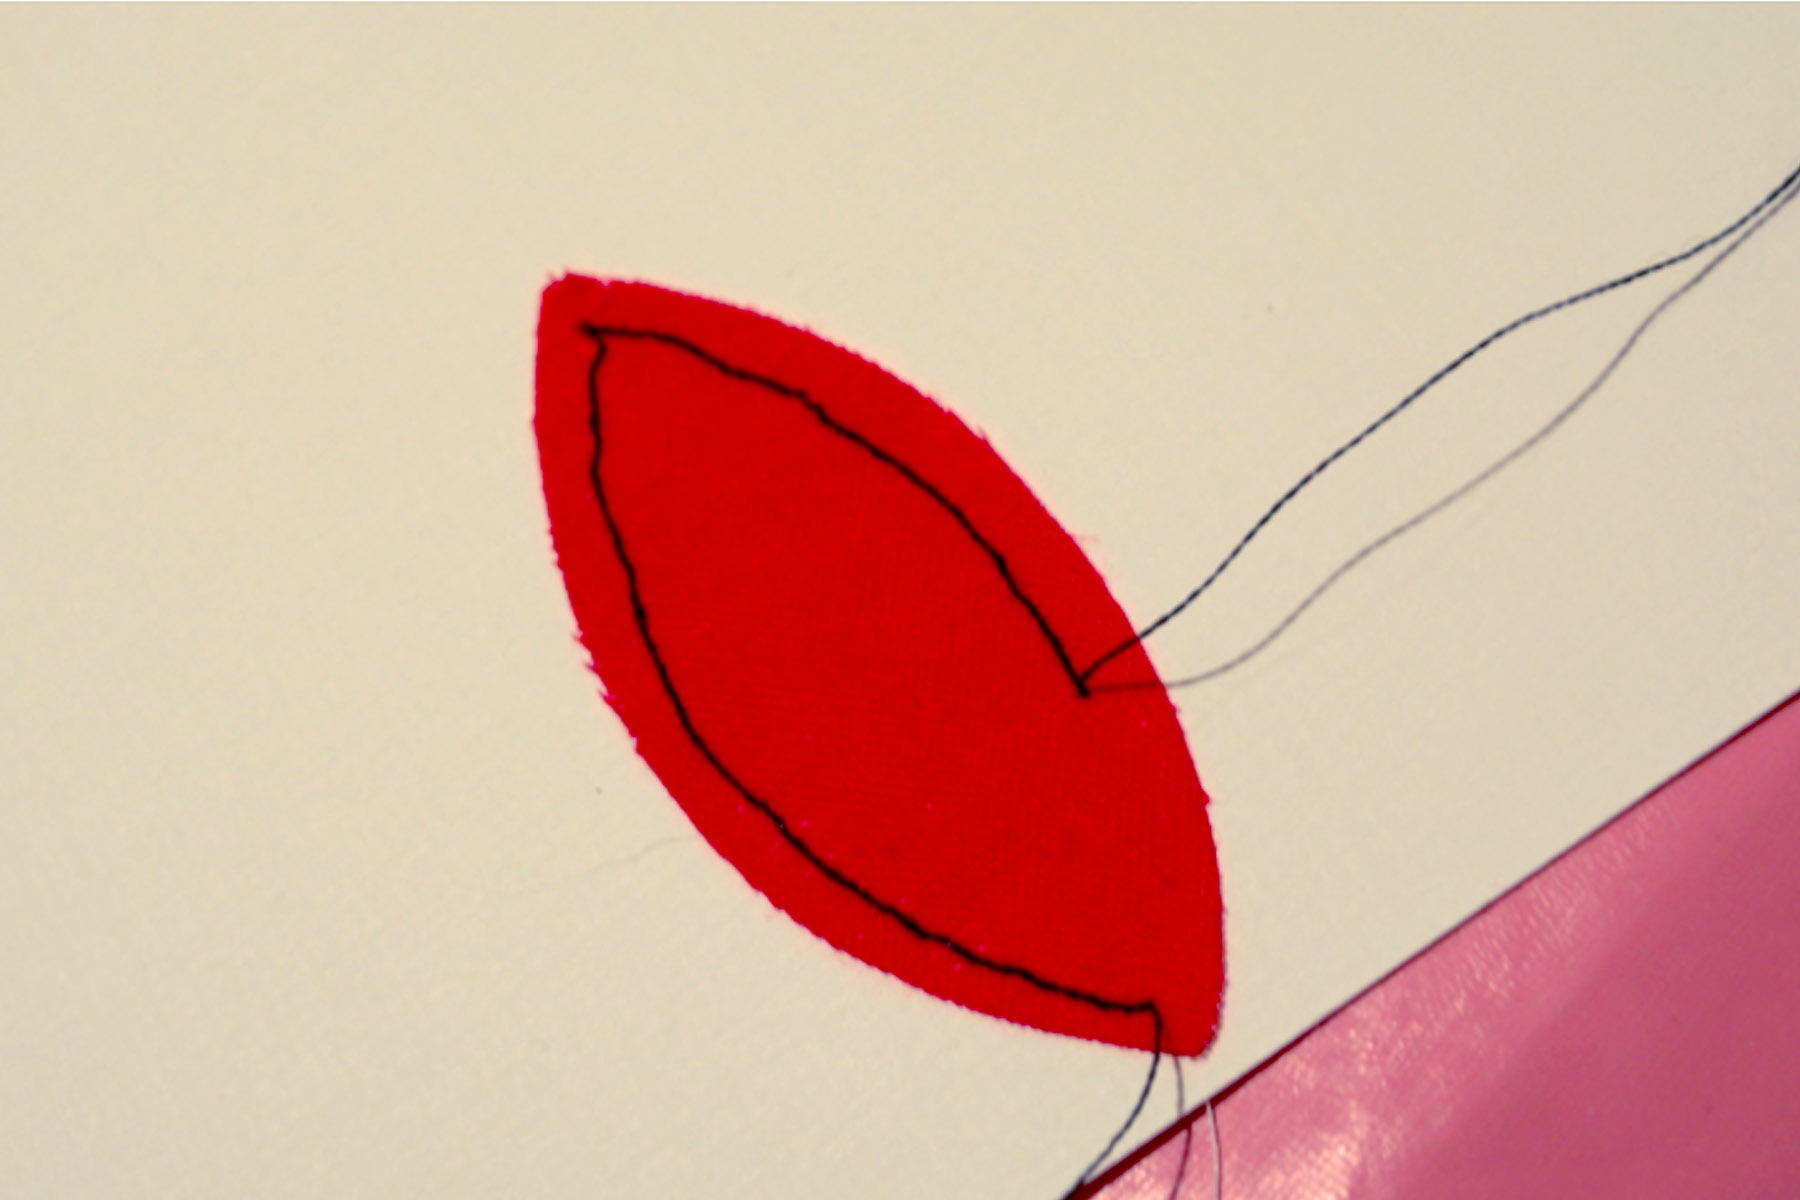
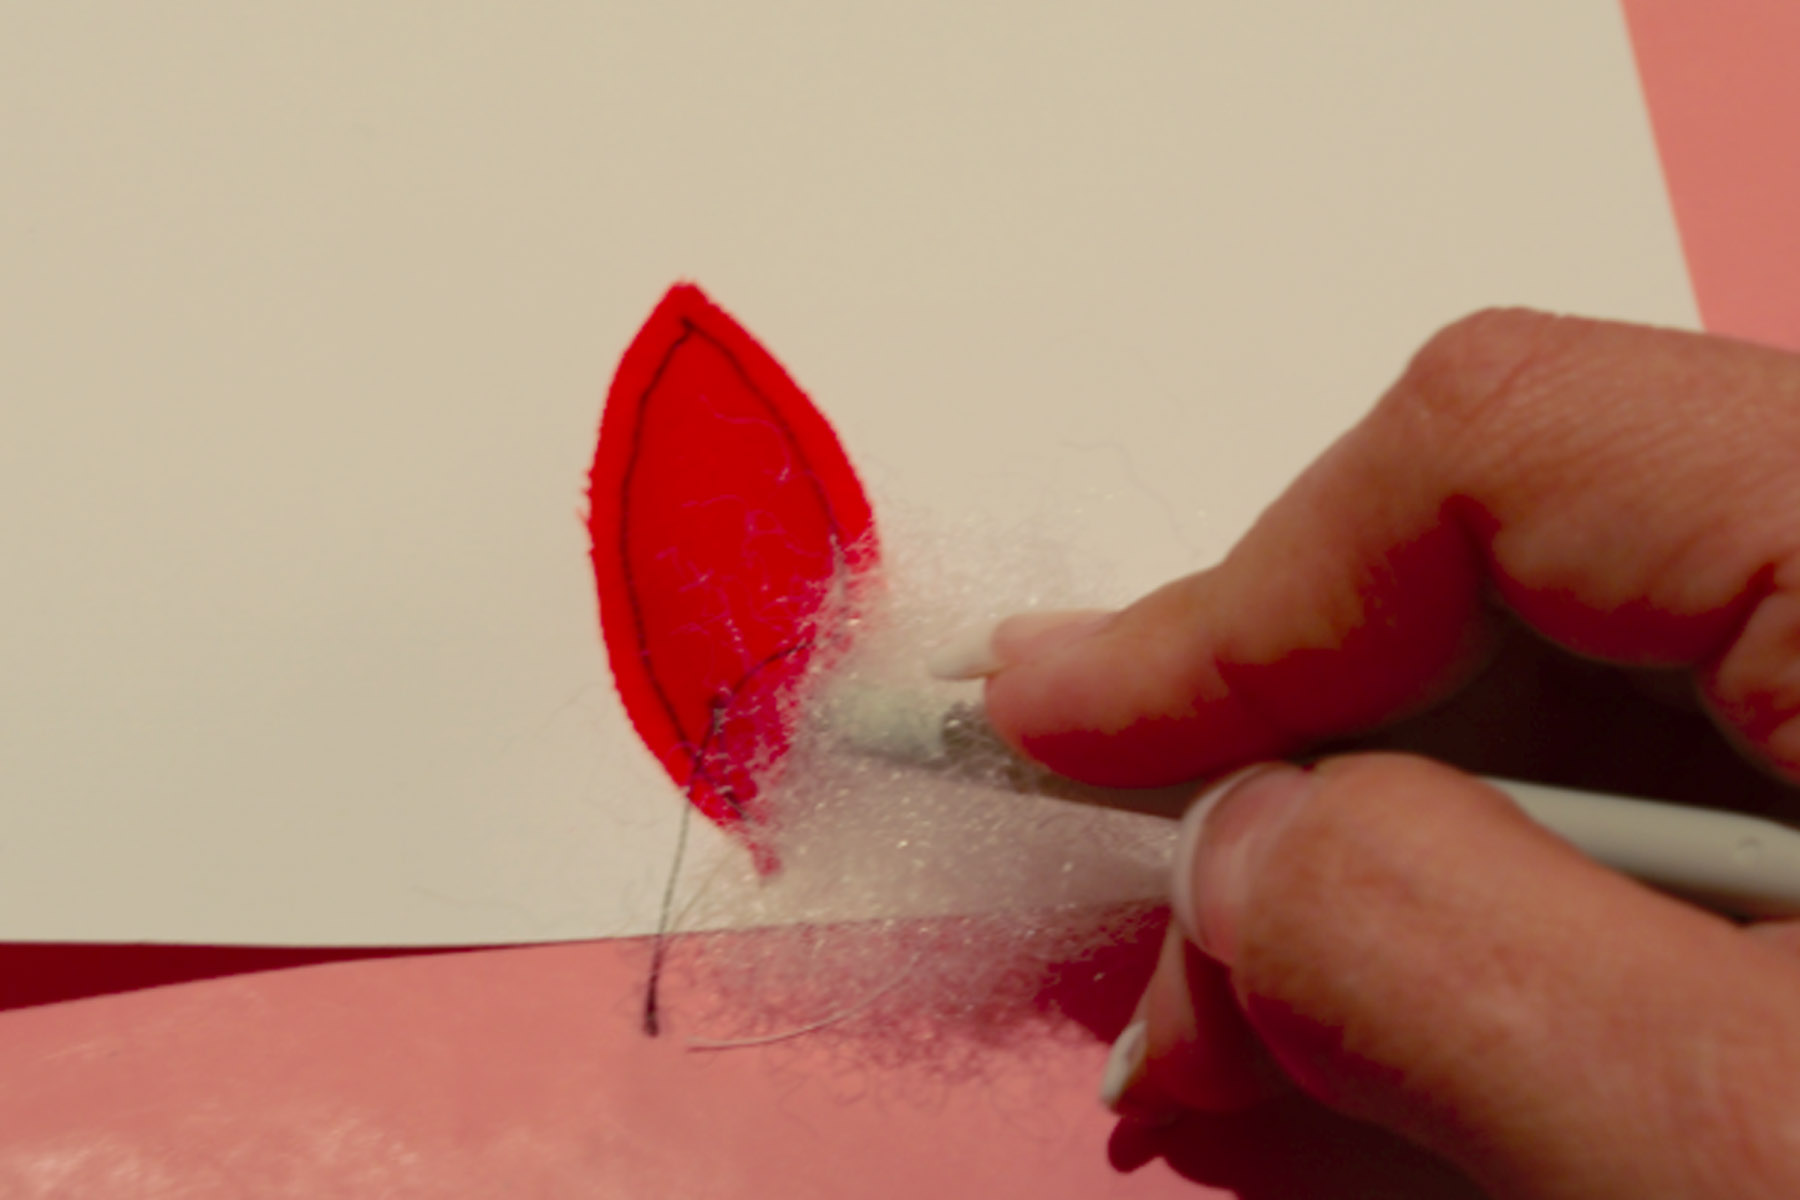
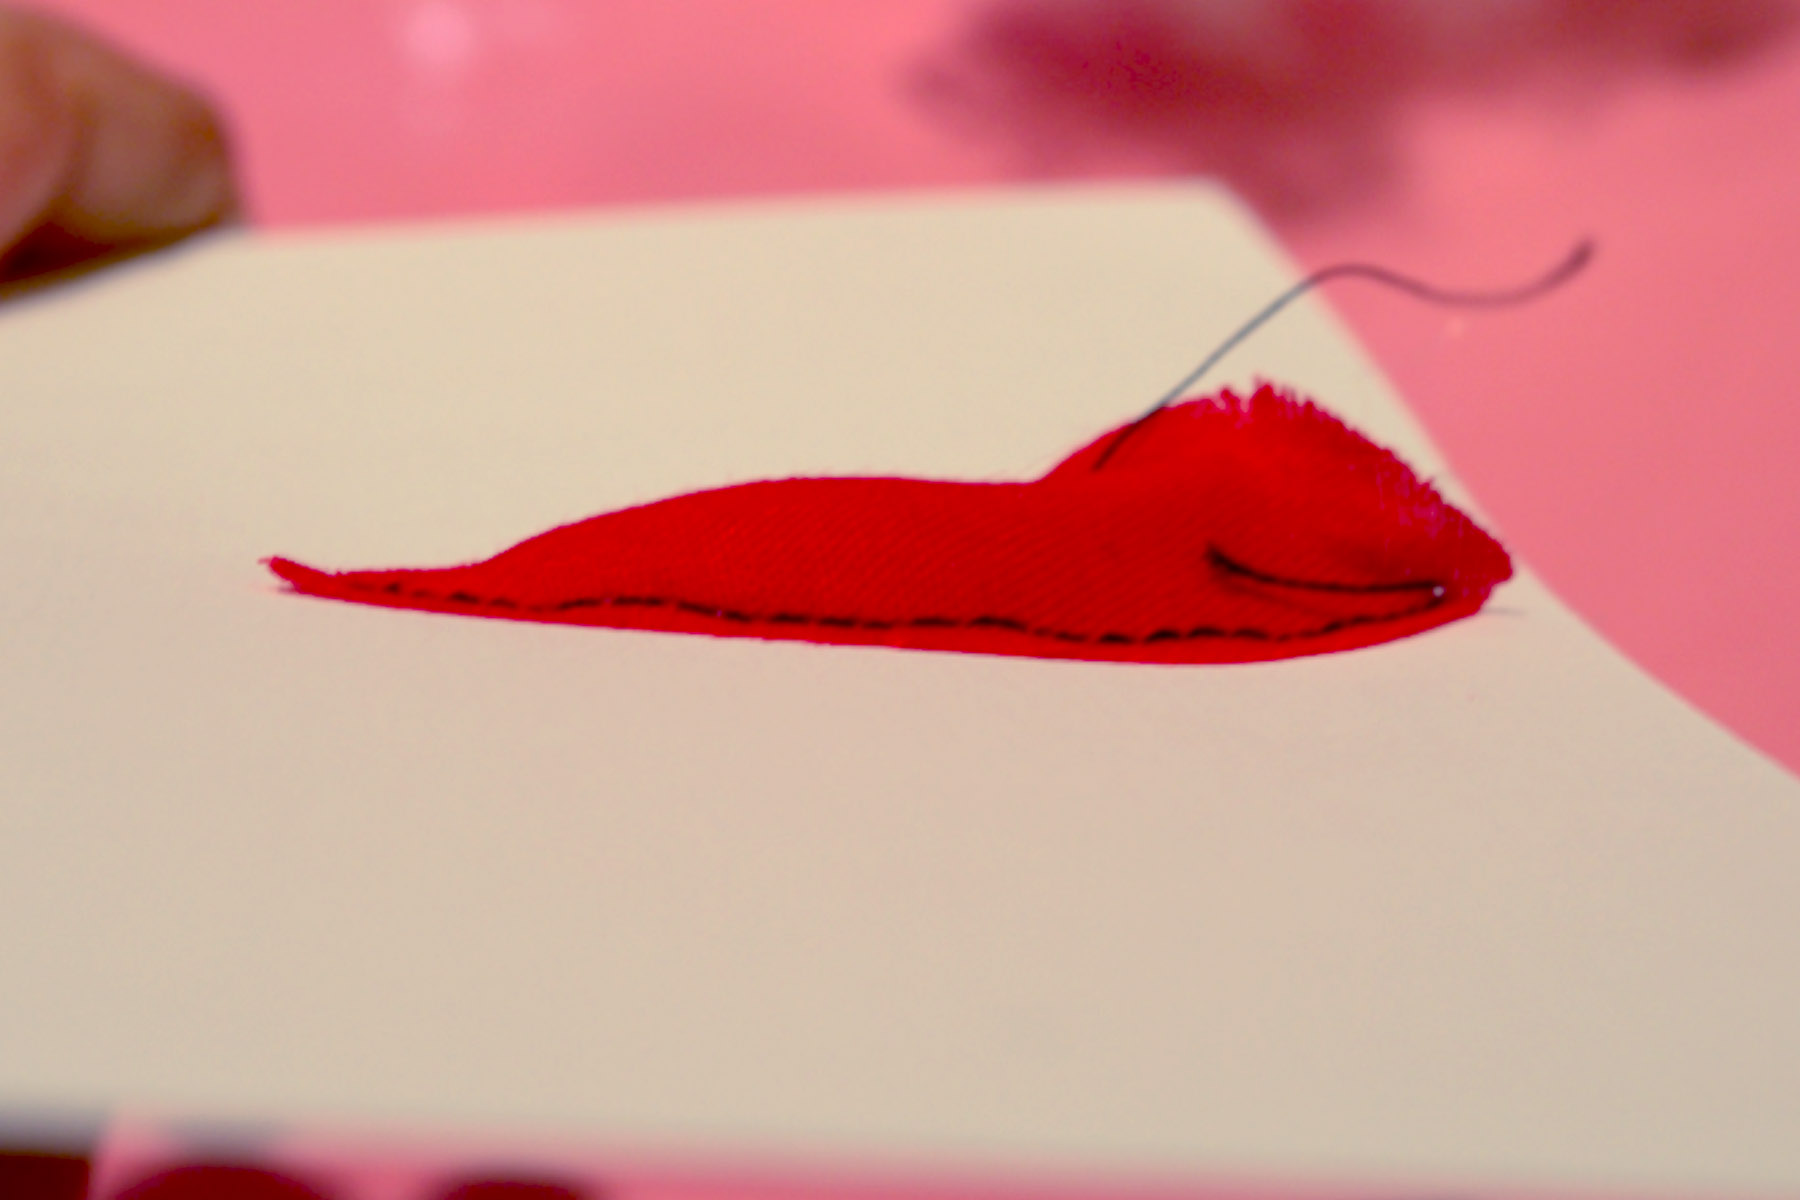
STEP 6: Once your placement is set, sew down your first top petal 3/4″ of the way. Once finished, apply pillow fill to the opening to puff up the fabric. Once full, sew the remaining opening close. Repeat on the bottom petal and then the side petals, always mirroring each petal as you go. This will help keep your flower aligned.
STEP 7: Once your flower is complete, glue a center to your flower made of the gold glittered paper.
STEP 8: Finish off your card with your favorite holiday sentiment. This quilted effect not only adds depth to your project but also makes a nice marriage of crafts –bringing paper crafting and sewing together.

For step by step instructions, download the PDF.[/vc_column_text][/vc_column][/vc_row]
About Brother
Brother shares your passion, so, we’ve created this blog as a place where you can find inspiration from our many exciting sewing, quilting, embroidery, cutting and crafting projects. We develop tutorials that range from beginner to expert so there’s something for everyone’s specific interests and skills. Try something new, today!You Might Also Like

Tips & Tricks:How I Organized My Home With A P-touch Labeller

Embroidery:Birthday T-Shirt