[vc_row][vc_column][vc_column_text el_class=”greytext”]You know those awesome paper scraps you keep putting aside for a project that never happens? We have the solution: a paper confetti garland!
[/vc_column_text][/vc_column][/vc_row][vc_row][vc_column][vc_column_text]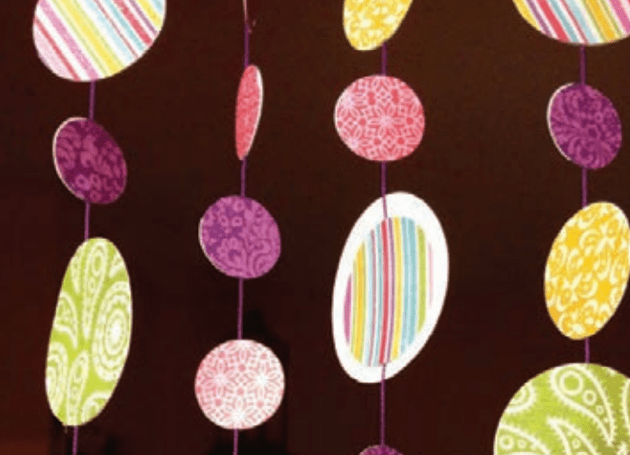
And don’t worry about clashing colours. You can make a bunch of strands from all kinds of contrasting papers. As long as they’re strung in a uniform way, they’ll look divine.
Materials
• Brother ScanNCut machine
• Standard mat 12” x 12” (CAMATF12)
• Assorted contrasting scrapbook papers
• Tacky glue
• Embroidery thread
Step 1
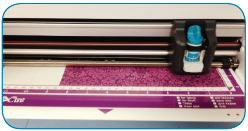
Using the ScanNCut standard mat (CAMATF12), peel off the plastic cover and set one sheet of paper. Seal it down by dragging any plastic card over it.
Step 2
Using the stylus and the touch screen on the machine, go to “Home” > “Pattern” >> “Shapes”. Then, go to the third page for the circles. (For larger circles, we chose 9 of 3”.)
Step 3
Load the mat with the paper, press “Cut” and you’re ready to start.
Step 4
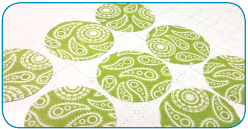
Repeat for the other sheets of paper—but choose different sizes of circles, so you can make your confetti garland look random and bohemian. Use the spatula to remove the pieces from the mat.
Step 5
Now separate the piles and cut a strand of thread about 16” long.
Step 6
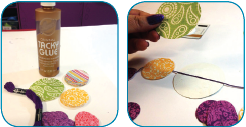
Glue one of the circles and place it under the thread. Then, place another circle on top. Continue with different sizes until you have several strands.
Step 7
You’re done. It should look kinda like this. Congratulations, you just decorated the air with a floating painting.
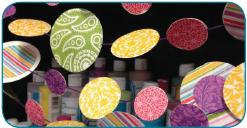
We hung our garlands horizontally, but you can hang them vertically too![/vc_column_text][/vc_column][/vc_row][vc_row][vc_column][download_button text_link=”url:http%3A%2F%2Finspiration.brother.ca%2Fwp-content%2Fuploads%2Fscanncut-garland.pdf|title:Download%20project%20PDF|target:%20_blank|”][/vc_column][/vc_row]
Crafting | 0 (s)
