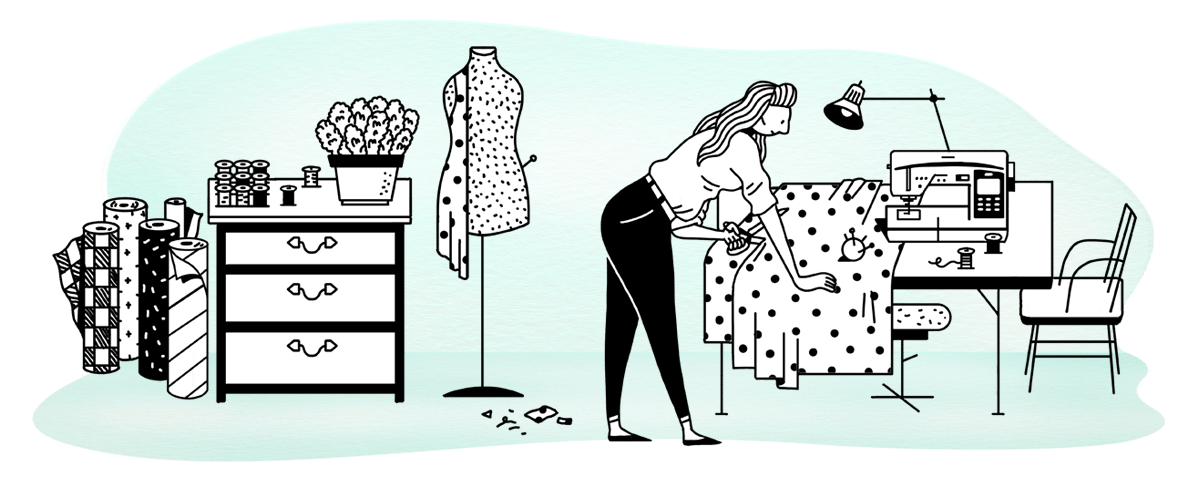

Napkins with Tassel Trim

The popular Brother Cording Foot SA110/SA148 is great for creating a wide variety of cording effects. For this fun and easy project, you’ll learn how to use the Brother Cording Foot to trim ready-made napkins with cute tassel-trimmed corners. Feet have never been more fun! Our feet are guaranteed to make your sewing and embroidery jobs easier and more exciting to create. Attach piping, sequins, and appliqués effortlessly and accurately with the use of these handy accessories. So, whether you love gathering and pleating, cording, or fringe, we have the foot to fit your needs.
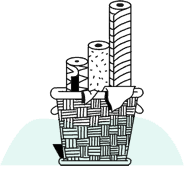
Materials and Supplies
- SA110 Brother Cording Foot for 7mm Horizontal Machine or SA148 Brother Cording Foot for 5 mm Machine.
- Brother Sewing Machine.
- Basic sewing notions including sewing thread to match fabrics.
- Sharp sewing needle size 11-14.
- Cording to contrast with napkin. Suggestions include pearl cotton or thin yarn. You may find it necessary to press the strands to remove wrinkles. (We used three strands of acrylic pearl cotton.)
- Ready-made napkins in the amount desired for your table setting. (We used napkins measuring 20 inches X 20 inches.)
Instructions for Trimming Napkins with Cording
Before you start, please read our section titled, About the Brother Cording Foot, at the end of these instructions.
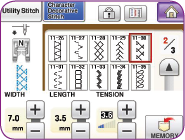
Figure #1
1. Cut 12 lengths of cording measuring 28 inches long. Carefully feed 3 cords into the foot, leaving 4 inches of excess cording behind it. Place the napkin edge under the foot, lining up the edge of the foot with the edge of the napkin hem. Select a suitable stitch for couching the cording in place. (Figure #1.) Stitch along the napkin edge, leaving the excess cording loose at each end (Figure #2.) Repeat for each edge.
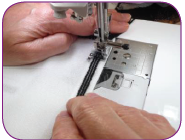
Figure #2
2. To form tassels, grasp the loose cords and tie a double knot, just as you would if you were tying shoelaces. (Figure #3A.) Next, wrap the cords around your finger and slip the ends through to form a slipknot. Pull tightly on the knot to secure the cords together. (Figure #3A.)
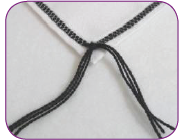
Figure #3A
3. Trim ends so they are even. (Figure #4.)
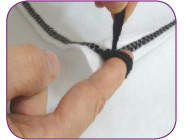
Figure #3B
4. Repeat all four steps for each napkin.
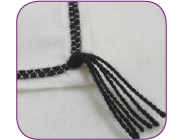
Figure #4
You’re done!
About the Brother Cording Foot
This 3-way cording foot (SA110/SA148) has a clip attached to the top for holding up to 3 cords at a time. Many cords and embellishment yarns can be used with this foot. Simply test for suitability by inserting the cord and making sure it slides properly in the channel. If the cord is too thin, it won’t be properly held in place during stitching. And if the cord is too thick, it won’t easily pass through during the stitching process. Use one, two, or all three slots at a time. When stitching, be sure to gently guide the cords in front of the foot, keeping them smooth. Take care that you do not pull on the cords, or your fabric will pucker. A variety of decorative stitches can be used to hold your cord in place. Experiment with changing the stitch width, making sure the stitches catch the cords sufficiently. Generally, it’s a good idea to lengthen the stitch slightly. We recommend testing your stitch and cording prior to using the foot for your project. See images for some recommended stitches that can be use with this foot.
A variety of decorative stitches can be used to hold your cord in place. Experiment with changing the stitch width, making sure the stitches catch the cords sufficiently. Generally, it’s a good idea to lengthen the stitch slightly. We recommend testing your stitch and cording prior to using the foot for your project. See images for some recommended stitches that can be used with this foot.
About Brother
Brother shares your passion, so, we’ve created this blog as a place where you can find inspiration from our many exciting sewing, quilting, embroidery, cutting and crafting projects. We develop tutorials that range from beginner to expert so there’s something for everyone’s specific interests and skills. Try something new, today!You Might Also Like