
Holiday “Joy” pillow wrap
I just love this easy way to change up your home décor. No need to make and store a massive pillow collection. Just take your existing pillows and wrap them with a seasonal phrase or greeting! All simply done with your Brother Sewing Machine, decorative stitches and the Brother ScanNCut.

Materials
• Pillow to cover with a pillow wrap
• Fabric for front of pillow wrap (melton or felted wool)
– Size of fabric determined by your desired width of pillow wrap and long enough to wrap around your pillow of choice + 4” overlap. (As you can see, I like to leave a couple of inches of my pillow exposed at the ends of the wrap.)
• 3 or 4 buttons
• Brother Sewing Machine, with decorative stitches
– Brother 1-Step Buttonhole Foot
– Brother Button Sewing Foot
• Decorative threads
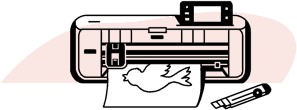
• Brother ScanNCut
• Brother ScanNCut Iron-On Fabric Appliqué Sheets (CASTBL1)
• Acrylic paint
• Paintbrush
Instructions
1. Determine desired width of pillow wrap by measuring around pillow. I wanted mine to be the width of my existing pillow minus 2” (to allow for 1” of the pillow to show on either side of the wrap).
2. Measure the circumference of your pillow and add 6” to the total length (to allow for overlap and installation of the buttons).
3. Cut fabric for the pillow wrap to the size you determined.
4. Fold over ½” on each of the long sides of the pillow wrap and press. This will give you a clean edge on the long sides.
TIP: I use double-sided iron-on tape to hold the edge in place.
5. Select a decorative stitch on your Brother Sewing Machine.
6. Using a coordinating thread, stitch one or more rows of decorative stitches along each of the long sides of the pillow wrap (see Figure #1). TIP: Align the edge of the Presser Foot with the edge of the fabric to ensure a straight stitching line. (The grid lines on the needle plate will also help you keep your stitches straight.)
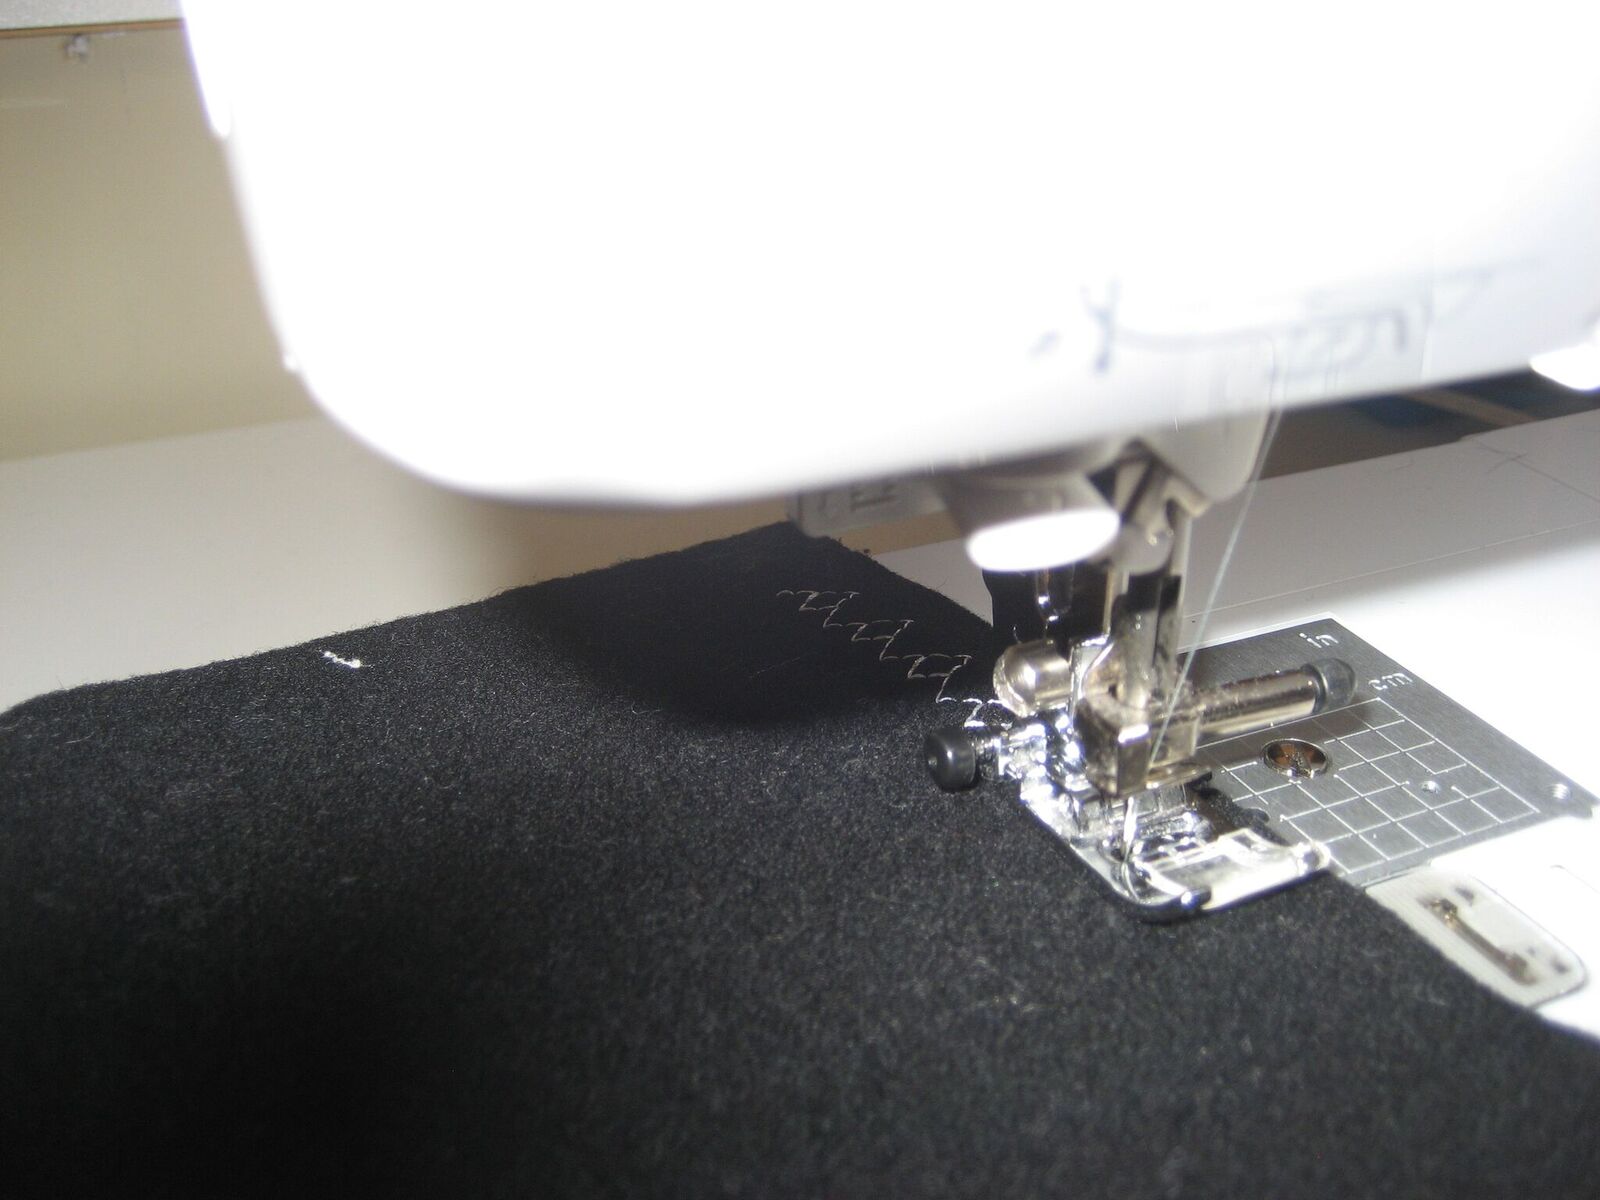
Figure #1
7. On one of the short ends of the pillow wrap, determine where you will place the buttonholes (evenly spaced). Mark placement (see Figure #2).
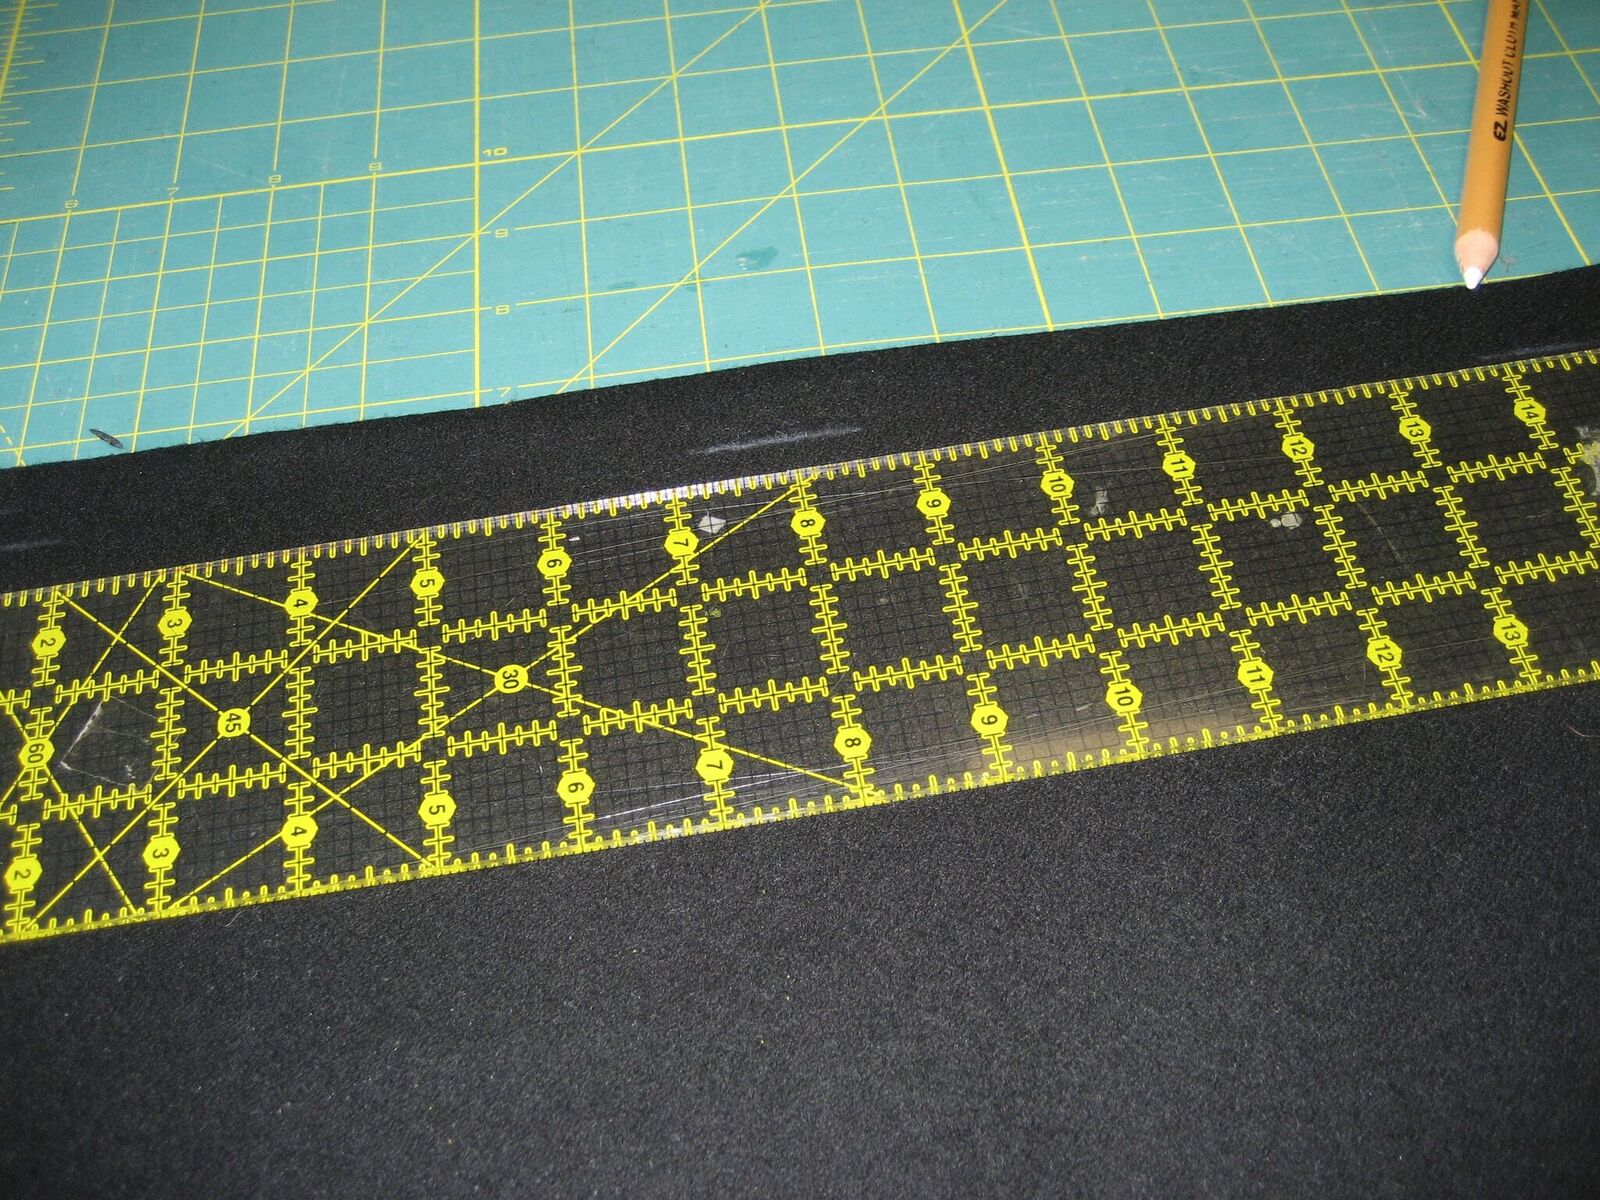 :
:
Figure #2
8. Attach the Buttonhole Foot to your sewing machine and place button in the back part of the attachment. Stitch buttonholes (see Figure #3).
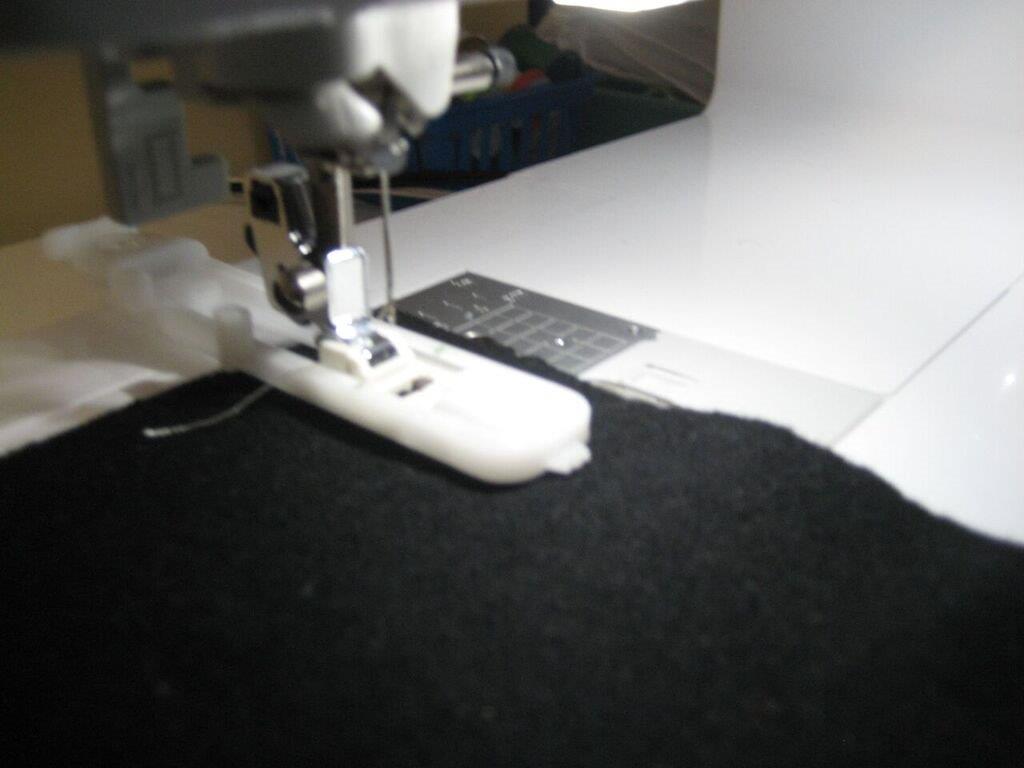
Figure #3
9. On the opposite short end of the pillow wrap, mark the location of buttons to correspond with the buttonholes.
10. Attach Button Sewing Foot to the sewing machine. Position button in Foot and select the button attachment stitch. Stitch on the buttons (see Figure #4).

Figure #4
CUTTING EMBELLISHMENTS WITH THE SCANNCUT
1. At the ScanNCut, select the word art you’d like on your pillow wrap. I chose “Joy”, along with its built-in design (see figure #5).
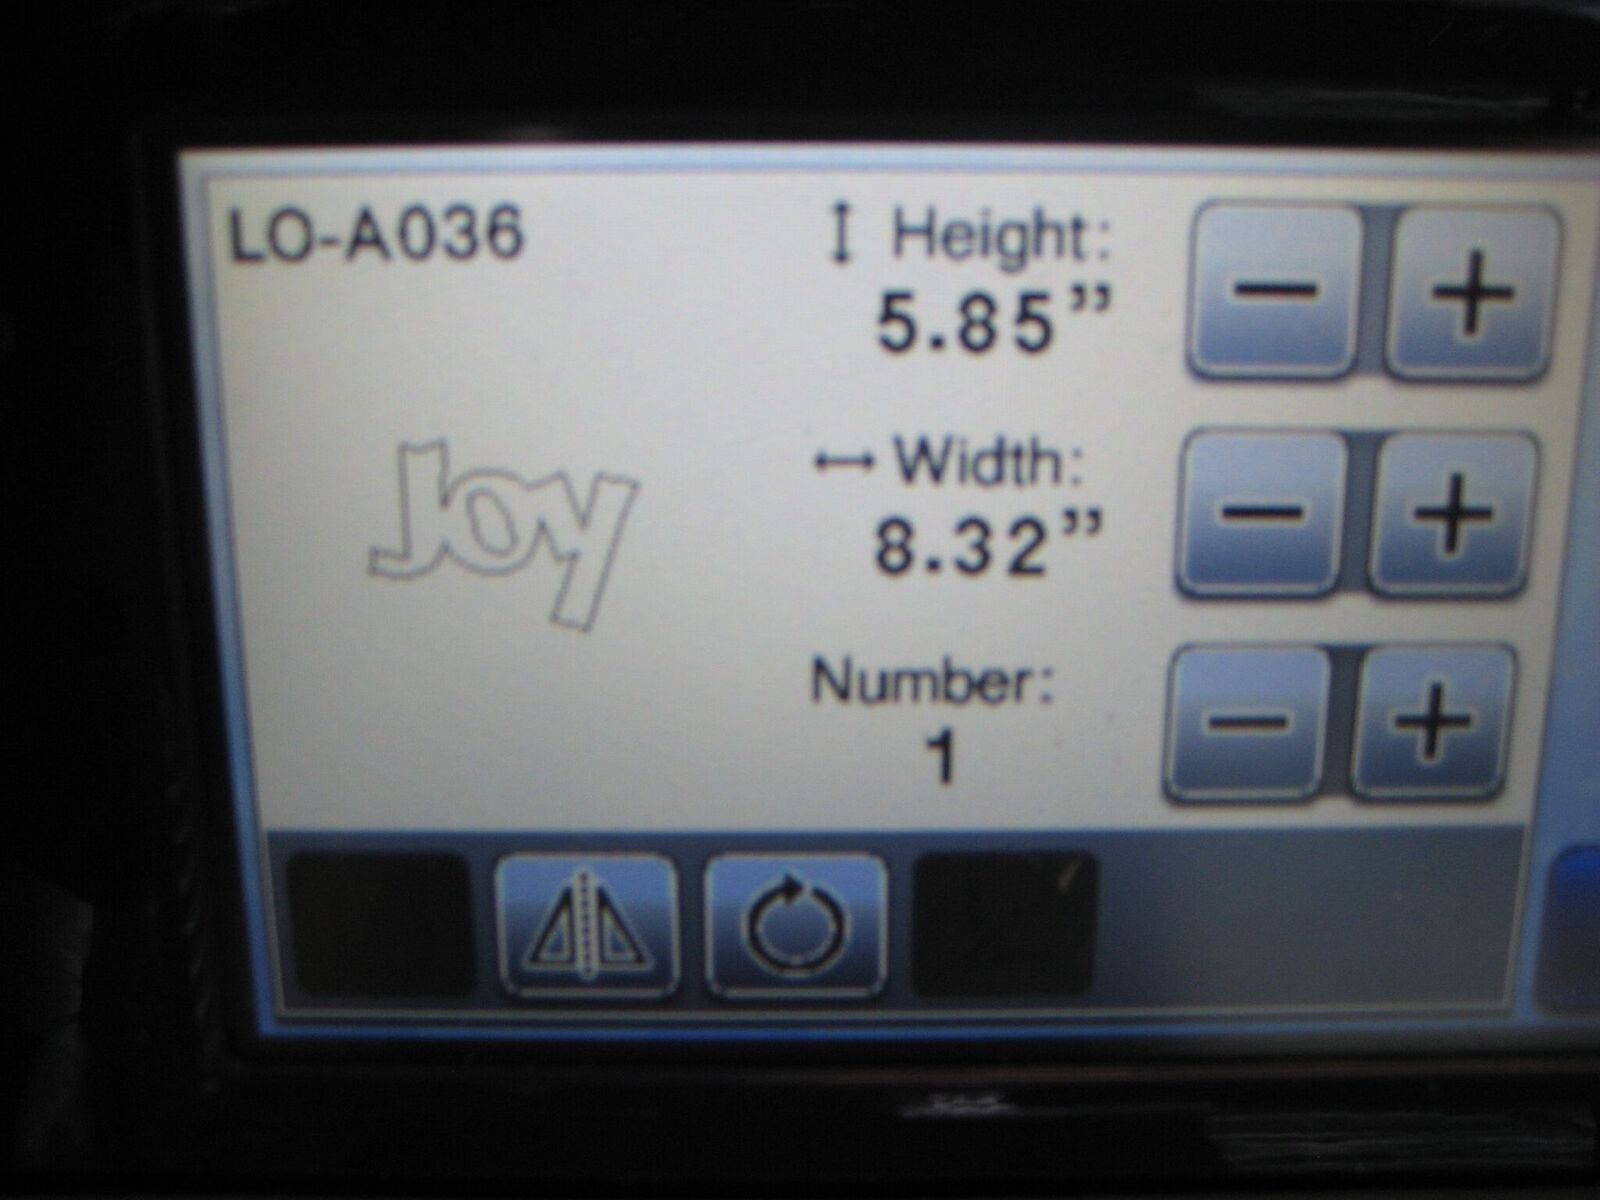
Figure #5
2. Enlarge word art to desired size to fit the pillow wrap.
3. Position stencil sheet with the backing material on the ScanNCut Middle Tack Adhesive Mat.
4. Set blade at 1 to 2 and Cut Pressure to -1.
5. Do a test cut to ensure the stencil film is cut, but the backing material is not cut.
6. Cut.
7. Remove backing material. (But keep it to store your stencil later.)
8. Determine where you want to place word art on your pillow wrap.
9. Position stencil on front of pillow wrap.
10. Using acrylic paint, “pounce paint” over the letters to create the stenciled word art (see Figure #6).

Figure #6
11. Allow to dry.
12. Select the snowflake design (built-in design AR-A007) on the ScanNCut. Choose the size you want and duplicate (see Figure #7). (I have two snowflakes on my pillow wrap).
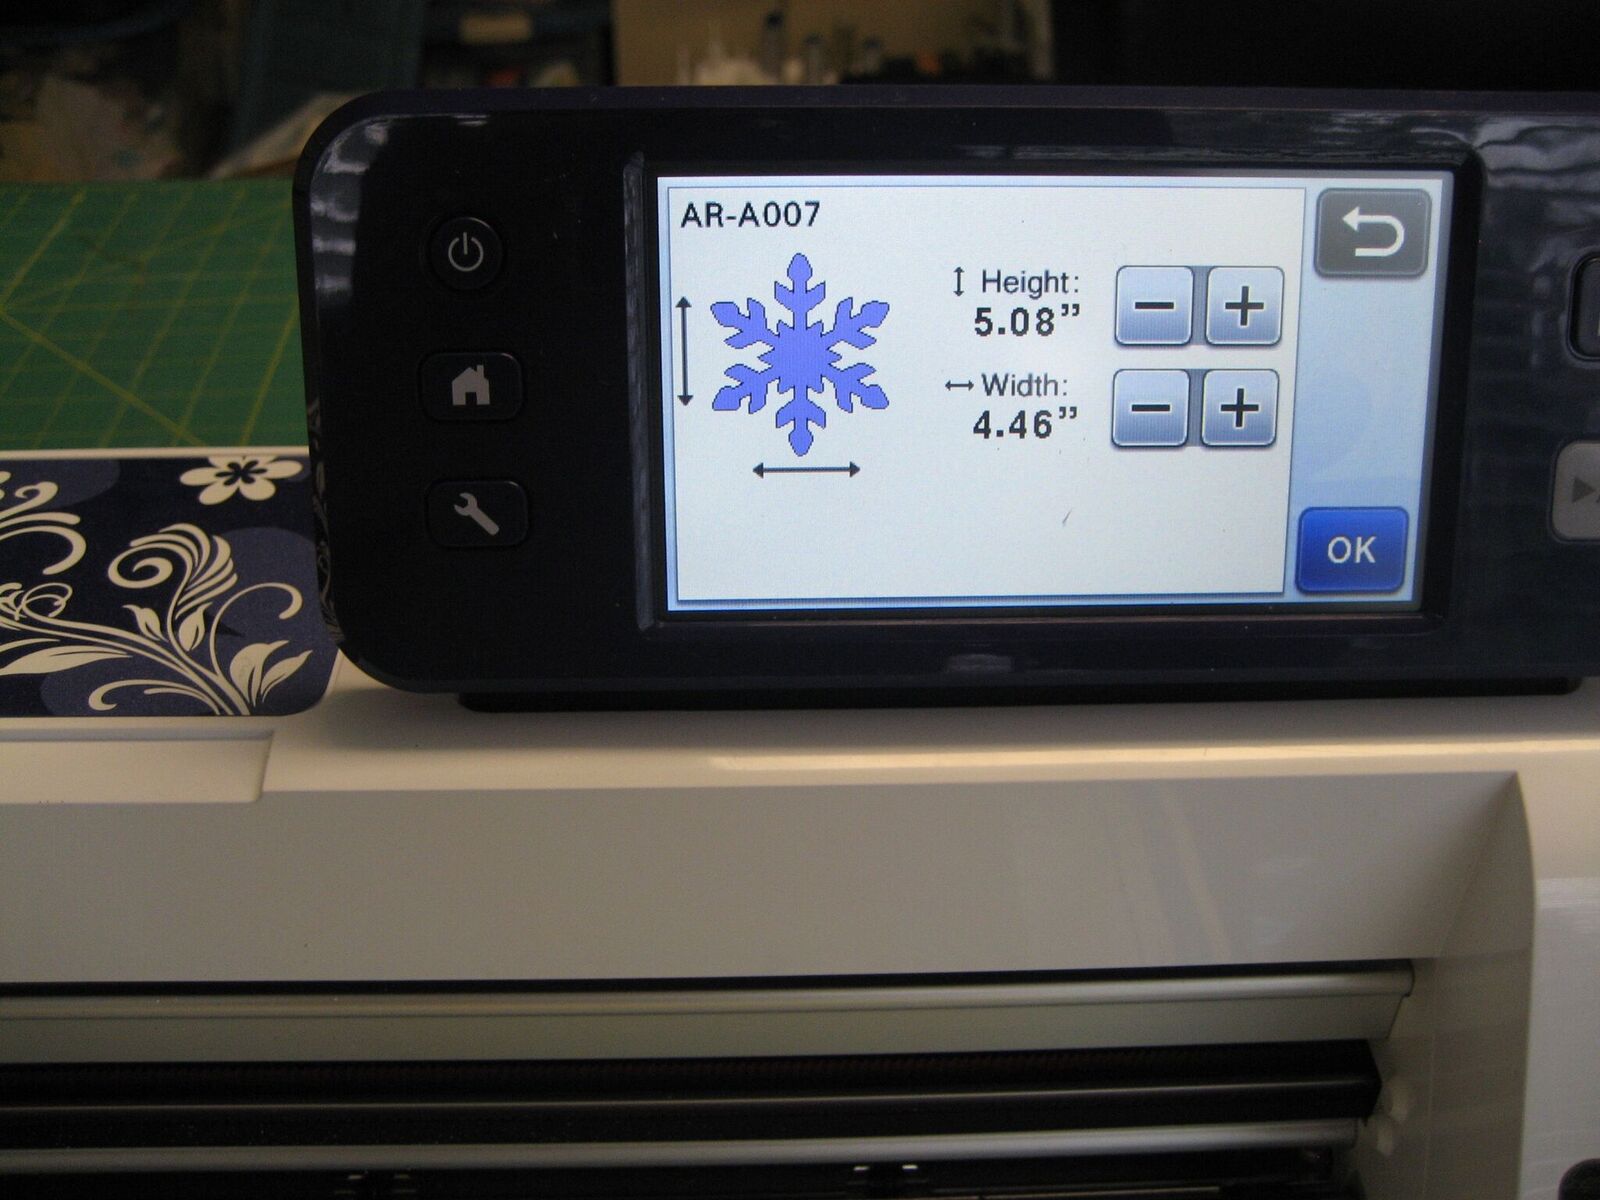
Figure #7
13. Adhere iron-on fabric appliqué sheets or a similar product to the back of snowflake fabric.
14. Position fabric on ScanNCut Middle Tack Adhesive Mat.
15. Set blade at 5 or 6 to cut your snowflake fabric.
16. Set blade pressure to 0.
17. Perform a test cut.
18. Cut snowflakes.
19. Adhere snowflakes to pillow wrap with a hot iron. Add bling if you like.
20. Wrap you pillow.
21. Enjoy the holidays!
Just think of all the other pillow wrap possibilities. All you need to do is change the word art: “Love” and hearts for February, “Fall” and leaves for Fall, and so on. It’s so easy to adapt your house to special moments!
Designed exclusively for you by Lynn Swanson of the Brother Education Department.
About Lynn Swanson
Bringing her undeniable passion to everything she does, Lynn Swanson is an enthusiastic quilter, sewer, embroiderer and crafter who explains her projects in a fun and easy way. Lynn’s eagerness to embrace new technology has made her a treasured resource for teaching crafting and sewing fanatics everything they need to know about Brother machines and design software as one of Brother’s educators. Check out her tutorials and catch her creativity bug!You Might Also Like

Embroidery:Love Tea Towels