[vc_row][vc_column][vc_column_text el_class=”greytext”]With gifts, it’s also what’s on the outside that counts.
[/vc_column_text][/vc_column][/vc_row][vc_row][vc_column][vc_column_text]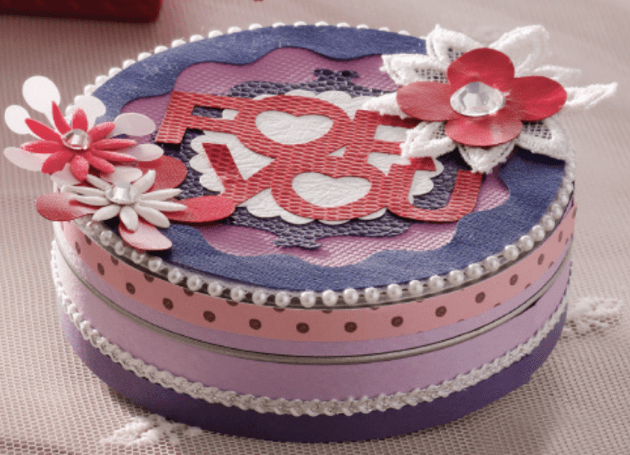
Decorative gift boxes are a great way to show how much you care. And with personalized design elements, you can make your gift count inside and out for the person who matters most. Create your own canister-shaped gift container for that someone special by following the simple steps below!
Materials
• 13” metal canister with removable lid
• 10 kinds of fun, colourful papers
• Size of “FOR YOU’ text: cut to 1.96” x 2.76”
• Rhinestones
• Ribbon
• Lace flowers
• Glue
Step 1
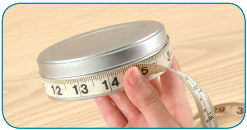
Create the side pieces that go around the can. Use a tape measure to measure the can’s circumference. If it’s longer than 12”, cut as multiple pieces.
Tip! When cutting dark-coloured material using Direct Cut, use a white or other light-coloured pen to draw the cutting lines on the back of the material for better recognition. Function: Direct Cut
Step 2
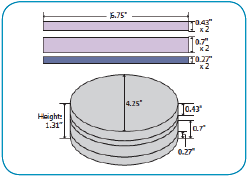
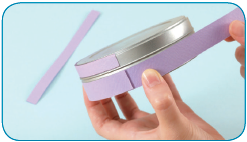
The circumference of the can used in this project is 13”. Since it’s greater than 12”, cut the side piece in two parts, each measuring about half the length (6.75”).
Step 3
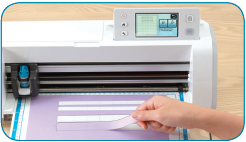
Hand draw band lines for the side pieces on the back of the material and cut using Direct Cut. Function: Direct Cut
Step 4
Glue the cut bands to the side of the can.
Step 5
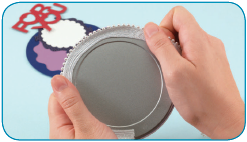
Cut the built-in pattern pieces. Glue the first ribbon and then the cut pieces to the can in layers.
Built-in patterns: BA-A045, BA-A048, BA-A051, AR-A011, AR-A014, AR-I001, AR-K028, LO-A021
Step 6
Decorate by attaching lace, rhinestones, and other items. Position your lace and ribbon over the edges and seams for a great, finished look.
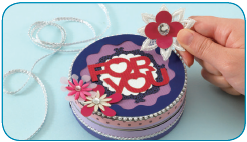
You’re done.
Now you just have to figure out what goes inside the box![/vc_column_text][/vc_column][/vc_row][vc_row][vc_column][download_button text_link=”url:http%3A%2F%2Finspiration.brother.ca%2Fwp-content%2Fuploads%2Fscanncut-gift-box.pdf|title:Download%20project%20PDF|target:%20_blank|”][/vc_column][/vc_row]
Crafting | 0 (s)