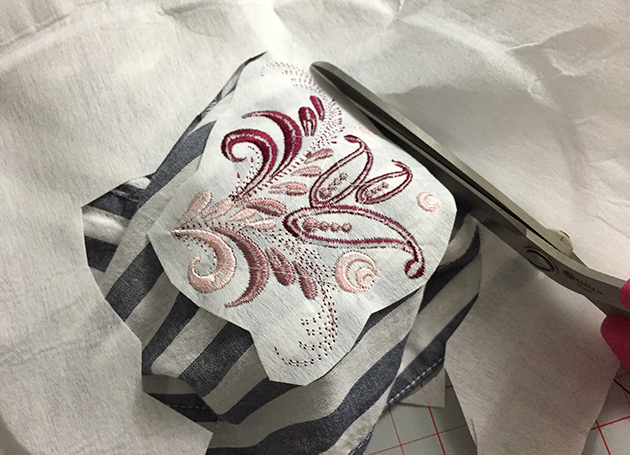
Embroidered Top

Time required: 30 min

Add a touch of style with an embroidery detail. It’s simple to dress up an existing top by adding a small embroidery design in colours that complement. There are so many options for design. Use one of the built-in designs on your Brother THE Dream Machine, or import your own either by using the scanning mat, through USB, or wirelessly using BES software.
Materials

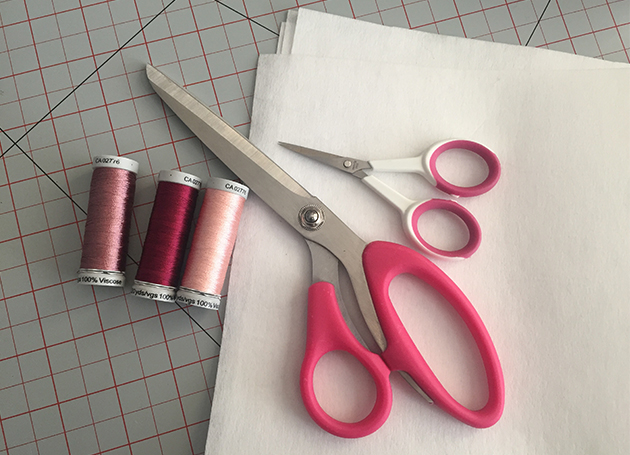
  • Brother THE Dream Machine
  • A lightweight woven shirt
  • Medium-weight cutaway stabilizer
  • Embroidery thread in three colours
  • Embroidery scissors
  • Fabric scissors


Instructions


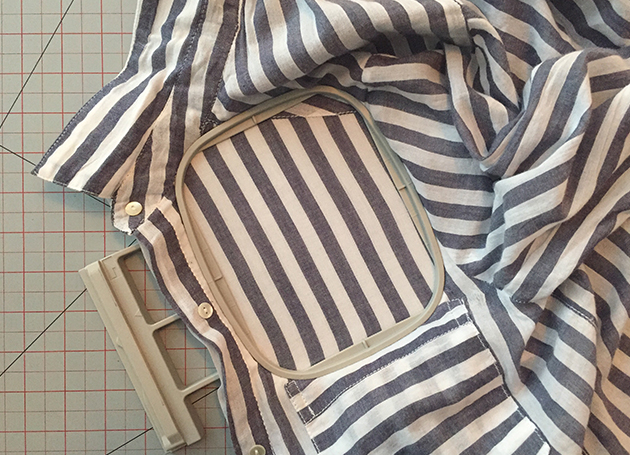
Cut a piece of stabilizer 9” (23 cm) x 10” (26 cm), and hoop the stabilizer and shirt into the smallest hoop included with THE Dream Machine.


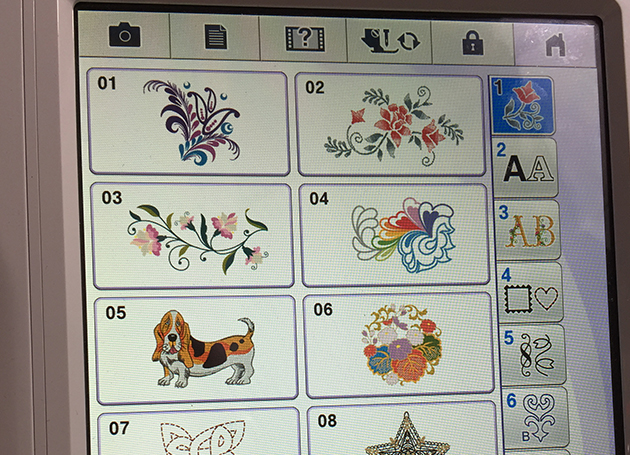
From the home screen of your machine, choose “Embroidery”.


From pattern category 1, choose design #65.


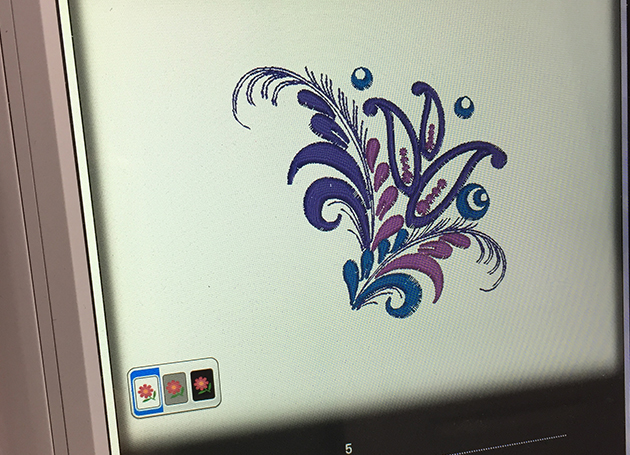
Select “Set”.


Change your presser foot to an embroidery foot.


Load the embroidery hoop into your sewing machine.


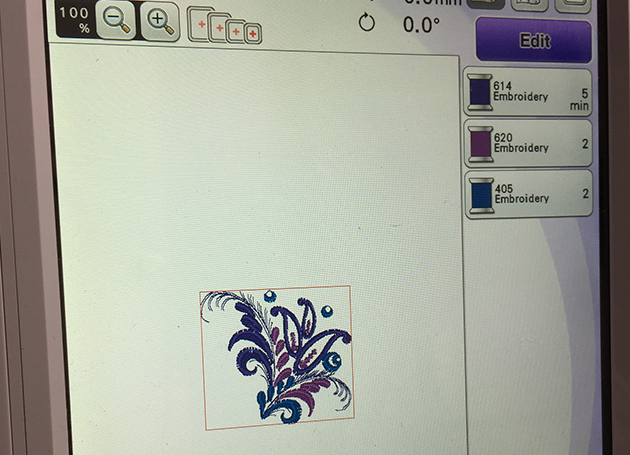
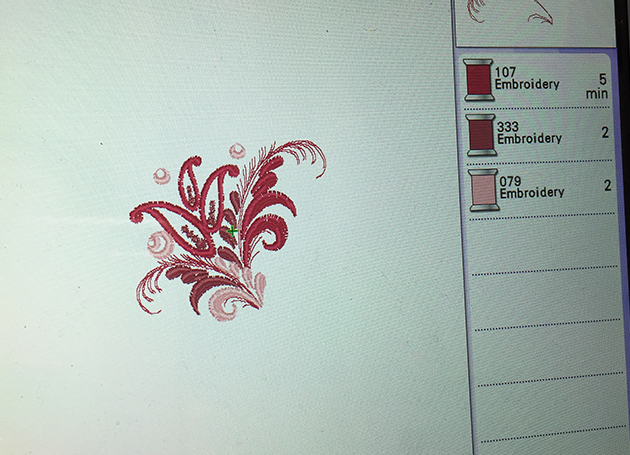
Click “Edit” to adjust your design as needed. I chose to flip my design as a mirror image. When finished, click “Edit” again.


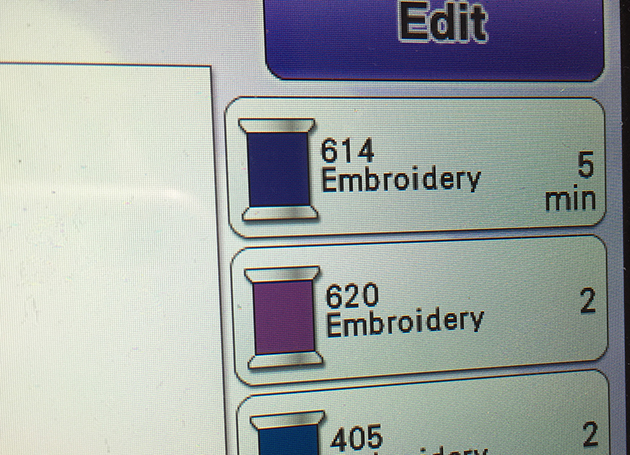
Select a thread colour to modify any of them, if necessary, then press “OK”.


Click “Embroidery”.


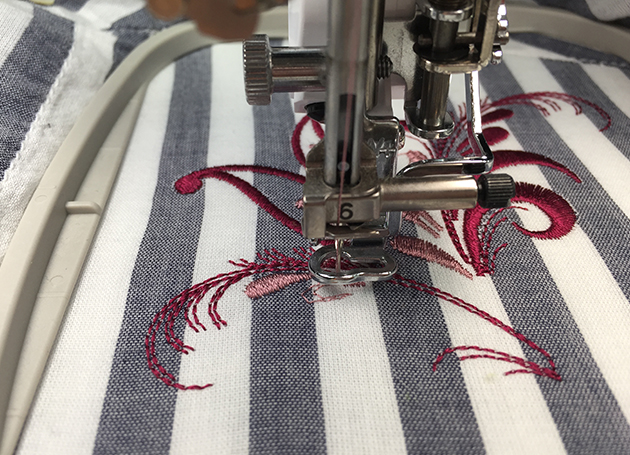
Load the embroidery thread colour, lower the presser foot, then press the green arrow.


Repeat Step 10 until the design is complete.


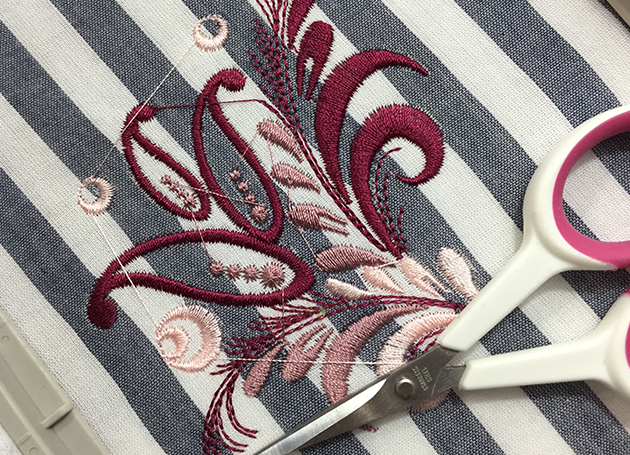
Trim your jump threads.


Cut away the excess stabilizer.


Row title

Lorem ipsum dolor sit amet, consectetur adipiscing elit. Nullam venenatis libero egestas dui finibus, nec tempus odio volutpat. Sed a pretium tortor. Mauris eleifend tempus elit ac ornare. Mauris semper bibendum eros a molestie. Fusce non dolor non augue aliquam dictum.
Row title

Lorem ipsum dolor sit amet, consectetur adipiscing elit. Nullam venenatis libero egestas dui finibus, nec tempus odio volutpat. Sed a pretium tortor. Mauris eleifend tempus elit ac ornare. Mauris semper bibendum eros a molestie. Fusce non dolor non augue aliquam dictum.

  1. Set the ruffler to the gathering position (#1).
  2. Place the raw edge of the pressed strip along the left side of the ruffler foot and slip into the ruffler.
  3. Start with a slow machine speed and begin pleating the strip from end to end.
  4. Draw a circle on the felt square.
  5. Start at the outside of the circle you drew on the felt and lay the pleats onto the circle. The pleats will naturally form into a circle.
  6. Attach Straight Stitch Foot to the sewing machine.
  7. Stitch the pleats to the felt on the ruffle’s seam line. Once you’ve made it all the way around the first time, place the strip just to the inside of the first row and continue in a concentric circle until the entire strip has been sewn down.\ .
[download_button text_link=”url:https%3A%2F%2Finspiration.brother.ca%2Fwp-content%2Fuploads%2F2018%2F02%2F18_0006-HAD_Blog-Post_Embroidery-project_Top_EN.pdf|title:Download%20PDF%20Project||”]
Embroidery | 0 (s)

About Denise Wild

Sewing, crafting and DIY expert, Denise Wild combines her enthusiasm and expertise to create easy-to-follow tutorials for simple, stylish projects that showcase valuable tips and tricks. Founder of LoveSewing magazine, Denise is also a brand spokesperson, TV host, author and magazine editor. Get inspired to create your very own projects with personalized style. Learn more about Denise at denisewild.com or follow her on Facebook at @medenisewild.

Haut brodé

Temps requis :      30 minutes

Donnez une touche de style avec un détail brodé. Il est facile d’améliorer un haut existant en ajouter un petit design de broderie dans des couleurs qui se complètent. Il y a tant de choix pour le design. Utilisez l’un des motifs intégrés sur votre Machine de Rêve de Brother, ou importez les vôtres en utilisant un support de numérisation, une clé USB ou le logiciel BES sur un réseau sans fil.

Matériaux

  • LA machine de Rêve de Brother
  • Une chemise tissée légère
  • Stabilisateur à découper moyen
  • Fil de broderie en trois couleurs
  • Ciseaux de broderie
  • Ciseaux pour tissu


Instructions


Découpez un morceau de stabilisateur de 9 po (23 cm) x 10 po (26 cm), et encerclez le stabilisateur et la chemise dans le plus petit cerceau inclus avec LA Machine de Rêve.


À partir de l’écran d’accueil de votre machine, choisissez « Broderie ».


Dans la catégorie de gabarits 1, choisissez le design n° 65.


Sélectionnez « Régler »..


Remplacez votre pied-de-biche par un pied de broderie.


Chargez le cerceau de broderie dans votre machine à coudre.


Cliquez sur « Modifier » pour ajuster votre design selon vos besoins. J’ai choisi de retourner mon design comme une image miroir. Lorsque vous avez terminé, cliquez sur « Modifier » à nouveau.


Sélectionner une couleur de fil pour modifier l’une d’entre elles, si nécessaire, puis appuyez sur « OK »..


Cliquez sur « Broderie ».


Chargez la couleur de fil de broderie, abaissez le pied-de-biche, puis appuyez sur la flèche verte.


Répétez l’étape 10 jusqu’à ce que le design soit terminé.


Élaguez vos points sautés.


Coupez l’excès de stabilisateur.


[download_button text_link=”url:https%3A%2F%2Finspiration.brother.ca%2Fwp-content%2Fuploads%2F2018%2F02%2F18_0006-HAD_Blog-Post_Embroidery-project_Top_EN.pdf|title:Download%20PDF%20Project||”]
Broderie | 0 (s)

About Heather Eigler

Blogueuse expérimentée bien présente sur les médias sociaux, Heather Eigler vit dans le nord de la Colombie-Britannique avec son mari John et leurs deux enfants, Hannah et Nate, qui ont respectivement neuf et six ans. Heather croit fermement que dans la vie, les meilleures choses ne sont pas nécessairement celles qui coûtent cher. L’artisanat, le recyclage et la cuisine maison sont donc des mots d’ordre pour elle. Essayez les tutoriels de Heather et consultez hometoheather.com pour découvrir comment elle affiche son style, cuisine et s’amuse dans le Nord canadien.