Author Archives: Karen Ellis

About Karen Ellis

With a passion for making everything and anything beautiful, professional crafter, Karen Ellis has been an event planner, a Brother dealer, and an educator for ScanNCut. Her extensive experience teaching paper crafts inspired Karen to open her own studio in 2007. A proud contributor to Creative Scrapbooker Magazine, she travels to crafting shows throughout North America to promote the publication and share exciting projects. Discover Karen’s knack for turning simple materials into unique things of beauty, today!

Mother’s Day Card

Time required: 15-20 mins

Surprise your mom on Mother’s Day with a quick and easy, customizable card made just for her! It’s simple when you’ve got your Brother ScanNCut and CanvasWorkshop at your service! Follow this step-by-step tutorial and in no time, you’ll have a card that’s as beautiful and unique as your mom.
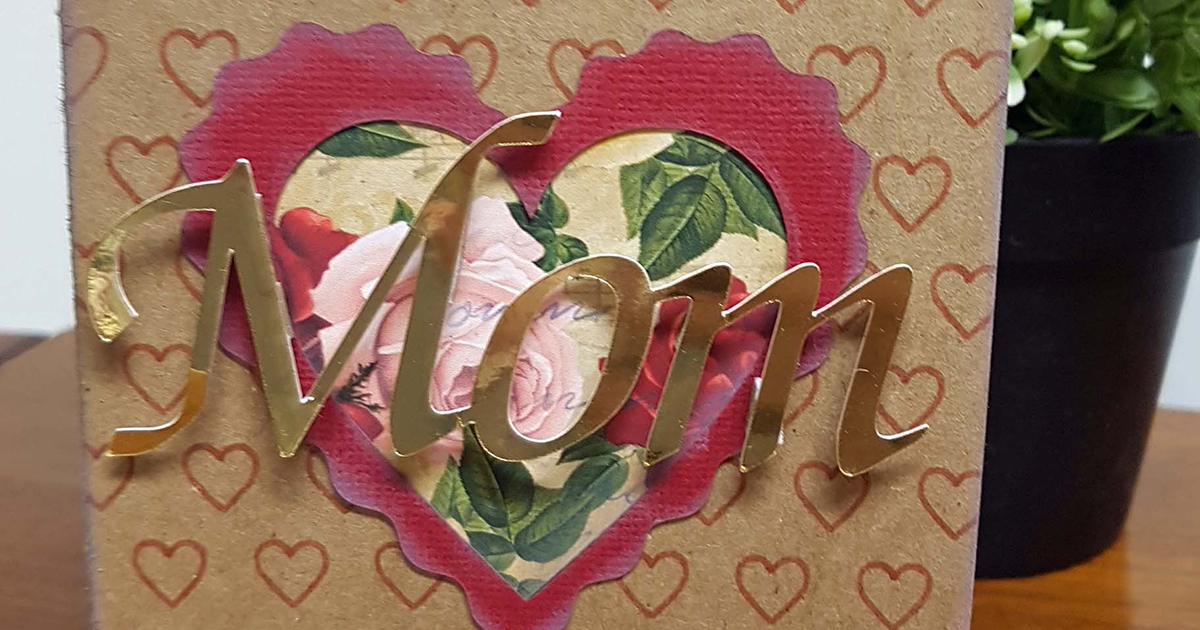
Materials and supplies

• 4” x 6” blank card (or 8” x 6” cardstock folded
to create a 4” x 6” card base)
• 3.5” x 3.5” red cardstock
• 3.5” x 3.5” patterned paper
• 3” x 5” gold metallic cardstock
• ScanNCut (I used the CM650W)
• ScanNCut standard size mat, blade and brown
pen with pen holder
• Low tack painter’s tape
• 3D adhesive foam squares
• Gold Sharpie
• Double-sided tape or glue stick
• Dye ink and blending tool (optional)

Instructions

For step by step instructions, download the PDF.
[download_button text_link=”url:https%3A%2F%2Finspiration.brother.ca%2Fwp-content%2Fuploads%2F2018%2F04%2F18_0101_HAD_Crafting_Project_Mothers_Day_Card_EN_Final-1.pdf|title:Download%20PDF%20Project||”]
Crafting | 0 (s)

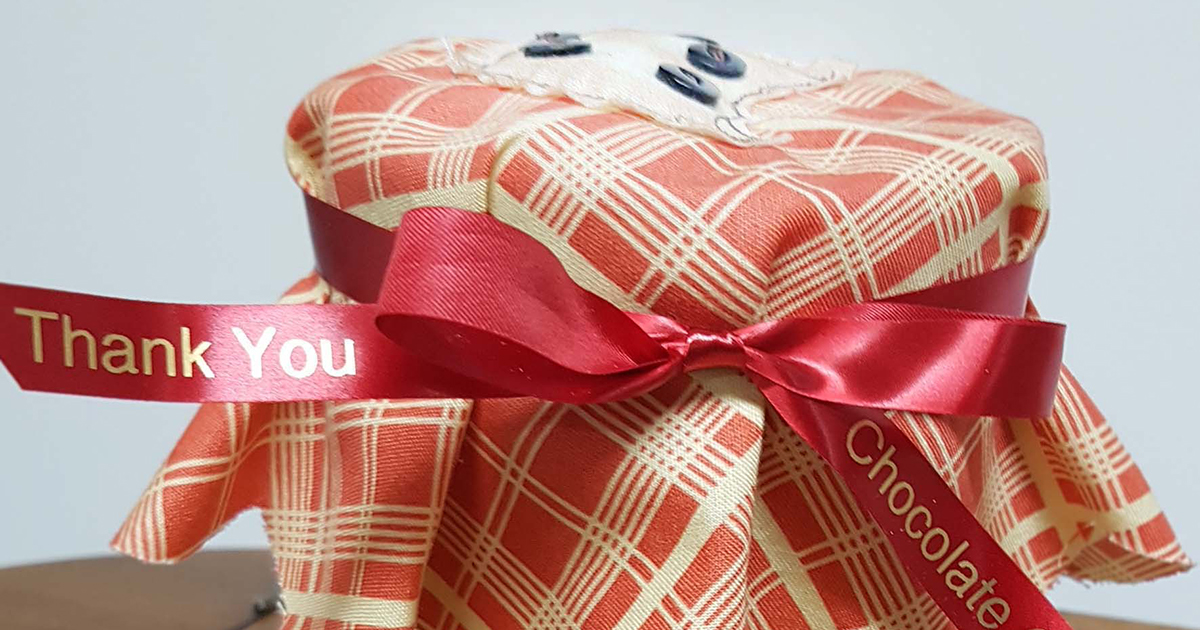
Chocolate Chip Cookie Gift Jar

Time required: 30-45 mins

May 15th is National Chocolate Chip Day! What better way to celebrate this holiday than by surprising a friend with a yummy gift? This simple step-by-step tutorial will help you create a fun and functional cookie jar that’s ready to fill with all the ingredients needed to whip up a batch of your favourite chocolate chip cookies. When you give sweet treats, you’re guaranteed to become everyone’s favourite friend!

Materials and supplies

• A lidded clear glass jar (large enough to hold cookies)
• 12” x 12” red patterned cotton fabric
• 6” x 6” natural muslin
• 5” x 5” Brother iron-on fabric applique contact sheet
• Brother ScanNCut Machine (CM650W)
• Brother ScanNCut Standard Cutting Mat
• Brother Sewing Machine (XV8500D)
• Brother Button Presser Foot M
• Brother P-touch H200 Craft Ribbon and Label Printer
• 12mm red wine ribbon
• Brown thread
• 5 small brown buttons
• Small amount of Poly-Fil stuffing
• Brown dye ink and mini sponge applicator
• Stiffening spray (optional)

Instructions

For step by step instructions, download the PDF.
[download_button text_link=”url:https%3A%2F%2Finspiration.brother.ca%2Fwp-content%2Fuploads%2F2018%2F04%2F18_0102_HAD_Crafting_Project_Cookie_Jar_EN_Final.pdf|title:Download%20PDF%20Project||”]
Crafting, Sewing | 0 (s)

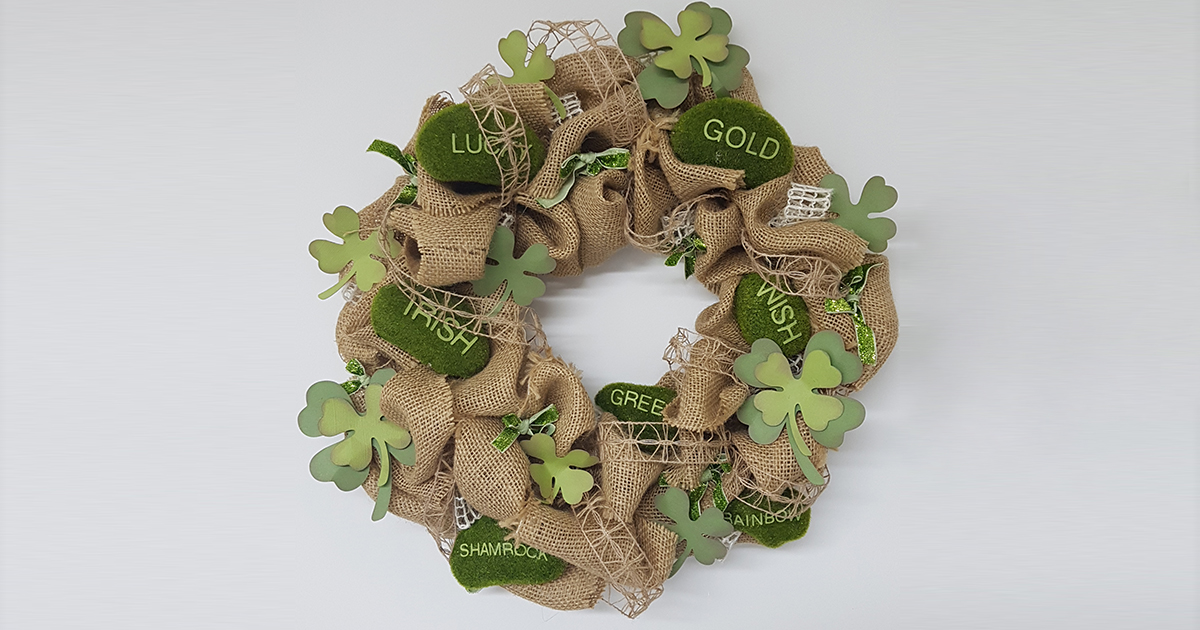
St Patrick’s Day Door Wreath

Time required: 1.5 hours

Give your home a cheerful St Patrick’s Day touch with this traditional burlap door wreath. Using just a few materials and your ScanNCut machine, you’ll create this fun and festive project in no time!

Materials and supplies

  • Brother ScanNCut (this project was created
    with the CM650W)
  • Wire wreath form
  • Burlap ribbon
  • Burlap trim
  • Styrofoam moss rocks
  • Green ribbon
  • 12”x12” light green cardstock
  • 12”x12” darker green cardstock
  • 2 pieces of wire (4” of 22 gauge wire)
  • Low temp hot glue gun
  • Fabric glue
  • 3D adhesive foam squares
  • Burlap dye ink

Instructions

For complete instructions, download the PDF instruction guide.

[download_button text_link=”url:https%3A%2F%2Finspiration.brother.ca%2Fwp-content%2Fuploads%2F2018%2F03%2FBrother_Crafting_project_StPatricks_day_EN.pdf|title:Download%20PDF%20Project|target:%20_blank|”]
Crafting | 0 (s)