
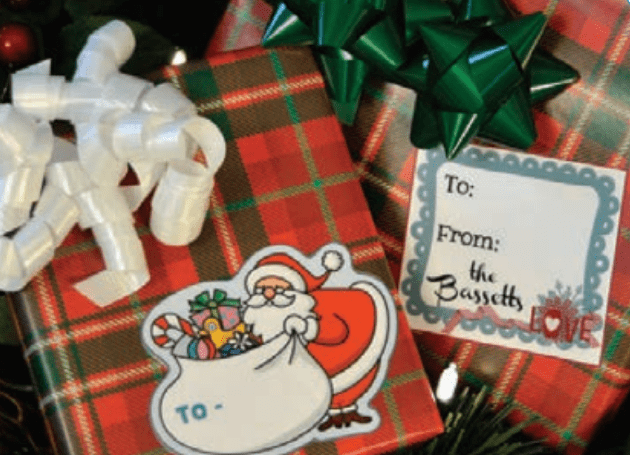
Christmas Gift Tags
It’s so easy to fall into the habit of reusing the same holiday gift tags year after year. But it’s totally worth changing them. Taking the time for personalized touches shows your loved ones that — when it comes to them — even the smallest details matter.
Materials
• ScanNCut machine and accessories
• ScanNCut Printable Sticker Kit
• ScanNCutCanvas
• Brother colour ink-jet printer
Step 1
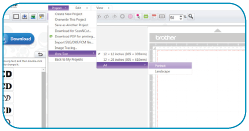
Open up ScanNCutCanvas. Change the project area size by going to “Project” and then “Area Size.” Change it to “A4” and “Portrait.”
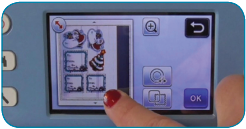
Step 2
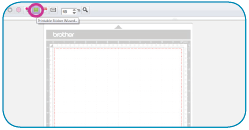
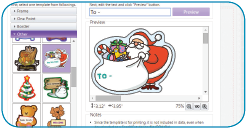
Next, click on the “Printable Sticker Wizard” button. Scroll through to find the merry sticker you want to create.
Step 3
There are two ways to add text to stickers in ScanNCutCanvas.
1. When you choose your sticker, you’ll see that it already has text on it. Delete that text and add in the text you want. Click “Preview” to see the changes. Click “OK” to add it to the mat on your computer screen.
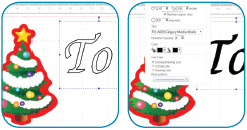
OR:
2. Delete the font in the Printable Sticker Wizard. Use the ScanNCutCanvas “Text” feature to add text to the gift tag once it’s placed on your mat. To change the font colours and other options, click on the “Properties” icon.
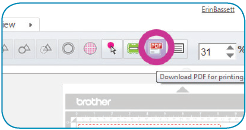
Step 4
Now, you can save your whole sticker sheet as a .pdf file so it can be printed. Just click on the PDF button, and then click on the file name to rename it. Hit “Save.”
Step 5
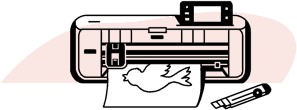
Print out the .pdf file on your inkjet colour printer. For best results, make sure you’re printing in photo quality on the white side of the sticker paper that’s included with the kit. Allow your print to dry.
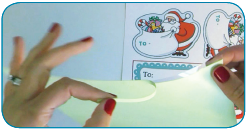
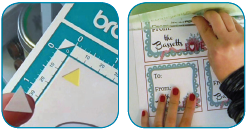
Step 6
Now you’ll need to laminate the top of the sticker. Prepare the laminate sheet by pulling off the tear strip. This lets you keep a little sticky spot at the bottom of the sheet. Line the sticky spot up with the bottom of your printout. Use the ruler as a scraper to carefully smooth out the laminate so that no air bubbles develop.

Step 7
Finally, apply the sheet to the standard cutting mat and insert it into the ScanNCut. Make sure your machine settings are set at the recommended settings for the sticker kit. Do a test cut before you cut out your real sticker. You should be able to cut through the sticker (and not the backing), so adjust your machine settings and blade accordingly.
Voilà! You’re done with helping Santa—for this year!
About Brother
Brother shares your passion, so, we’ve created this blog as a place where you can find inspiration from our many exciting sewing, quilting, embroidery, cutting and crafting projects. We develop tutorials that range from beginner to expert so there’s something for everyone’s specific interests and skills. Try something new, today!You Might Also Like
Crafting:Paper Confetti Garland
Crafting:Paper Flower Project